The air is getting crisp, the leaves are turning, and there’s a certain magic in the air that can only mean one thing: Halloween is almost here! Forget the ghosts and goblins for a moment and let’s talk about the real treat – Halloween Whoopie Pies! Imagine sinking your teeth into a deliciously moist chocolate cake, perfectly sandwiched with a vibrant, spooky orange frosting, all adorned with edible glitter and playful candy eyes. Sounds like a dream, right? Well, wake up and get ready to bake because these aren’t just any treats; they’re the ultimate easy, fun, and absolutely irresistible Halloween Whoopie Pies that will have everyone screaming with delight!
Whether you’re hosting a ghoulish gathering, packing a special lunchbox surprise, or simply craving something sweet and festive, these Halloween Whoopie Pies are your go-to. They’re quick to make, even quicker to disappear, and boast that perfect balance of spooky charm and mouth-watering flavor. Get ready to unleash your inner kitchen witch and whip up a batch of these enchanting confections!
Why You’ll Fall for These Halloween Whoopie Pies!
These aren’t just another dessert; these Halloween Whoopie Pies are designed for maximum fun and minimal fuss. Here are four spooktacular reasons why they’ll become your new favorite:
- Effortlessly Easy & Quick: Who has time for complicated bakes during the bustling Halloween season? Thanks to a clever cake mix and instant pudding hack, these whoopie pies come together in a flash, making them perfect for last-minute treats or busy schedules. Prep time is a mere 10 minutes – magic!
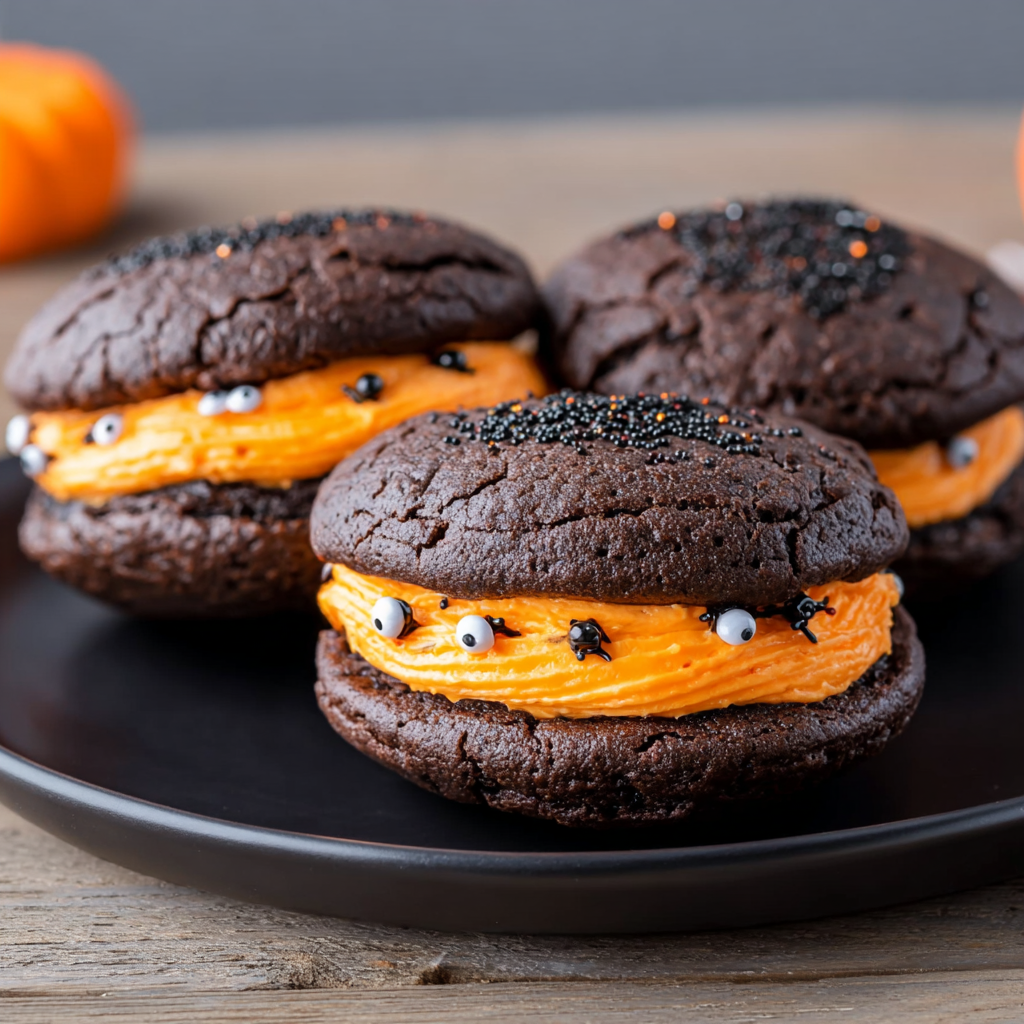
- Unleash Your Inner Decorator: From vibrant orange frosting to edible black glitter and quirky candy eyes, these Halloween Whoopie Pies are a blank canvas for your spooky creativity. They’re incredibly fun to decorate, allowing you to personalize each treat with a unique ghoulish grin or a monstrous stare.
- Irresistibly Delicious Flavor: Don’t let the ease fool you; the combination of moist, rich chocolate cake (thanks, instant pudding!) and creamy, sweet orange frosting is absolutely divine. Each bite is a harmonious blend of classic Halloween flavors and textures that will leave you wanting more.
- Perfect Party Portions: Forget slicing messy cakes! These individual Halloween Whoopie Pies are ideal for parties, bake sales, or trick-or-treat bags. They’re easy to grab, easy to eat, and prevent any sticky situations, making them a crowd-pleasing hit for all ages.
Gather Your Ghoulish Goodies: Ingredients for Halloween Whoopie Pies
Get ready to summon your ingredients! Here’s everything you’ll need to conjure up these delightful Halloween Whoopie Pies:
- 🍫 1 box (15.25 oz) Devil’s Food cake mix
- 💧 3/4 cup water
- 🛢️ 1/2 cup vegetable oil
- 🥚 3 eggs
- 🍫 1 box (4 servings) chocolate fudge instant pudding
- 🍦 2 tubs (16 oz each) vanilla cake icing
- 🧡 Orange food coloring gel
- ✨ Edible black glitter
- 🍬 Powdered sugar
- 🖤 Black licorice
- 👀 Candy eyes
Whip Up Some Witchy Wonders: Step-by-Step Directions
Follow these simple steps to bring your Halloween Whoopie Pies to life!
- Preheat & Prepare: First things first, get your oven ready! Preheat it to a chilling 350°F (175°C). While it’s heating, line your baking sheets with parchment paper or silicone baking mats – this will ensure your whoopie pie cakes don’t stick and make cleanup a breeze.
- Mix Your Magical Batter: In a large mixing bowl, combine the Devil’s Food cake mix, water, vegetable oil, eggs, and the chocolate fudge instant pudding mix. Stir everything together with an electric mixer or a whisk until the batter is completely smooth and free of lumps. This pudding addition is our secret for super moist cakes!
- Scoop Your Spooky Shapes: Now for the fun part! Using a cookie scoop or two spoons, drop rounds of batter onto your prepared baking sheets. For larger, more substantial whoopie pies, aim for 18 rounds in total. If you prefer smaller, bite-sized treats (perfect for little monsters!), you can make 36 rounds. Remember to leave a little space between each dollop as they will spread slightly.
- Bake to Perfection: Slide your baking sheets into the preheated oven and bake for approximately 7-10 minutes. Keep an eye on them – the cakes should be set and spring back slightly when gently touched. Avoid overbaking to keep them wonderfully moist!
- Cool Completely: This step is crucial! Once baked, carefully remove the cakes from the oven and let them cool on the baking sheets for a few minutes before transferring them to a wire rack. They must be completely cool before you even think about frosting them, or you’ll end up with a melted mess!
- Color Your Creepy Frosting: While your cakes are chilling, grab your vanilla cake icing. Divide the icing if you want to make different colored batches, or simply add several drops of orange food coloring gel to both tubs. Stir well until you achieve a vibrant, spooky orange hue. Add more gel for a deeper color!
- Assemble Your Whoopie Pies: Once the cakes are fully cooled, it’s time to assemble! Take one cake, spread a generous dollop of your bright orange frosting onto its flat side, then gently top it with another cake to form a sandwich. Repeat with all your cake rounds.
- Decorate with Delight: This is where the real Halloween magic happens! Sprinkle your assembled Halloween Whoopie Pies with edible black glitter for a shimmering, mysterious touch. Dust lightly with powdered sugar to create a ghostly effect. Use small pieces of black licorice to fashion spooky spider legs or witch hat outlines, and finally, gently press on those adorable candy eyes to bring your whoopie pies to life with quirky personalities!
Spooktacular Serving Suggestions & Presentation Perfecting
Making delicious Halloween Whoopie Pies is only half the fun; presenting them in a way that truly captures the spirit of the season is the other! Here are some wicked ways to serve and present your delightful treats:
- Size Matters: As the recipe mentions, you can make larger or smaller whoopie pies. Smaller ones are fantastic for a dessert buffet, allowing guests to sample more. Larger ones make a satisfying individual treat or a show-stopping centerpiece.
- Creative Character Cakes: Beyond simple glitter and eyes, use your imagination!
- Mummy Pies: Use white frosting (or just leave some vanilla icing uncolored) and pipe thin lines across the top for mummy bandages, then add candy eyes.
- Spider Whoopies: Use black licorice for eight legs and place them around a candy eye “head.”
- Pumpkin Patch: Use green licorice for stems and add a small swirl of green frosting on top of your orange pies.
- Ghostly Glam: Instead of orange, use white frosting and pipe two small dots for eyes, then dust with powdered sugar.
- Platter Perfection: Arrange your assorted Halloween Whoopie Pies on a large, dark-colored platter (black or deep purple works wonders) for maximum contrast with the vibrant orange. Add some small plastic spiders, mini pumpkins, or autumn leaves around the display for extra festive flair.
- Individual Delights: For parties, consider wrapping each whoopie pie in clear cellophane bags tied with orange and black ribbon. This makes them easy for guests to grab and also perfect for sending home as party favors or for trick-or-treaters.
- Dessert Bar Star: If you’re creating a full Halloween dessert bar, place your whoopie pies on varying height stands to create visual interest. Pair them with other spooky treats like “dirt” cups or ghost-shaped cookies.
Keep Your Creepy Confections Fresh: Storage Tips
You’ve put in the fun work, now ensure your delicious Halloween Whoopie Pies stay fresh and ready for snacking!
- Airtight is Key: The most important rule for storing whoopie pies is to keep them in an airtight container. This prevents them from drying out and keeps the frosting soft and fresh.
- Room Temperature: If you plan to enjoy them within 2-3 days, storing your Halloween Whoopie Pies at room temperature is perfectly fine. Place them in a single layer in your airtight container, or separate layers with parchment paper to prevent sticking.
- Refrigeration: For longer storage, or if your kitchen is particularly warm, you can refrigerate them for up to 5-7 days. Again, an airtight container is essential. When ready to serve, let them come to room temperature for about 15-30 minutes for the best flavor and texture, especially for the cake portion.
- Freezing for Future Frights: Yes, you can freeze whoopie pies! Wrap each individual whoopie pie tightly in plastic wrap, then place them in a freezer-safe airtight container or bag. They will last in the freezer for up to 1-2 months. Thaw them overnight in the refrigerator, then bring them to room temperature before serving.
Your Halloween Whoopie Pies Questions Answered!
Got more questions about these ghoulishly good Halloween Whoopie Pies? We’ve got answers!
- 1. Can I make the whoopie pie cakes ahead of time?
- Absolutely! You can bake the chocolate cake rounds a day or two in advance. Store them in an airtight container at room temperature. Frost and decorate just before serving for the freshest taste and best appearance.
- 2. Can I use a different cake mix flavor?
- While Devil’s Food is perfect for that classic chocolate flavor, you could experiment! A spice cake mix for an autumnal feel or even a plain yellow cake mix would work, though it would change the overall flavor profile of your Halloween Whoopie Pies.
- 3. What if I don’t have instant pudding?
- The instant pudding mix adds moisture and richness, making the cakes almost foolproof. If you omit it, your cakes might be a bit drier. You could try adding an extra egg or a tablespoon of sour cream to compensate for some moisture, but the pudding is highly recommended!
- 4. Can I make my own frosting instead of using store-bought tubs?
- Of course! A homemade buttercream tinted with orange food coloring gel would be fantastic. Just ensure it’s a stable buttercream that can hold its shape when sandwiched. Our recipe focuses on convenience, but homemade is always an option for your Halloween Whoopie Pies.
- 5. Are there alternative decorations if I can’t find specific items?
- Definitely! Get creative! Instead of black glitter, you could use black sprinkles or finely crushed chocolate cookies. For candy eyes, you can pipe small white dots with black centers using leftover frosting. Mini chocolate chips can also be used for eyes or spider bodies.
- 6. How do I get the whoopie pie cakes to be uniform in size?
- Using a cookie scoop (about 1.5-2 tablespoons for regular size, or smaller for mini) is the best way to ensure consistent sizing for your Halloween Whoopie Pies. Alternatively, you can trace circles onto your parchment paper as a guide before scooping.
- 7. Can kids help with this recipe?
- Absolutely! This recipe is fantastic for involving little hands. Kids can help measure ingredients (with supervision), scoop the batter onto baking sheets, and are usually pros at decorating with glitter, sprinkles, and candy eyes. It’s a fun family activity!
- 8. What kind of baking sheets should I use?
- Standard metal baking sheets lined with parchment paper or silicone baking mats work best. These help prevent sticking and ensure even baking. Darker baking sheets can sometimes cause the bottoms to brown faster, so keep an eye on them.
- 9. Can I freeze just the unfrosted cake rounds?
- Yes, you can! This is a great time-saver. Once the cake rounds are completely cool, place them in an airtight freezer bag or container, separated by parchment paper, for up to 1-2 months. Thaw at room temperature before frosting and assembling your Halloween Whoopie Pies.
- 10. What’s the origin of whoopie pies?
- The exact origin is debated, with both New England and Pennsylvania Amish communities claiming them. Legend says that when Amish wives would bake these treats from leftover cake batter, their husbands would exclaim “Whoopie!” when they found them in their lunch pails. A fun fact for your spooky snack!
Halloween Whoopie Pies 🎃
Ingredients
- 1 box Devil’s Food cake mix (15.25 oz)
- 3/4 cup water
- 1/2 cup vegetable oil
- 3 eggs
- 1 box chocolate fudge instant pudding (4 servings)
- 2 tubs vanilla cake icing (16 oz each)
- Orange food coloring gel
- Edible black glitter
- Powdered sugar
- Black licorice
- Candy eyes
Instructions
- Preheat your oven to 350°F.
- Mix the cake mix, water, oil, eggs, and pudding in a large bowl until smooth.
- For larger pies, scoop 18 rounds onto lined baking sheets; for smaller, make 36.
- Bake for 7-10 minutes, then cool completely.
- Color the vanilla icing with orange gel until vibrant.
- Spread icing on one cake and top with another to form a pie.
- Decorate with black glitter, powdered sugar, licorice, and candy eyes.