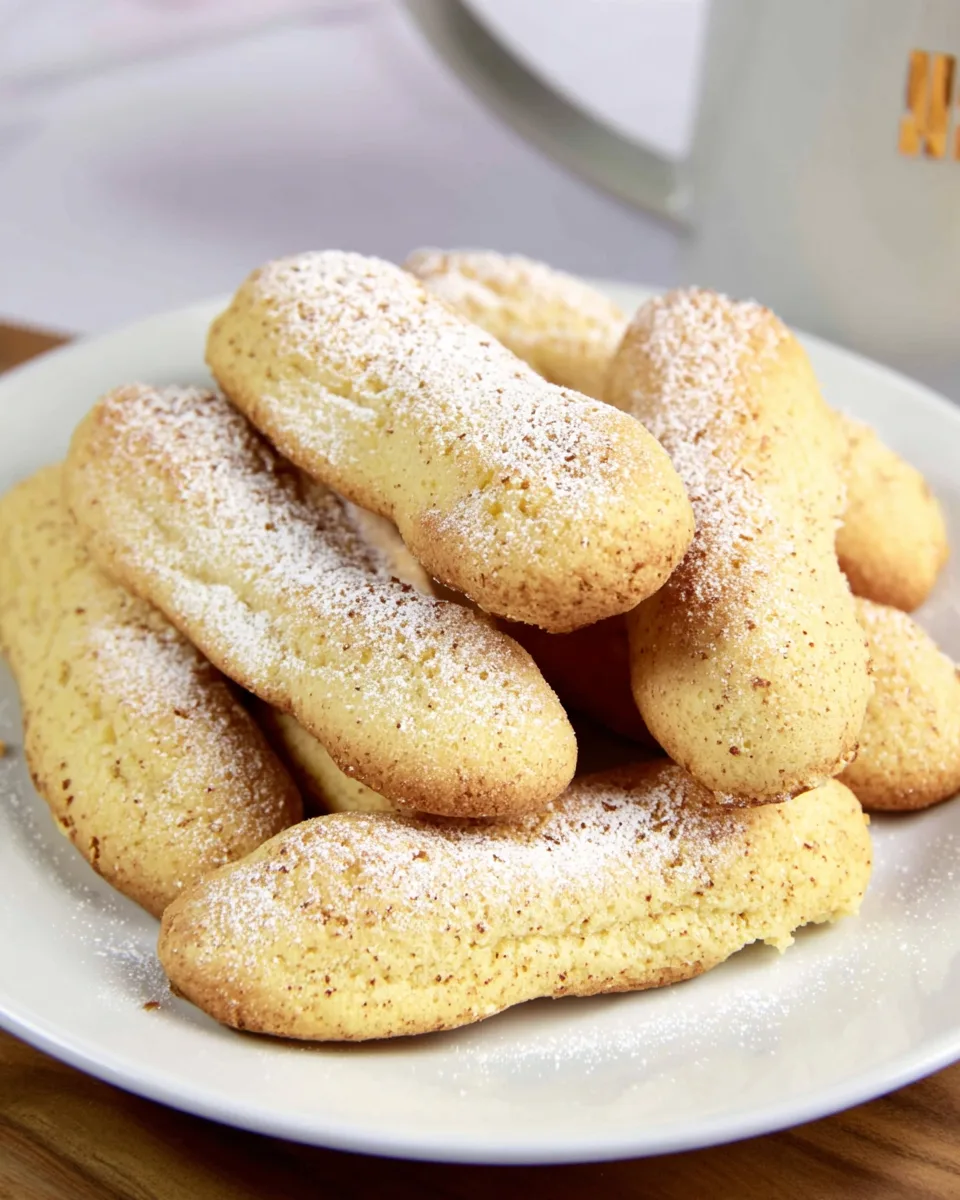
Ever dreamt of enjoying a classic Tiramisu or a light, airy dessert without kicking yourself out of ketosis? For too long, the delicious world of spongy, sweet treats felt off-limits. Those delightful, crisp-on-the-outside, soft-on-the-inside fingers of joy seemed to be exclusively for carb-lovers. Well, guess what? The dessert gods have smiled upon us, and we’re here to tell you how to whip up the most incredible, guilt-free Homemade Keto Ladyfingers right in your own kitchen! Get ready to reclaim your dessert destiny – because these aren’t just good for keto; they’re plain ol’ *good*!
Why You’ll Love This Recipe
Prepare to fall head over heels for these low-carb wonders. Here are four irresistible reasons why these Homemade Keto Ladyfingers will become your new go-to:
- Keto-Friendly & Guilt-Free Goodness: Say goodbye to carb crashes and sugar spikes! With a mere 1g net carb per serving, these ladyfingers fit perfectly into your low-carb lifestyle. Indulge without an ounce of guilt, whether you’re building a Tiramisu or just enjoying a light snack.
- Incredibly Versatile: While they are the undeniable star of any keto Tiramisu, their potential doesn’t stop there! Dip them in your morning coffee, layer them in a keto trifle with berries and cream, or simply enjoy them on their own. Their delicate flavor and texture make them a fantastic canvas for countless dessert creations.
- Surprisingly Easy to Make: Don’t let the elegant name fool you; making these ladyfingers is a breeze! With clear, step-by-step instructions and common kitchen tools, you’ll be piping like a pro in no time. It’s a perfect baking project for beginners and seasoned keto bakers alike.
- Authentic Texture & Delightful Taste: These aren’t just “good for keto”; they’re genuinely delicious! The unique blend of almond flour and oat fiber creates that signature light, airy, and slightly chewy texture you crave, perfectly mimicking traditional ladyfingers. You won’t believe they’re low-carb!
Ingredients with Measurements
Gather your baking arsenal! Here’s what you’ll need to create your very own batch of scrumptious Homemade Keto Ladyfingers:
- 🥚 3 large eggs, separated
- 🥚 1 additional large egg white
- 🌰 2/3 cup super fine almond flour
- ✨ 1/2 cup powdered monk fruit/erythritol blend
- 🌾 1/4 cup oat fiber
- 🥄 1 teaspoon baking powder
- 🍦 1 teaspoon vanilla extract
- 🧂 1/4 teaspoon fine sea salt
Detailed Step-by-Step on Direction How to Make the Recipe
Ready to transform simple ingredients into a keto masterpiece? Follow these steps for perfect Homemade Keto Ladyfingers every time:
- Get Ready: First things first, preheat your oven to a cozy 350°F (175°C). Then, grab a baking sheet and line it with parchment paper or a trusty silicone mat. This prevents sticking and makes cleanup a breeze!
- Whip the Whites: In a large, perfectly clean mixing bowl (seriously, no grease!), use a hand mixer to beat the egg whites (from 3 eggs plus the extra one) until they become beautifully frothy. Now, slowly, while still mixing, sprinkle in half of the powdered sweetener. Keep whipping until you achieve gorgeous, stiff, and glossy peaks. This airy cloud is crucial for light ladyfingers, so set it aside gently.
- Mix the Yolks: In a separate bowl, combine the egg yolks with the remaining half of the powdered sweetener. Whisk with your hand mixer for about 2 minutes until the mixture brightens in color and thickens slightly. Stir in the vanilla extract for that lovely aroma.
- Combine Gently: Here’s where the magic happens! Carefully fold the fluffy whipped egg whites into the yolk mixture. Do this in three separate additions. The key is to be super gentle to maintain all that wonderful airiness you just created!
- Dry Ingredients: In a third bowl, use a fine mesh sieve to sift together the almond flour, oat fiber, baking powder, and salt. Sifting twice is your secret weapon for an extra smooth texture and prevents lumps. Don’t skip this step!
- Fold It In: Now, sift this dry mixture over the egg batter in three additions. Again, gently fold everything together until just combined. Be extra careful not to deflate those precious egg whites. This gentle folding is absolutely key for light and airy ladyfingers!
- Pipe Away: Transfer the batter into a piping bag (or a sturdy food storage bag with the corner snipped off for an impromptu piping tool). Pipe 24 finger-length lines, each about 3 inches long, onto your prepared baking sheet. Remember to space them out a bit as they’ll expand slightly during baking.
- Bake to Perfection: Slide your baking sheet into the preheated oven and bake for 12-15 minutes, or until the edges are beautifully golden. For a softer, more spongy texture, you can remove them from the oven a little sooner. Keep an eye on them!
- Cool & Serve: Once baked, carefully transfer the ladyfingers to a wire rack and let them cool completely at room temperature. Once cool, if you’re feeling fancy, dust them with a little extra powdered sweetener. Now, go ahead and enjoy your guilt-free, delicious treat!
Detailed Different Ways You Can Present the Recipe and How to Serve It
Your beautiful Homemade Keto Ladyfingers are more than just a snack; they’re a versatile foundation for a myriad of keto-friendly delights! Here’s how you can present and serve them:
- The Classic Keto Tiramisu Star: This is arguably their most famous role! Use these ladyfingers to create an epic, sugar-free Tiramisu. Dip them quickly in espresso (and maybe a splash of keto-friendly liqueur!) before layering with a rich mascarpone cream.
- Elegant Trifles: Break or layer them in a glass trifle dish with sugar-free whipped cream, fresh low-carb berries (strawberries, raspberries, blueberries), and perhaps a homemade keto berry compote for a stunning layered dessert.
- Coffee Dippers: For a simple yet satisfying treat, serve them alongside a steaming cup of coffee or tea. Their delicate texture makes them perfect for a quick dip, soaking up just the right amount of liquid.
- Snack Time Delight: Enjoy them just as they are! Dust them lightly with extra powdered sweetener for a simple, elegant low-carb cookie that’s perfect with your afternoon cuppa.
- With Keto Sauces & Creams: Elevate them further by serving with a side of sugar-free chocolate sauce, a dollop of fresh keto whipped cream, or a warm sugar-free berry coulis.
- Parfait Layers: Crumble them into individual parfaits with layers of keto yogurt, nuts, and fruit for a quick breakfast or dessert.
How You Can Store It and How Long Does It Last
You’ve put in the effort to make these delightful Homemade Keto Ladyfingers, so let’s make sure they stay fresh for as long as possible! Proper storage is key:
- At Room Temperature: If stored in an airtight container at room temperature, your ladyfingers will stay fresh and crisp for 3-5 days. Ensure they are completely cool before storing to prevent condensation.
- In the Refrigerator: While not strictly necessary for the ladyfingers themselves, if you’ve assembled them into a Tiramisu or trifle, the entire dessert should be stored in the refrigerator. In an airtight container, they’ll last for 3-4 days. The texture might soften slightly, which is often desirable for layered desserts.
- Freezing for Longer Storage: For extended freshness, ladyfingers freeze beautifully! Once completely cooled, arrange them in a single layer on a baking sheet and freeze until solid. Then, transfer them to a freezer-safe bag or airtight container, separated by parchment paper, for up to 2-3 months. Thaw at room temperature for a few hours before using.
Always ensure they are in an airtight container to prevent them from drying out or absorbing odors from other foods.
FAQs Sections
Got questions about your Homemade Keto Ladyfingers? We’ve got answers!
- Q1: What is oat fiber and can I substitute it?
A: Oat fiber is an insoluble fiber derived from the oat hull, containing virtually no carbs. It acts as a binder and adds bulk without calories. While it’s best for the authentic texture, you might try a very small amount of coconut flour (it’s very absorbent, so use sparingly) as a substitute, but the texture will differ. - Q2: Why is sifting the dry ingredients so important?
A: Sifting helps to break up any lumps in the flours and ensures an even distribution of the baking powder and salt. This results in a smoother batter and a more uniform, lighter texture in your baked ladyfingers. - Q3: Can I make these dairy-free?
A: Great news! This recipe is already naturally dairy-free, as it uses no butter or milk products. Enjoy! - Q4: Can I use a different keto sweetener?
A: Yes, you can! Any powdered erythritol-based sweetener blend should work well. Powdered is preferred over granular as it dissolves better and prevents a grainy texture. Adjust to your preferred sweetness level. - Q5: How do I know when the egg whites are at “stiff, glossy peaks”?
A: Stiff peaks mean that when you lift the beaters, the egg whites hold their shape firmly and don’t droop. Glossy means they look shiny. If they look dry or crumbly, they’re over-beaten. - Q6: My ladyfingers turned out flat, what went wrong?
A: The most common culprits are deflating the egg whites (either by over-mixing or folding too aggressively) or under-whipping the egg whites in the first place. Be extra gentle when folding in the yolks and dry ingredients! - Q7: Can I make these ahead of time?
A: Absolutely! They store well at room temperature for several days or can be frozen for longer, making them perfect for meal prep or planning for a special occasion. - Q8: Are these suitable for diabetics?
A: Given they are sugar-free and very low in net carbs, they are generally a good option for diabetics, but always consult with your doctor or a registered dietitian for personalized dietary advice. - Q9: What’s the best way to pipe them without a piping bag?
A: A sturdy Ziploc or food storage bag works perfectly! Simply spoon the batter into one corner, push it down, and snip off a small corner (about 1/2 inch) to create an opening for piping. - Q10: Can I add flavor variations to the ladyfingers?
A: Definitely! You can add a pinch of cinnamon or cardamom to the dry ingredients, or a few drops of almond extract alongside the vanilla for a different flavor profile. Just be mindful of carb counts if adding new ingredients.
Homemade Keto Ladyfingers
Equipment
- Hand Mixer
- Baking Sheet
- Parchment Paper
- Silicone Mat
- Fine Mesh Sieve
- Piping bag
- Wire Rack
Ingredients
- 3 large eggs separated
- 1 large egg white additional
- 2/3 cup super fine almond flour
- 1/2 cup powdered monk fruit/erythritol blend
- 1/4 cup oat fiber
- 1 teaspoon baking powder
- 1 teaspoon vanilla extract
- 1/4 teaspoon fine sea salt
Instructions
- Get Ready: Preheat your oven to a cozy 350°F (175°C). Prepare a baking sheet by lining it with parchment paper or a silicone mat.
- Whip the Whites: In a large, perfectly clean mixing bowl, use a hand mixer to beat the egg whites (from 3 eggs plus the extra one) until they become frothy. Slowly, while still mixing, add half of the powdered sweetener. Continue whipping until you achieve stiff, glossy peaks. Gently set this airy mixture aside.
- Mix the Yolks: In a separate bowl, combine the egg yolks with the remaining half of the powdered sweetener. Whisk with your hand mixer for about 2 minutes until the mixture brightens in color and thickens slightly. Stir in the vanilla extract.
- Combine Gently: Carefully fold the fluffy whipped egg whites into the yolk mixture in three separate additions. Be very gentle to maintain the airiness!
- Dry Ingredients: In a third bowl, use a fine mesh sieve to sift together the almond flour, oat fiber, baking powder, and salt. Sifting twice helps ensure a super smooth texture.
- Fold It In: Sift this dry mixture over the egg batter in three additions. Gently fold everything together until just combined, being careful not to deflate the egg whites. This step is key for light ladyfingers!
- Pipe Away: Transfer the batter into a piping bag (or a sturdy food storage bag with the corner snipped off). Pipe 24 finger-length lines, each about 3 inches long, onto your prepared baking sheet. Remember to space them out a bit as they'll expand slightly.
- Bake to Perfection: Bake for 12-15 minutes, or until the edges are beautifully golden. For a softer, more spongy texture, you can remove them from the oven a little sooner.
- Cool & Serve: Carefully transfer the baked ladyfingers to a wire rack and let them cool completely at room temperature. Once cool, dust them with a little extra powdered sweetener if you like, and enjoy your guilt-free, delicious treat!
Notes
- Calories: 56 kcal
- Total Carbohydrates: 4g
- Net Carbs: 1g
- Fats: 3g
- Protein: 5g
- Fiber: 3g
- Sugar: 0g