Why You’ll Love These Key Lime Pie Bars
Get ready to fall head over heels for the brightest, most delightful dessert of the season! Our homemade Key Lime Pie Bars aren’t just a treat; they’re an experience. Here are four irresistible reasons why they’ll become your new go-to:
- Effortlessly Easy & Quick: Forget complicated baking! With a simple press-in crust and a whisk-together filling, these bars come together with minimal fuss, making them perfect for even novice bakers.
- Bursting with Zesty Flavor: Each bite delivers that iconic tangy-sweet key lime punch, perfectly balanced by the buttery graham cracker crust. It’s like sunshine on a plate!
- Perfect for Any Occasion: From casual backyard BBQs to elegant dinner parties, these refreshing bars are always a crowd-pleaser. They’re easy to transport and even easier to share.
- Make-Ahead Magic: These Key Lime Pie Bars only get better as they chill, meaning you can whip them up in advance and simply slice and serve when it’s showtime. No last-minute stress!
Squeeze the Day! Get Ready for the Best Key Lime Pie Bars Ever!
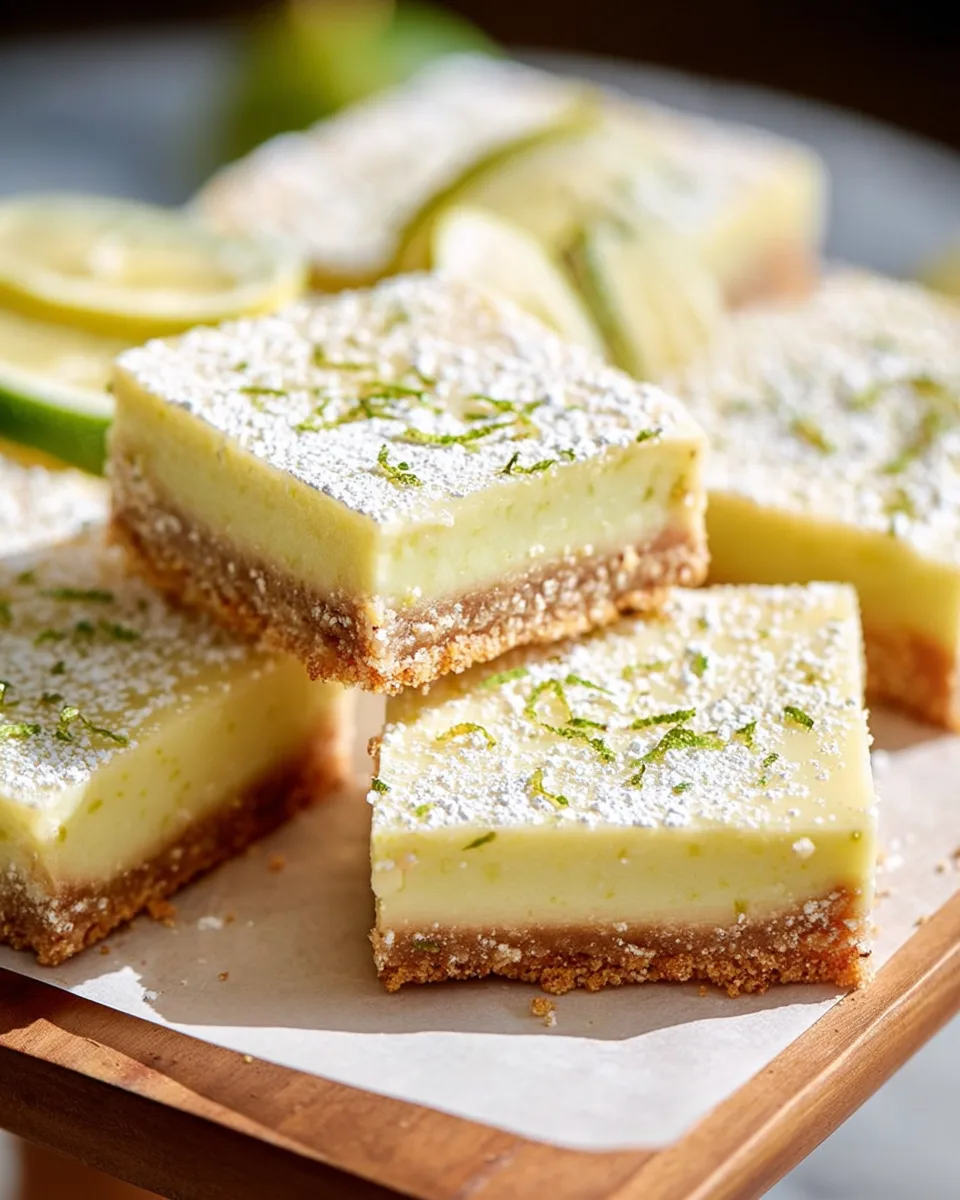
Picture this: a sun-drenched afternoon, a gentle breeze, and a plate of vibrant, tangy-sweet goodness just waiting to be devoured. If that sounds like your kind of paradise, then get ready to meet your new obsession: homemade Key Lime Pie Bars! Forget fussy pies; these bars deliver all the iconic flavor of a classic key lime pie in an utterly irresistible, easy-to-slice, and even easier-to-eat format. We’re talking golden graham cracker crust, a silken, zesty lime filling, and that perfect balance of sweet and tart that makes your taste buds sing. Whether you’re a seasoned baker or just dipping your toes into the world of desserts, this recipe for Key Lime Pie Bars is so straightforward, you’ll wonder why you haven’t made them sooner. Let’s get baking and bring some serious sunshine into your kitchen!
Gather Your Zesty Ingredients!
Ready to create some magic? Here’s everything you’ll need to whip up a batch of these incredible Key Lime Pie Bars. Fresh key lime juice is key (pun intended!), so make sure you have plenty on hand for that authentic, vibrant flavor!
- 🍪 1½ cups graham cracker crumbs
- 🧈 6 tablespoons salted butter, melted
- 🍚 ⅓ cup granulated sugar
- 🥛 1 (14-ounce) can sweetened condensed milk
- 🥚 5 large egg yolks
- 🍋 ½ cup fresh key lime juice
- 🟢 2 tablespoons key lime zest
- 🧁 Powdered sugar, for dusting (optional)
- 🟡 2 tablespoons key lime and/or lemon zest, for topping (optional)
Your Step-by-Step Guide to Perfection
Creating these delightful Key Lime Pie Bars is a breeze! Follow these simple steps, and you’ll be enjoying a slice of citrusy heaven in no time.
- Get Your Oven & Pan Ready: First things first, preheat your oven to a cozy 375°F (190°C). Grab an 8-inch or 9-inch square baking pan and give it a light spray with cooking spray. Line it with parchment paper, making sure to leave some overhang on the sides – this is your secret weapon for lifting out the bars later!
- Crust Creation Station: In a small bowl, combine the graham cracker crumbs, melted butter, and granulated sugar. Give it a good mix until everything is perfectly combined. This golden mixture is the foundation of your amazing Key Lime Pie Bars!
- Press It In: Now, firmly press this crumb mixture into the bottom of your prepared pan. Really pack it in there! A flat-bottomed measuring cup or the back of a spoon works wonders for a tight, even crust.
- Bake the Crust: Pop the pan into your preheated oven and bake for just 7 minutes. You’re looking for a lightly golden hue. Once done, take it out and let it cool completely while you prepare the filling. Patience is a virtue, even for crusts!
- Lower the Heat, Zest Up the Filling: Reduce your oven temperature to 350°F (175°C). In a medium bowl, whisk together the sweetened condensed milk, those lovely egg yolks, the glorious fresh key lime juice, and the fragrant key lime zest. Whisk until it’s super smooth and beautifully combined.
- Fill ‘Er Up: Gently pour this vibrant lime filling evenly over your now-cooled graham cracker crust. It’s starting to look like dessert magic!
- Bake the Bars: Return the pan to the oven and bake for 25 minutes. The filling should be set and no longer jiggly in the center.
- Chill Out: Let your masterpiece cool down completely at room temperature. Once cool, transfer the pan to the refrigerator to chill for at least 2-3 hours. For the absolute best results (and easier slicing!), an overnight chill is even better. This firming-up process is crucial for perfect Key Lime Pie Bars!
- Slice & Serve Sunshine: Once thoroughly chilled, use that handy parchment paper overhang to lift the entire slab of bars out of the pan. Dust with a sprinkle of powdered sugar and a vibrant scattering of extra key lime or lemon zest if you’re feeling fancy. Slice into neat bars and prepare for a burst of refreshing, tangy deliciousness!
Presenting Your Zesty Masterpiece
You’ve baked these incredible Key Lime Pie Bars, now let’s make them shine! Presentation can elevate a great dessert to an unforgettable one. Here are a few delightful ways to present and serve your zesty creations:
- Classic & Elegant: After lifting the chilled slab from the pan, use a sharp, warm knife (wipe it clean between cuts!) to slice into perfect squares or rectangles. Arrange them neatly on a white platter for a clean, sophisticated look. A light dusting of powdered sugar and a sprinkle of fresh key lime zest offers a beautiful contrast and pop of color.
- Individual Delights: For a more curated look, cut the bars into smaller squares and place each on a small dessert plate. Add a dollop of fresh whipped cream (sweetened just slightly) alongside, perhaps with a tiny lime wedge on the side for garnish.
- Mason Jar Magic: If you’re hosting an outdoor gathering, consider crumbling some of the bars into individual mason jars, layering with a bit of whipped cream and a few fresh berries for a fun, deconstructed, and portable dessert.
- Garnish Galore: Beyond the suggested powdered sugar and zest, think about adding a few delicate mint leaves for a fresh green accent. Or, for a touch of indulgence, drizzle a thin stream of raspberry sauce over the plate before placing the bar. The red and green contrast is stunning!
- Dessert Board Star: Arrange the sliced Key Lime Pie Bars on a larger dessert board alongside fresh fruit like raspberries, blueberries, and sliced kiwi, perhaps some mini meringues or shortbread cookies, for an impressive spread.
No matter how you serve them, these Key Lime Pie Bars are guaranteed to be a hit!
Storing Your Key Lime Pie Bars: Keep the Zest Alive!
So, you’ve made a batch of these irresistible Key Lime Pie Bars, and perhaps (miraculously!) there are some leftovers. Here’s how to store them properly to maintain their fresh, tangy goodness for as long as possible:
- Refrigeration is Key: Due to the egg yolks and dairy in the filling, these bars absolutely must be stored in the refrigerator. Place the sliced or unsliced bars in an airtight container. This prevents them from absorbing any unwanted fridge odors and keeps them fresh and firm.
- How Long Do They Last?: When stored correctly in the refrigerator, your Key Lime Pie Bars will stay delicious for up to 3-4 days. The texture and flavor are usually best within the first 2-3 days.
- Can You Freeze Them?: Yes, you can! For longer storage, you can freeze Key Lime Pie Bars. Wrap individual bars tightly in plastic wrap, then place them in a freezer-safe airtight container or a heavy-duty freezer bag. They can be frozen for up to 1-2 months. Thaw them in the refrigerator for several hours or overnight before serving. The texture might be slightly softer after thawing, but the flavor will still be fantastic!
Always ensure they are fully chilled before slicing and serving, and certainly before storing, as this helps maintain their structure and flavor.
FAQs About Your Key Lime Pie Bars Adventure
Got questions about these delightful Key Lime Pie Bars? We’ve got answers!
- Can I use regular lime juice instead of key lime juice?
While fresh key lime juice provides the signature tartness and unique aroma, you can substitute it with regular lime juice in a pinch. However, the flavor profile of your Key Lime Pie Bars will be slightly different – regular limes are less aromatic and a bit more acidic. - Why do I need to use egg yolks only?
Egg yolks contribute to the rich, creamy texture and vibrant yellow color of the filling. They act as an emulsifier and thickener, creating that luscious consistency without making the filling overly eggy. - My crust crumbled when I tried to cut it. What went wrong?
A crumbly crust usually means it wasn’t pressed firmly enough into the pan or it wasn’t adequately chilled. Ensure you really compact the crumbs and allow the bars to chill thoroughly, preferably overnight, before slicing. - How do I get clean slices?
For perfectly clean slices, make sure your Key Lime Pie Bars are thoroughly chilled. Use a long, sharp knife, warming it with hot water and wiping it clean between each cut. This prevents sticking and dragging. - Can I make these bars ahead of time for a party?
Absolutely! These Key Lime Pie Bars are a fantastic make-ahead dessert. In fact, they taste even better after a full overnight chill, allowing the flavors to meld and the bars to firm up beautifully. - What if I don’t have parchment paper?
While parchment paper is highly recommended for easy lifting, you can skip it. Just be sure to spray your pan very well with cooking spray to prevent sticking, and allow extra time for chilling to ensure the bars are firm enough to remove with a spatula. - My filling is a bit too soft, even after baking. What can I do?
A soft filling might mean it needed a few more minutes in the oven, or it hasn’t fully chilled. Ensure it doesn’t jiggle too much in the center when gently nudged. If it’s still too soft after baking, chilling overnight is crucial to help it set completely. - Can I use brown sugar in the crust?
While granulated sugar provides a crisp texture, a small amount of light brown sugar can be used for a slightly chewier, more caramel-noted crust. Just ensure it’s well mixed with the butter and crumbs. - Is the key lime zest necessary?
Yes! The zest carries much of the intense lime flavor and aroma, adding depth and brightness to the filling that the juice alone cannot achieve. Don’t skip it for the best Key Lime Pie Bars! - What’s the best way to get fresh key lime juice?
Key limes are small, so you’ll need quite a few. Use a citrus juicer or a reamer. Roll them firmly on the counter before cutting and juicing to maximize the yield. Bottled key lime juice can be used, but fresh is always superior for flavor.
Key Lime Pie Bars
Equipment
- 8-inch or 9-inch square baking pan
- Parchment Paper
- Small Bowl
- Flat-bottomed measuring cup
- Medium Bowl
- Whisk
Ingredients
Crust
- 1.5 cups graham cracker crumbs
- 6 tablespoons salted butter melted
- 0.33 cup granulated sugar
Filling
- 1 can sweetened condensed milk (14-ounce)
- 5 large egg yolks
- 0.5 cup fresh key lime juice
- 2 tablespoons key lime zest
Topping (Optional)
- Powdered sugar for dusting (optional)
- 2 tablespoons key lime and/or lemon zest for topping (optional)
Instructions
- 1. Prepare the Crust: First, preheat your oven to 375°F (190°C). Lightly spray an 8-inch or 9-inch square baking pan with cooking spray, then line it with parchment paper, leaving an overhang to easily lift the bars later.
- In a small bowl, mix together the graham cracker crumbs, melted butter, and granulated sugar until well combined. This is your simple crust!
- Press this crumb mixture firmly into the bottom of your prepared pan. A flat-bottomed measuring cup works great for really packing it in.
- Bake the crust for just 7 minutes until it's lightly golden. Take it out of the oven and let it cool completely while you make the filling.
- 2. Make the Zesty Filling: Reduce your oven temperature to 350°F (175°C). In a medium bowl, whisk together the sweetened condensed milk, egg yolks, fresh key lime juice, and key lime zest until smooth and perfectly combined.
- Pour this vibrant lime filling evenly over your cooled graham cracker crust.
- Bake for 25 minutes, or until the filling is set and no longer jiggly in the center.
- Let the bars cool down completely at room temperature, then transfer them to the refrigerator to chill for at least 2-3 hours (or even better, overnight) before serving. Chilling helps them firm up beautifully!
- 3. Finish and Serve: Once thoroughly chilled, use the parchment paper overhang to lift the entire slab of bars out of the pan. Dust with powdered sugar and sprinkle with extra key lime or lemon zest if you like a little extra pop of color and flavor. Slice into neat bars and enjoy this refreshing, tangy treat!
Notes
- Calories: 187kcal
- Total Carbs: 25g (Net Carbs: 24g)
- Fats: 9g
- Protein: 3g