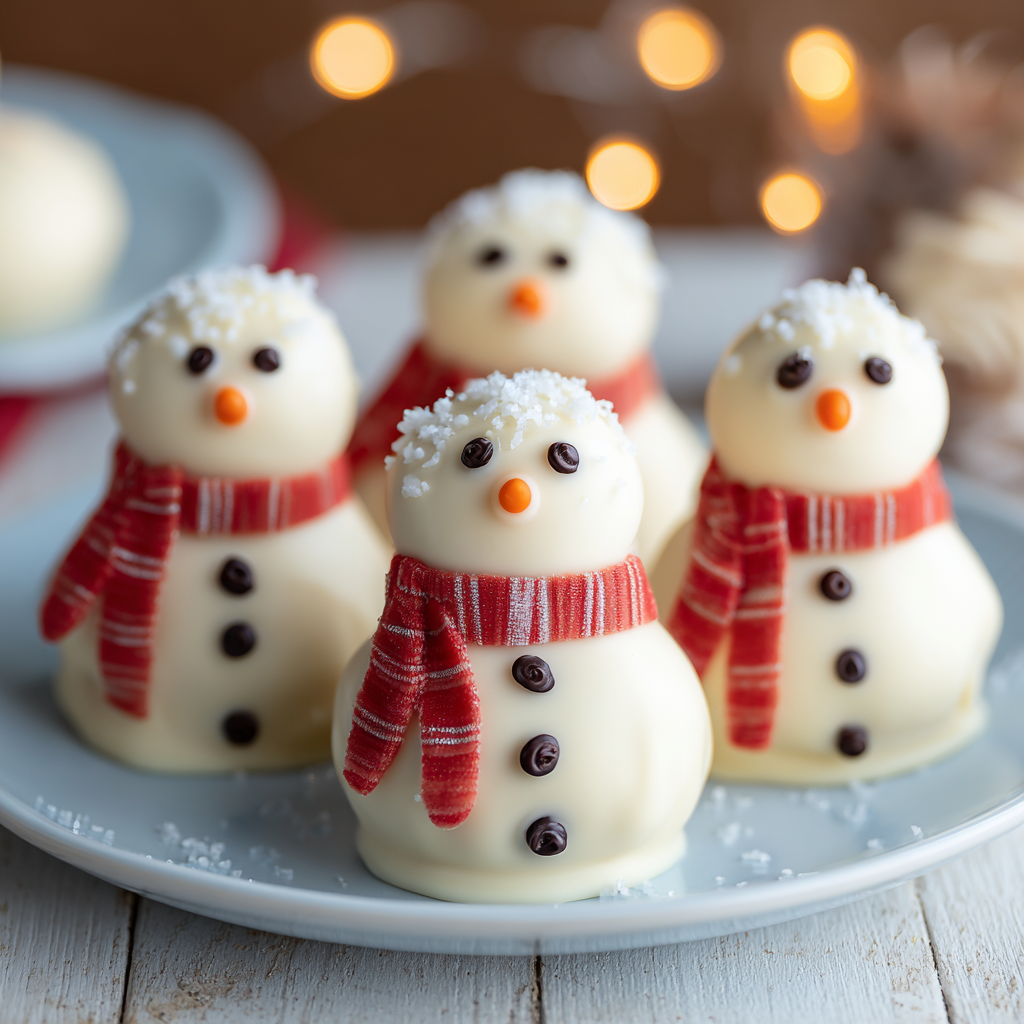
Get ready to sprinkle some serious holiday magic into your kitchen without even turning on the oven! Imagine bite-sized bundles of joy, dressed up in their winter best, ready to charm everyone at your next festive gathering. We’re talking about the most adorable, delicious, and incredibly easy-to-make Mini Snowman Truffles! These aren’t just treats; they’re tiny edible works of art that bring smiles and holiday cheer with every single bite. Perfect for cookie exchanges, holiday parties, or just a cozy night in, these little snowmen are about to become your new favorite festive tradition. Let’s dive into the whimsical world of no-bake delights!
Why You’ll Love These Mini Snowman Truffles
These charming Mini Snowman Truffles aren’t just cute; they’re a dream come true for holiday bakers (and non-bakers!). Here are four reasons why you’ll fall head over heels for this recipe:
- No-Bake Magic: Forget preheating and oven timers! These delightful snowmen come together without a speck of baking. It’s the perfect solution when your oven is busy, or you just want a quick, fuss-free treat.
- Kid-Friendly Fun: This recipe is a fantastic way to get the whole family involved in the holiday spirit. Kids will absolutely love rolling the balls and, especially, decorating their little snowman pals. It’s an edible craft project!
- Dairy-Free Delight (or Classic!): Whether you’re catering to dietary restrictions or simply prefer dairy-free options, this recipe has you covered. The dairy-free cream cheese and white chocolate work beautifully, but you can easily swap for classic ingredients if you prefer.
- Festive & Adorable: Let’s be honest, who can resist a tiny snowman? Their charming appearance makes them a showstopper on any dessert table, instantly adding a touch of whimsical holiday cheer that everyone will adore.
Ingredients for Your Mini Snowman Truffles
Gather your simple ingredients to create these delightful Mini Snowman Truffles. You’ll be surprised how few items it takes to make such a magical treat!
- 🍪 1 package (about 36 cookies) Vanilla Sandwich Cookies (like Oreos)
- 🧀 6 ounces Dairy-Free Cream Cheese, softened (or regular full-fat cream cheese for a classic version)
- 🍫 12-16 ounces Dairy-Free White Chocolate (high-quality melting wafers work best)
- 🧣 Candy Strips (such as fruit leather, sour belts, or thin ribbon candy) for scarves
- 👀 Mini Chocolate Chips or an Edible Ink Pen for eyes and buttons
- 🥕 Orange Sprinkles or a tiny dab of Orange Icing for the nose
How to Make Mini Snowman Truffles: Step-by-Step Directions
Let’s turn those simple ingredients into an adorable army of Mini Snowman Truffles! Follow these easy steps for a joyful crafting session.
- Crush the Cookies: Take your entire package of vanilla sandwich cookies (filling included!) and crush them into very fine crumbs. A food processor is super quick, or you can use a zip-top bag and a rolling pin. Aim for a sandy texture with no large chunks – the finer, the better!
- Form the Dough: Transfer the cookie crumbs to a medium bowl. Add the softened dairy-free cream cheese. Mix everything thoroughly with a sturdy spatula or your clean hands until a thick, smooth dough forms that feels like Play-Doh and holds together when pinched. This is the heart of your Mini Snowman Truffles!
- Shape Snowman Parts: Pinch off small portions of the dough. Roll them into two balls for each snowman: one slightly larger (about 1 tablespoon) for the body, and one a bit smaller (about 2 teaspoons) for the head. Roll them smoothly between your palms for that perfect sphere.
- Chill for Firmness: Place all your cookie dough balls onto a baking sheet lined with parchment paper. Pop the tray into the refrigerator for at least 30 minutes. This chilling step is essential to make them firm and easy to dip – don’t skip it!
- Melt White Chocolate: While your truffle balls are chilling, gently melt your dairy-free white chocolate. You can do this in a microwave-safe bowl by heating in 30-second bursts, stirring well after each, until it’s completely smooth and fluid. Be careful not to overheat it, or it might seize!
- Dip & Stack: Remove the chilled balls from the fridge. Using a fork or dipping tool, dip a larger “body” ball completely into the melted chocolate. Let any excess drip off, then place it on a fresh piece of parchment paper. Immediately dip a smaller “head” ball and carefully place it on top of the body while the chocolate is still wet and tacky – it acts as glue! Work quickly in small batches to ensure the chocolate stays pliable.
- Decorate Your Pals: Before the chocolate sets, it’s time for personality! Wrap a thin candy strip around the “neck” for a colorful scarf. Press mini chocolate chips onto the head for eyes and down the body for buttons. Finally, add a tiny orange sprinkle or dab of icing for that classic carrot nose.
- Allow to Set: Once all your snowmen are decorated, let them sit at room temperature (or in the fridge if your kitchen is warm) until the white chocolate coating is completely firm to the touch, usually about 30-60 minutes.
- Optional Flat Base: For extra stability, gently press the very bottom of each snowman onto a slightly warm surface for just a second to melt a tiny flat spot, creating a perfectly stable base. This helps your Mini Snowman Truffles stand tall!
Creative Ways to Present and Serve Your Mini Snowman Truffles
Once your adorable Mini Snowman Truffles are complete, the fun doesn’t stop! Their charming appearance makes them perfect for creative presentation. Here are some ideas to make them shine:
- Festive Platter: Arrange them on a beautiful holiday platter, perhaps nestled among some fresh pine sprigs or sparkly ornaments for a truly festive look.
- Snowy Display: Create a “snow” base on your serving dish using a thin layer of shredded coconut, powdered sugar, or even white sanding sugar. Your snowmen will look right at home!
- Mini Cupcake Liners: For easy handling and an elegant touch, place each snowman in a small paper cupcake liner or truffle cup.
- Dessert Charcuterie Board: Integrate them into a festive dessert board alongside other holiday cookies, candies, and fruits. They’ll be a delightful focal point!
- Edible Gifts: Package 2-3 snowmen in clear cellophane bags tied with a festive ribbon. They make incredibly thoughtful and delicious homemade holiday gifts for neighbors, teachers, or friends.
When it comes to serving, these Mini Snowman Truffles are incredibly versatile. Offer them as:
- A delightful treat at your holiday party.
- A charming addition to any cookie exchange.
- A sweet ending to a festive family dinner.
- A fun snack for school events or playdates.
- Perfect companions to a warm cup of hot cocoa, coffee, or tea on a chilly evening.
Storing Your Mini Snowman Truffles & How Long They Last
You’ve put so much love into creating your Mini Snowman Truffles, so ensuring they stay fresh and delicious is key! Due to the cream cheese in the filling, proper storage is essential.
- Refrigeration: Always store your finished Mini Snowman Truffles in an airtight container in the refrigerator. This keeps the filling firm and prevents the chocolate from melting if your kitchen is warm.
- Shelf Life: When stored correctly in the fridge, these delightful treats will last for up to 1 week. They tend to taste best within the first few days.
- Freezing for Longer: Yes, you can freeze these! Place the set truffles in a single layer on a parchment-lined baking sheet and freeze until solid (about 1-2 hours). Then, transfer them to a freezer-safe airtight container or bag. They will keep well in the freezer for up to 1-2 months.
- Thawing: When you’re ready to enjoy frozen truffles, simply transfer them from the freezer to the refrigerator for a few hours, or let them sit at room temperature for about 15-30 minutes until thawed through.
Making a big batch of these Mini Snowman Truffles ahead of time for holiday gatherings is a fantastic idea, thanks to their excellent freezer-friendly nature!
FAQs About Mini Snowman Truffles
- Can I use regular full-fat cream cheese instead of dairy-free?
Absolutely! The recipe explicitly states you can use regular full-fat cream cheese for a classic version. The texture will be very similar. - Can I use other types of cookies for the base?
Yes, you can experiment! Chocolate sandwich cookies (like classic Oreos) would make cute “dirty” snowmen or a richer truffle. Graham crackers or shortbread cookies could also work for a different flavor profile, though you might need to adjust the amount of cream cheese slightly. - Why do my truffles seem too soft or sticky?
This usually happens if your cream cheese was too warm or if the dough wasn’t chilled enough. Ensure your cream cheese is softened but not melted. If the dough feels too soft, add a tablespoon more crushed cookies, or pop it back into the fridge for 10-15 minutes to firm up before shaping. - Can I make these Mini Snowman Truffles ahead of time?
Yes, absolutely! These are a fantastic make-ahead holiday treat. You can prepare them entirely and store them in the refrigerator for up to a week, or freeze them for longer storage (see storage section). - What if I can’t find dairy-free white chocolate?
If dairy-free isn’t a requirement, regular good-quality white chocolate melting wafers or bars will work perfectly. If you want a dairy-free option but can’t find white, you could use dairy-free dark chocolate for a different, still adorable, effect (perhaps a “coal dust” snowman!). - How do I get the chocolate coating smooth and even?
Ensure your white chocolate is melted thoroughly but not overheated. Use a deep, narrow bowl for dipping to make it easier to fully submerge the balls. Let excess chocolate drip off completely by gently tapping the fork against the side of the bowl. Working quickly in small batches also helps keep the chocolate at the right consistency. - What can I use instead of mini chocolate chips for the eyes and buttons?
You can use an edible black food marker/ink pen to draw them on. Tiny dots of melted dark chocolate applied with a toothpick also work wonderfully for eyes and buttons. - My candy scarves aren’t sticking to the snowmen. Any tips?
The key is to apply the candy strips while the white chocolate coating is still wet and tacky. If the chocolate has already set, you can use a tiny dab of melted white chocolate (applied with a toothpick) on the back of the scarf to “glue” it in place. - Can I freeze these Mini Snowman Truffles?
Yes, they freeze beautifully! Once fully set, place them in an airtight container or freezer bag, separated by parchment paper, for up to 1-2 months. Thaw in the refrigerator or at room temperature before serving. - Are these suitable for kids to help make?
Definitely! This recipe is ideal for little helpers. Kids can assist with crushing cookies (in a bag with a rolling pin), rolling the dough balls, and especially the fun part of decorating the snowmen with scarves, eyes, and noses.
“`
Mini Snowman Truffles 🎄
Equipment
- Food processor (optional)
- Baking Sheet
- Parchment Paper
- Microwave-safe Bowl
- Fork or Dipping Tool
Ingredients
Truffle Base
- 1 package Vanilla Sandwich Cookies (about 36 cookies, like Oreos)
- 6 ounces Dairy-Free Cream Cheese softened (or regular full-fat cream cheese for a classic version)
Decoration
- 12-16 ounces Dairy-Free White Chocolate (high-quality melting wafers work best)
- Candy Strips for scarves (such as fruit leather, sour belts, or thin ribbon candy)
- Mini Chocolate Chips or an Edible Ink Pen for eyes and buttons
- Orange Sprinkles or a tiny dab of Orange Icing for the nose
Instructions
- Crush the Cookies: Take your entire package of vanilla sandwich cookies (filling included!) and crush them into very fine crumbs. A food processor is super quick, or you can use a zip-top bag and a rolling pin. Aim for a sandy texture with no large chunks.
- Form the Dough: Transfer the cookie crumbs to a medium bowl. Add the softened dairy-free cream cheese. Mix everything thoroughly with a sturdy spatula or your clean hands until a thick, smooth dough forms that feels like Play-Doh and holds together when pinched.
- Shape Snowman Parts: Pinch off small portions of the dough. Roll them into two balls for each snowman: one slightly larger (about 1 tablespoon) for the body, and one a bit smaller (about 2 teaspoons) for the head. Roll them smoothly between your palms.
- Chill for Firmness: Place all your cookie dough balls onto a baking sheet lined with parchment paper. Pop the tray into the refrigerator for at least 30 minutes. This chilling step is essential to make them firm and easy to dip!
- Melt White Chocolate: While your truffle balls are chilling, gently melt your dairy-free white chocolate. You can do this in a microwave-safe bowl by heating in 30-second bursts, stirring well after each, until it's completely smooth and fluid. Be careful not to overheat it!
- Dip & Stack: Remove the chilled balls from the fridge. Using a fork or dipping tool, dip a larger "body" ball completely into the melted chocolate. Let any excess drip off, then place it on a fresh piece of parchment paper. Immediately dip a smaller "head" ball and carefully place it on top of the body while the chocolate is still wet and tacky – it acts as glue! Work quickly in small batches.
- Decorate Your Pals: Before the chocolate sets, it's time for personality! Wrap a thin candy strip around the "neck" for a colorful scarf. Press mini chocolate chips onto the head for eyes and down the body for buttons. Finally, add a tiny orange sprinkle or dab of icing for that classic carrot nose.
- Allow to Set: Once all your snowmen are decorated, let them sit at room temperature (or in the fridge if your kitchen is warm) until the white chocolate coating is completely firm to the touch, usually about 30-60 minutes.
- Optional Flat Base: For extra stability, gently press the very bottom of each snowman onto a slightly warm surface for just a second to melt a tiny flat spot, creating a perfectly stable base.
Notes
Calories: 200
Total Carbs: 26g (Net Carbs: ~24g)
Fats: 10g
Protein: 2g Feel free to use regular full-fat cream cheese for a classic version of these truffles. For dairy-free white chocolate, high-quality melting wafers work best for a smooth coating.