Why You’ll Love This Recipe
Get ready to fall head over heels for these Sweetheart Red Velvet Thumbprints! Here are four delightful reasons why this recipe will become your new favorite:
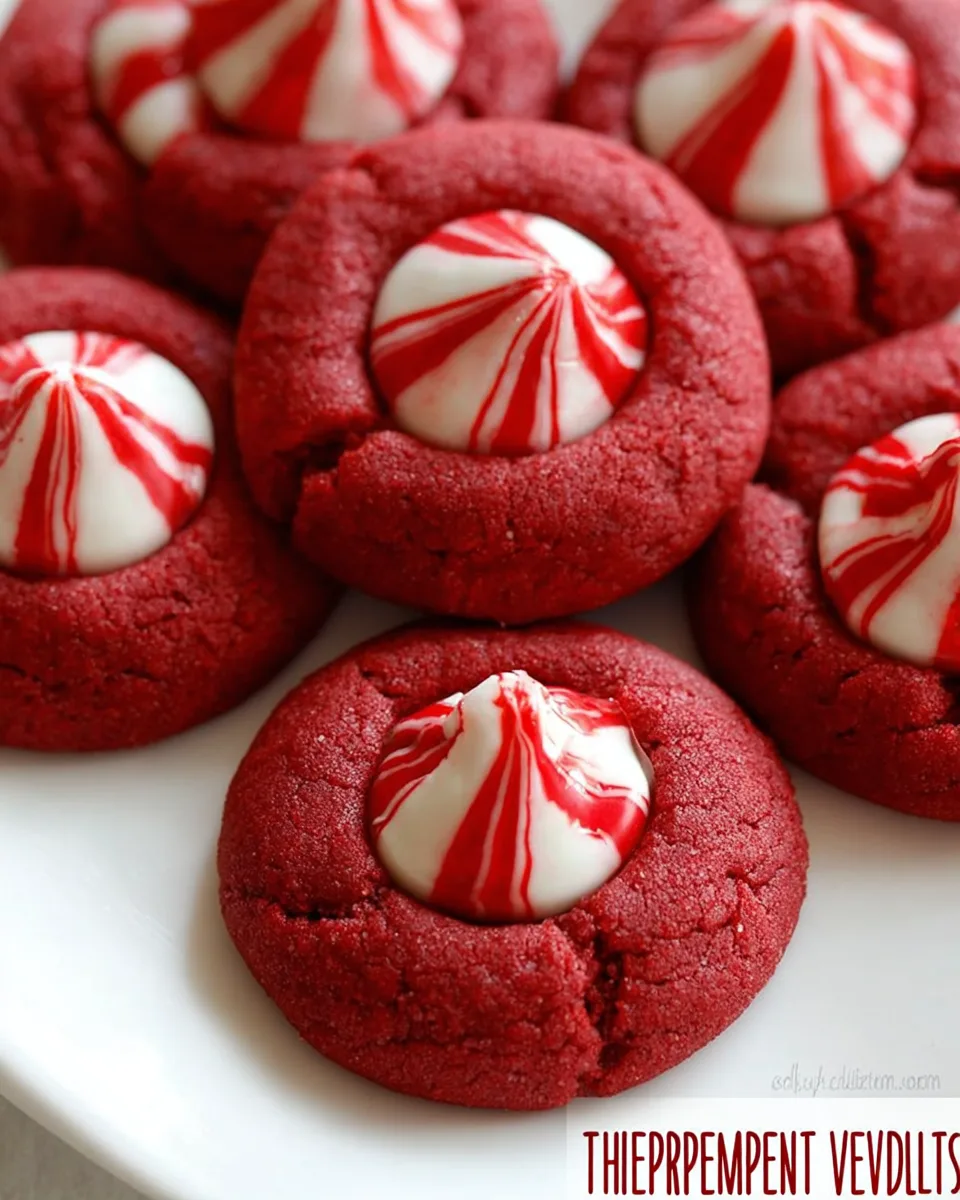
- Irresistibly Festive & Romantic: With their vibrant red hue and soft, chewy texture, these cookies scream Valentine’s Day! They’re the perfect way to show someone you care, adding a touch of romance to any occasion.
- Effortlessly Delicious: Don’t let their elegant appearance fool you – these cookies are incredibly simple to make, even for novice bakers. The classic red velvet flavor is perfectly balanced with a hint of cocoa, creating a treat everyone will adore.
- A Peppermint Kiss Surprise: What’s better than a thumbprint cookie? One with a melty peppermint Kiss at its heart! This unexpected twist adds a refreshing, cool burst of flavor that elevates the traditional red velvet to a whole new level of yum.
- Perfect for Sharing (or Not!): Whether you’re making a batch for your sweetheart, a Galentine’s party, or just a cozy night in, these Sweetheart Red Velvet Thumbprints are ideal. They’re portioned perfectly and always disappear fast!
Unwrap Love with Every Bite: Sweetheart Red Velvet Thumbprints!
Picture this: a cozy evening, a warm mug of cocoa, and a plate of cookies so charming, so deliciously red, they whisper “I love you” with every bite. We’re talking about the utterly enchanting Sweetheart Red Velvet Thumbprints! Forget complicated desserts; this recipe is your secret weapon for spreading joy and sweetness without breaking a sweat. Imagine vibrant red cookies, soft as a cloud, each cradling a luscious, melty peppermint Kiss. It’s a match made in dessert heaven, a delightful dance between rich red velvet and a cool, refreshing zing. Whether you’re baking for your one true love, your best pals, or simply treating yourself (you deserve it!), these thumbprints are designed to steal hearts. Get ready to roll up your sleeves, unleash your inner cupid, and create a batch of edible affection that’s as fun to make as it is to devour!
Gather Your Ingredients for Sweetheart Red Velvet Thumbprints
To create these delightful Sweetheart Red Velvet Thumbprints, you’ll need just a few simple ingredients, most of which you probably already have in your pantry. Let’s get baking!
- 🧈 1 cup unsalted butter, softened
- 🍚 1 cup granulated sugar
- 🥚 1 large egg
- 🔴 1 Tablespoon red food coloring
- 🌿 1 teaspoon vanilla extract
- 🍫 3 Tablespoons unsweetened cocoa powder
- ✨ 1 teaspoon baking powder
- 🌾 2½ cups all-purpose flour
- 🍬 About 24 peppermint Kisses candies, unwrapped
Bake Love: Step-by-Step Directions for Sweetheart Red Velvet Thumbprints
Creating these charming Sweetheart Red Velvet Thumbprints is a breeze! Follow these simple steps for a perfect batch every time.
- Preheat & Prepare: Begin by preheating your oven to 350°F (175°C). Prepare two baking sheets by lining them with silicone mats or lightly misting them with baking spray, then set them aside.
- Cream the Butter & Sugar: In a spacious mixing bowl, beat together the softened butter and sugar until the mixture is light and fluffy, which usually takes about 2 minutes. This creates the creamy base for your cookies.
- Add Wet Ingredients: Next, incorporate the egg, red food coloring, and vanilla extract into the butter mixture, blending well until everything is combined and boasts that beautiful red hue.
- Combine Dry Ingredients: Finally, gently mix in the cocoa powder, baking powder, and flour until a soft, uniform dough comes together. Be careful not to overmix! Overmixing can lead to tough cookies.
- Scoop & Shape: Scoop rounded Tablespoon-sized portions of the dough, roll them into neat balls, and arrange them on your prepared baking sheets, leaving about 1 inch of space between each cookie.
- Bake to Perfection: Bake for approximately 9 to 11 minutes. For even cooking, rotate the baking sheets halfway through the baking time. The cookies should be set around the edges, but still soft in the center.
- Add the Kiss: Allow the cookies to cool on the baking sheets for about 5-7 minutes. While they are still warm, gently press a peppermint Kiss candy into the center of each cookie. The warmth of the cookie will slightly melt the Kiss, helping it adhere.
- Serve & Enjoy: You can serve these delightful cookies immediately while they’re warm and gooey, or let them cool completely for about 2 hours for a firmer texture before storing or serving. Enjoy your homemade labor of love!
Presenting & Serving Your Sweetheart Red Velvet Thumbprints
These Sweetheart Red Velvet Thumbprints are already stunning, but a little extra flair can make them even more irresistible! Here are some creative ways to present and serve your delectable creations:
- Classic Cookie Platter: Arrange them beautifully on a platter with other Valentine’s Day treats like chocolate-dipped strawberries or mini brownies for an impressive dessert spread.
- Gifts from the Heart: Package a few cookies in a charming cellophane bag tied with a ribbon, or a small decorative box. They make thoughtful, homemade gifts for friends, teachers, or your special someone.
- Drizzle & Dust: For an extra touch of elegance, drizzle cooled cookies with melted white chocolate or dark chocolate. A light dusting of powdered sugar just before serving also adds a lovely finish.
- Warm & Gooey Indulgence: Serve them slightly warm, right after pressing in the Kisses, for a truly gooey and comforting treat. The melty peppermint center is heavenly!
- Coffee & Tea Companion: These cookies are perfect alongside a cup of hot coffee, tea, or even a glass of milk. The peppermint provides a lovely contrast to warm beverages.
- Ice Cream Extravaganza: For a decadent dessert, serve a warm Sweetheart Red Velvet Thumbprint alongside a scoop of vanilla bean or chocolate ice cream. The combination is simply divine!
Storing Your Sweetheart Red Velvet Thumbprints for Lasting Freshness
To keep your delicious Sweetheart Red Velvet Thumbprints fresh and enjoyable for longer, proper storage is key. Here’s how to do it:
- Room Temperature: Once completely cooled, store your baked cookies in an airtight container at room temperature for up to 3-5 days. Be sure they are fully cool before sealing to prevent condensation, which can make them soggy.
- Refrigeration: While not strictly necessary for freshness, if your home is particularly warm, you can store them in an airtight container in the refrigerator for up to a week. Let them come to room temperature for optimal texture, or microwave briefly for a warm, gooey center.
- Freezing Baked Cookies: For longer storage, flash freeze the completely cooled cookies on a baking sheet until solid (about 1-2 hours). Then, transfer them to a freezer-safe airtight container or heavy-duty freezer bag, separating layers with parchment paper. They can be frozen for up to 2-3 months. Thaw at room temperature or warm gently in the microwave.
- Freezing Dough: You can also prepare the dough balls (before baking and adding Kisses) and freeze them. Arrange the dough balls on a baking sheet and freeze until solid. Transfer to a freezer-safe bag. When ready to bake, place frozen dough balls on a prepared baking sheet and bake for an additional 2-4 minutes (11-15 minutes total). Add Kisses as directed.
FAQs About Sweetheart Red Velvet Thumbprints
Got questions about these delightful Sweetheart Red Velvet Thumbprints? We’ve got answers!
- Can I use different types of Kisses candies?
Absolutely! While peppermint Kisses offer a unique twist, feel free to use classic milk chocolate Kisses, cherry Kisses, or any other flavor you love. Adjusting the candy will change the flavor profile but still be delicious. - Do I have to use red food coloring?
The red food coloring gives these cookies their iconic red velvet look. You can omit it if you prefer, and the cookies will still taste wonderful, just with a less vibrant, more chocolatey brown appearance. - My dough is too sticky/crumbly, what should I do?
If your dough is too sticky, add a tiny bit more flour (1 tablespoon at a time) until it’s workable. If it’s too crumbly, add a teaspoon of milk or water to bring it together. Humidity and flour brands can affect dough consistency. - Can I make the dough ahead of time?
Yes! You can prepare the dough and chill it in the refrigerator for up to 2-3 days. Wrap it tightly in plastic wrap. When ready to bake, let it sit at room temperature for 15-20 minutes to soften slightly before rolling. - How do I prevent the Kisses from melting completely?
The key is to press the Kisses into the cookies while they are still warm, but not fresh out of the oven hot. Letting them cool for 5-7 minutes on the baking sheet allows the cookies to firm up enough to hold the Kiss without it melting into a puddle. - Can I use salted butter instead of unsalted?
Yes, you can. If using salted butter, you might want to omit any additional salt if the recipe called for it (though this recipe does not). The flavor will be slightly different, but still good. - What if I don’t have silicone baking mats?
Parchment paper is an excellent alternative. You can also lightly grease your baking sheets with butter or baking spray. - How many cookies does this recipe yield?
This recipe is designed to make approximately 24 cookies, perfect for sharing or enjoying over a few days! - Are these good for gifting?
These Sweetheart Red Velvet Thumbprints are absolutely perfect for gifting! Their festive color and delicious flavor make them a thoughtful and beautiful homemade present for any occasion, especially Valentine’s Day. - Can I rewarm the cookies?
Yes! To enjoy that warm, gooey center again, gently microwave a cookie for 10-15 seconds, or warm in a low oven (around 200°F/95°C) for 5-7 minutes.
Sweetheart Red Velvet Thumbprints 💖
Equipment
- Mixing Bowl
- Baking Sheets
- Silicone Mats
- Baking Spray
Ingredients
- 1 cup unsalted butter softened
- 1 cup granulated sugar
- 1 large egg
- 1 Tablespoon red food coloring
- 1 teaspoon vanilla extract
- 3 Tablespoons unsweetened cocoa powder
- 1 teaspoon baking powder
- 2.5 cups all-purpose flour
- 24 peppermint Kisses candies unwrapped
Instructions
- Begin by preheating your oven to 350°F (175°C). Prepare two baking sheets by lining them with silicone mats or lightly misting them with baking spray, then set them aside.
- In a spacious mixing bowl, beat together the softened butter and sugar until the mixture is light and fluffy, which usually takes about 2 minutes.
- Next, incorporate the egg, red food coloring, and vanilla extract into the butter mixture, blending well until everything is combined.
- Finally, gently mix in the cocoa powder, baking powder, and flour until a soft, uniform dough comes together. Be careful not to overmix!
- Scoop rounded Tablespoon-sized portions of the dough, roll them into neat balls, and arrange them on your prepared baking sheets, leaving about 1 inch of space between each cookie.
- Bake for approximately 9 to 11 minutes. For even cooking, rotate the baking sheets halfway through the baking time. The cookies should be set around the edges.
- Allow the cookies to cool on the baking sheets for about 5-7 minutes. While they are still warm, gently press a peppermint Kiss candy into the center of each cookie.
- You can serve these delightful cookies immediately while they're warm and gooey, or let them cool completely for about 2 hours for a firmer texture before storing or serving. Enjoy your homemade labor of love!
Notes
Calories: ~172
Total Carbs: ~21g
Net Carbs: ~20g
Fats: ~10g
Protein: ~2g