Picture this: the scent of warm chocolate and vanilla wafting through your home, festive tunes playing softly, and a plate of vibrant, snow-dusted cookies beckoning. We’re talking about the ultimate holiday showstopper, the star of every cookie exchange, the one and only Red Velvet Crinkle Cookies! These beauties are more than just a treat; they’re a sprinkle of joy, a dash of magic, and a whole lot of deliciousness wrapped up in one perfectly crinkled package. Get ready to transform your kitchen into a festive bakery and bake up some serious smiles with a recipe that’s as delightful to make as it is to devour. Let’s dive into the world of rich cocoa, velvety texture, and that iconic red hue that makes every bite feel like a celebration!
Why You’ll Love This Recipe
These Red Velvet Crinkle Cookies! aren’t just pretty faces; they’re packed with reasons to fall head over heels.
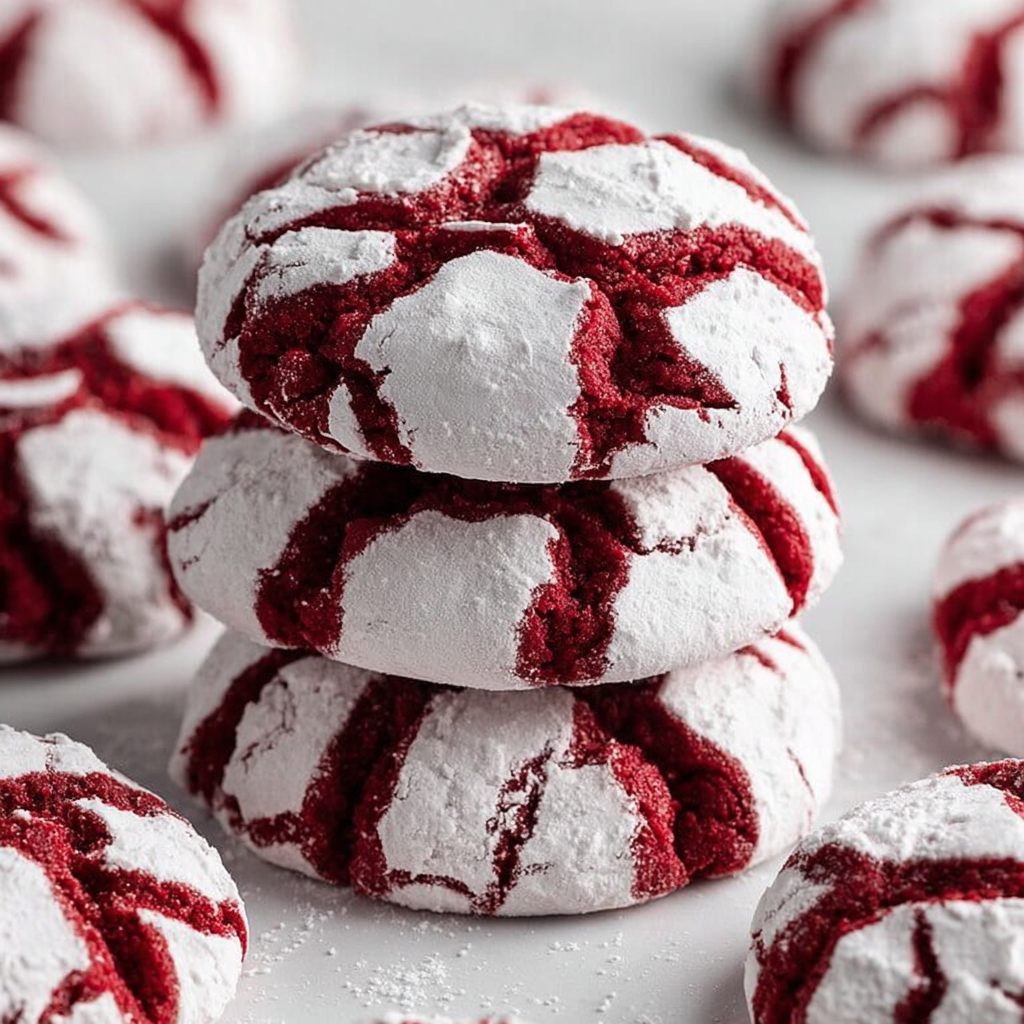
- Festive Eye Candy: Their striking red color peeking through a snowy powdered sugar coating makes them an absolute showstopper on any holiday platter. They just scream “festive fun!”
- Melt-in-Your-Mouth Goodness: Imagine a soft, chewy cookie with a delicate chocolate flavor, a hint of tang, and that signature melt-away texture. Pure bliss!
- Effortlessly Elegant: Despite their sophisticated appearance, these cookies are surprisingly simple to whip up, even for novice bakers. The “crinkle” magic happens all on its own!
- Crowd-Pleasing Perfection: Whether you’re baking for a holiday party, a cozy family gathering, or just a treat for yourself, these cookies are guaranteed to disappear fast. They’re universally loved!
Ingredients with Measurements
Gather your baking squad! Here’s everything you’ll need to create your magnificent Red Velvet Crinkle Cookies!:
- 🍪 1½ cups all-purpose flour
- 🍫 ½ cup unsweetened cocoa powder
- 🥄 1 teaspoon baking powder
- 🧂 ¼ teaspoon salt
- 🧈 ½ cup unsalted butter, softened
- 🍚 1 cup granulated sugar
- 🥚 2 large eggs
- 🍦 1 teaspoon vanilla extract
- 🔴 1 tablespoon red food coloring (gel works best for vibrant color!)
- ❄️ ½ cup powdered sugar, for rolling
Detailed Step-by-Step Directions on How to Make the Recipe
Ready to make some magic? Follow these steps for perfect Red Velvet Crinkle Cookies!:
- Get Ready to Roll! First things first, preheat your oven to a cozy 350°F (175°C). Then, line two baking sheets with parchment paper – your future self will thank you for the easy cleanup!
- Dry Team Assemble: Grab a medium bowl and whisk together your flour, cocoa powder, baking powder, and salt. Give it a good whisk to make sure everything is perfectly blended and ready for action.
- Creamy Dream Team: In a larger bowl, unleash your mixer! Beat the softened butter and granulated sugar for a glorious 2-3 minutes until they’re wonderfully light and fluffy. This is your secret weapon for super soft, chewy cookies.
- Wet Wonders Unite: Time to add the stars of the show! Beat in the eggs, one at a time, until each is fully combined. Then, stir in the vanilla extract and that dazzling red food coloring. Mix until your batter transforms into a stunning, vibrant red masterpiece!
- Gentle Combination: Now, it’s time for the big merge! Gently add your dry flour mixture to the wet ingredients. Mix just until you can’t spot any dry streaks of flour. Remember, overmixing is a no-go for tender cookies, so stop as soon as it’s combined. Your dough will be delightfully soft.
- Chill Out Time: Cover that beautiful bowl with plastic wrap and pop it into the fridge for at least 30 minutes. This chilling period is crucial – it helps your dough firm up, making it a breeze to handle and ensuring your cookies hold their shape, preventing any excessive spreading.
- Shape & Sugar Coat: Once your dough is perfectly chilled, scoop out tablespoon-sized portions. Roll each portion into a cute 1-inch ball. Now for the fun part: generously roll each ball in powdered sugar until it’s completely, gloriously coated. This thick coat is what creates that iconic crinkle effect!
- Bake to Perfection: Place your powdered sugar-coated dough balls on your prepared baking sheets, giving them about 2 inches of space to spread their wings (or crinkles!). Bake for 10-12 minutes, or until the edges are just set, but the centers are still wonderfully soft and slightly gooey.
- Cool Down & Enjoy: Let your dazzling cookies rest on the baking sheets for 3-5 minutes before carefully transferring them to a wire rack to cool completely. Then, it’s time to enjoy these delightful, naturally vibrant treats!
Detailed Different Ways You Can Present the Recipe and How to Serve It
These Red Velvet Crinkle Cookies! are already showstoppers, but here are some ideas to elevate their presentation and serving:
- Classic Holiday Platter: Arrange them artfully on a festive platter alongside other holiday favorites like gingerbread men and shortbread. Their vibrant red and white contrast will instantly catch the eye.
- Stacked in a Glass Jar: For a charming, rustic look, stack your cooled cookies in a clear glass jar with a ribbon tied around the neck. Perfect for gifting or displaying on your countertop.
- Mini Tiered Stand: Use a small tiered dessert stand to showcase these beauties, especially if you’re serving at a party. The height adds an elegant touch.
- Drizzled with White Chocolate: For an extra touch of decadence, melt some white chocolate and drizzle it over the cooled cookies. The white chocolate adds another layer of flavor and visual appeal.
- With Milk or Hot Cocoa: Serve a plate of these cookies alongside a tall glass of cold milk or a steaming mug of homemade hot cocoa for the ultimate cozy treat.
- Gifting Bags: Place a few cookies in small clear cellophane bags, tie with a festive ribbon, and add a custom tag. They make wonderful edible gifts for neighbors, teachers, or friends!
How You Can Store It and How Long Does It Last
Want to savor your Red Velvet Crinkle Cookies! for as long as possible? Here’s the scoop on storage:
- Room Temperature: Once completely cooled, store your cookies in an airtight container at room temperature. They will stay wonderfully fresh and soft for up to 3-5 days.
- Freezing Baked Cookies: For longer storage, you can freeze the baked cookies. Place them in a single layer on a baking sheet to flash freeze for about an hour, then transfer them to a freezer-safe bag or airtight container. They’ll keep well for up to 2-3 months. Thaw at room temperature when ready to enjoy.
- Freezing Dough Balls: You can also prepare the dough, roll it into balls, coat them in powdered sugar, and then freeze them on a baking sheet. Once frozen solid, transfer to a freezer-safe bag. When ready to bake, place frozen dough balls directly on a prepared baking sheet and add an extra 2-4 minutes to the baking time. This is perfect for fresh-baked cookies anytime!
FAQs
- What makes Red Velvet Crinkle Cookies crinkle? The magic happens from rolling the dough generously in powdered sugar before baking. As the cookie expands in the oven, the powdered sugar coating cracks, creating those signature crinkles!
- Can I skip the red food coloring? You can, but they won’t be “red velvet” visually. They’ll still taste delicious with a mild chocolate flavor, but will look like chocolate crinkle cookies.
- Why is gel food coloring recommended? Gel food coloring is concentrated, delivering a vibrant red hue without adding excess liquid to the dough, which can alter the texture.
- Is chilling the dough essential? Yes! Chilling helps firm up the soft dough, making it easier to handle and preventing the cookies from spreading too much in the oven, ensuring better shape and crinkles.
- My cookies didn’t crinkle much, what went wrong? This usually happens if there wasn’t enough powdered sugar coating, or if the dough wasn’t chilled enough, causing them to spread too quickly.
- Can I make the dough ahead of time? Absolutely! The dough can be prepared and kept in the fridge, covered, for up to 2-3 days. Just let it warm slightly at room temperature for 10-15 minutes before rolling and baking.
- Are these cookies chewy or crispy? These Red Velvet Crinkle Cookies! are designed to be wonderfully soft and chewy in the center with slightly crisp edges.
- What’s the best way to get even cookie sizes? Using a cookie scoop (tablespoon size works perfectly) ensures consistent portions, leading to uniform baking and appearance.
- Can I use brown sugar instead of granulated sugar? While possible, granulated sugar helps achieve a lighter, fluffier texture and a more pronounced crinkle effect. Brown sugar would yield a chewier, denser cookie.
- What occasions are these cookies best for? These festive Red Velvet Crinkle Cookies! are perfect for Christmas, Valentine’s Day, holiday parties, cookie exchanges, or any time you want a beautiful and delicious treat!
Red Velvet Crinkle Cookies
Equipment
- Baking Sheets
- Parchment Paper
- Mixing Bowls
- Whisk
- Electric Mixer
Ingredients
- 1.5 cups all-purpose flour
- 0.5 cup unsweetened cocoa powder
- 1 tsp baking powder
- 0.25 tsp salt
- 0.5 cup unsalted butter softened
- 1 cup granulated sugar
- 2 large eggs
- 1 tsp vanilla extract
- 1 tbsp red food coloring (gel works best for vibrant color!)
- 0.5 cup powdered sugar for rolling
Instructions
- 1. Get Ready: First, set your oven to 350°F (175°C) and line two baking sheets with parchment paper. This makes cleanup a breeze!
- 2. Mix Dry Goodies: In a medium bowl, whisk together your flour, cocoa powder, baking powder, and salt. This ensures everything is evenly distributed for a perfect bake.
- 3. Cream the Sweetness: In a larger bowl, beat the softened butter and granulated sugar together for 2-3 minutes until they’re light and fluffy. This step is key for soft, chewy cookies.
- 4. Add Wet Wonders: Beat in the eggs one at a time until fully combined. Then, stir in the vanilla extract and that vibrant red food coloring until your batter is beautifully tinted.
- 5. Combine Carefully: Gently add the dry flour mixture to your wet ingredients. Mix just until no dry streaks of flour are visible. Don’t overmix to keep your cookies tender! The dough will be a bit soft.
- 6. Chill Out: Cover your bowl with plastic wrap and pop it in the fridge for at least 30 minutes. This chilling time helps the dough firm up, making it easier to handle and preventing your cookies from spreading too much.
- 7. Shape & Coat: Once chilled, scoop out tablespoon-sized portions of dough and roll them into cute 1-inch balls. Generously roll each ball in powdered sugar until it’s completely coated – this creates the signature crinkle effect!
- 8. Bake to Perfection: Place your coated dough balls on the prepared baking sheets, leaving about 2 inches between each. Bake for 10-12 minutes, or until the edges are set but the centers are still wonderfully soft.
- 9. Cool Down: Let your cookies rest on the baking sheets for 3-5 minutes before moving them to a wire rack to cool completely. Enjoy these delightful, naturally vibrant treats!
Notes
- Calories: 179
- Total Carbs: 28g
- Net Carbs: 26g
- Fats: 6g
- Protein: 4g