Life’s a whirlwind, isn’t it? Between work, family, and everything in between, finding time to whip up a truly delicious and healthy meal can feel like a Herculean task. But what if we told you that perfectly tender, juicy chicken is just minutes away, requiring minimal effort and delivering maximum flavor? Prepare to have your weeknight dinners transformed! We’re diving into the magic of Instant Pot Chicken Breast: Effortless & Delicious! This recipe isn’t just about cooking; it’s about reclaiming your time and satisfying your cravings with a dish so good, you’ll wonder how you ever lived without it.
Why You’ll Love This Recipe
There are countless reasons to fall head over heels for this Instant Pot Chicken Breast recipe, but let’s highlight the top four that make it an absolute game-changer:
- Unbelievably Effortless & Lightning Fast: Seriously, “effortless” is not an exaggeration. From combining ingredients to a ready-to-shred masterpiece, the Instant Pot does almost all the work. With a cook time of just 6-10 minutes, depending on whether your chicken is fresh or frozen, you’re looking at a speedy path to dinner perfection.
- Consistently Delicious & Tender: Say goodbye to dry, rubbery chicken breasts! The high-pressure environment of the Instant Pot locks in moisture and infuses every bite with the aromatic spices, resulting in chicken that’s so incredibly tender, it practically melts in your mouth.
- A Versatile Culinary Canvas: This isn’t just a meal; it’s a foundation! Whether you shred it for tacos, slice it for salads, or incorporate it into a vibrant stir-fry, this perfectly cooked chicken is ready to adapt to whatever culinary adventure you’re dreaming up.
- Healthy & Wholesome Goodness: Packed with lean protein and naturally low in carbs, this recipe is a dream come true for anyone focusing on a healthy lifestyle. It’s naturally gluten-free and easily fits into various dietary plans without sacrificing an ounce of flavor.
Ingredients with Measurements
Gather your simple yet mighty ingredients:
- 🐔 3 pounds boneless, skinless chicken breasts (can be fresh or frozen)
- 💧 1 cup water or chicken stock
- 🧄 3 cloves garlic, minced
- 🌶️ 1 tablespoon chili powder
- 🥄 1 teaspoon ground cumin
- 🌿 1 teaspoon dried oregano
- 🧂 1 teaspoon kosher salt
- 🖤 ½ teaspoon black pepper
Detailed Step-by-Step Directions
Get ready to make magic happen in your kitchen with this incredibly easy process for Instant Pot Chicken Breast: Effortless & Delicious!
- The Big Toss: It truly doesn’t get simpler than this. Take all your ingredients – the chicken breasts (no need to thaw if they’re frozen!), the water or chicken stock, minced garlic, chili powder, cumin, oregano, salt, and pepper – and lovingly combine them directly into the inner pot of your electric pressure cooker. Give it a gentle stir to ensure the spices are distributed.
- Seal the Deal & Press Play: Place the lid securely on your Instant Pot and turn the valve to the “sealing” position. Now for the star of the show: set your pressure cooker to cook on HIGH PRESSURE. If you’re using frozen chicken, set the timer for 10 minutes. For fresh chicken, 6-7 minutes is perfect (you might add an extra minute for exceptionally thick breasts or reduce by a minute for very thin ones).
- The Great Release: Once the cooking cycle is complete, resist the urge to immediately open it! Allow the pressure to release naturally for a good 10 minutes. This crucial step helps keep the chicken incredibly tender and juicy. After the natural release, carefully quick-release any remaining pressure by turning the valve to “venting” until the float valve drops down.
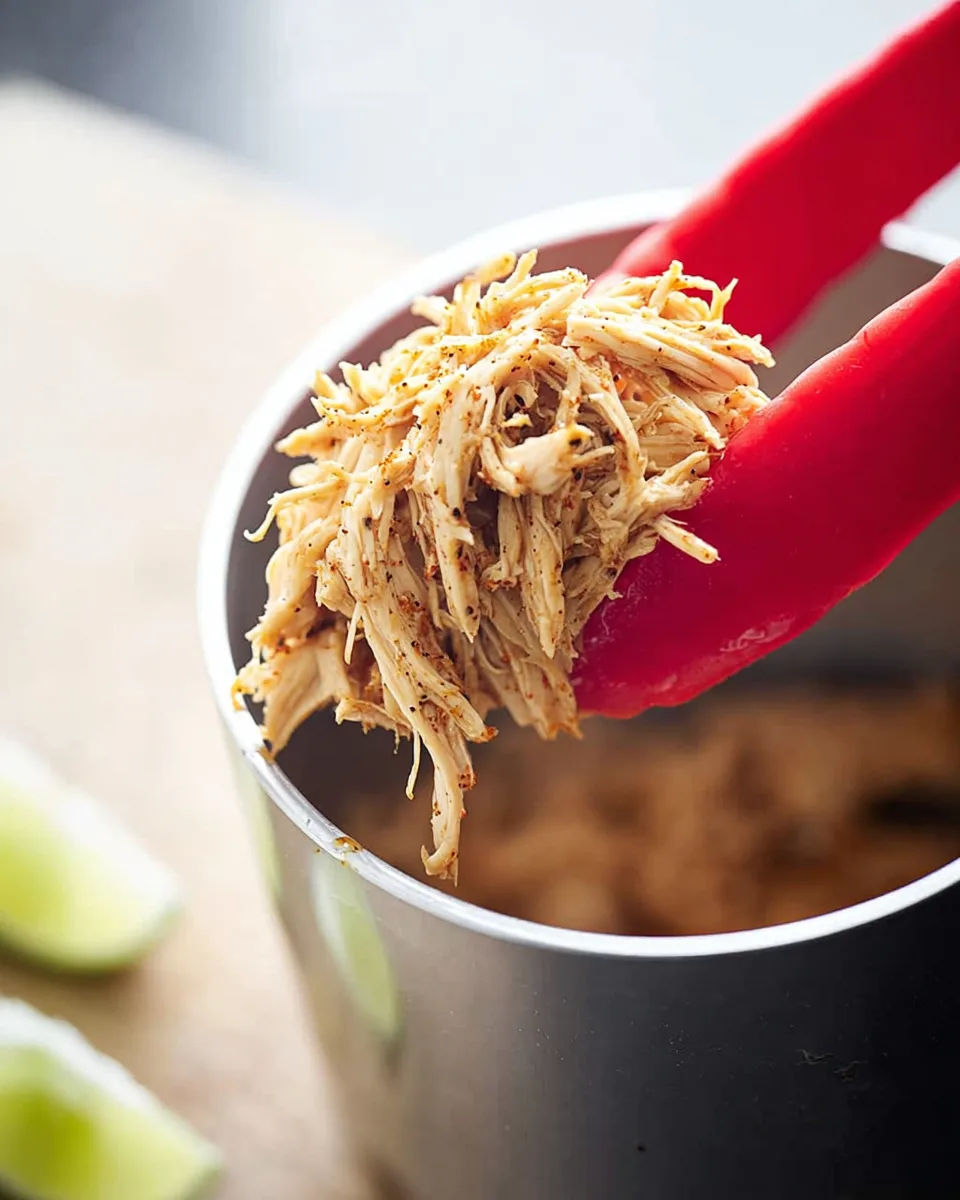
- Shred & Savor: With the pressure fully released, gently remove the lid. You’ll be greeted by perfectly cooked, aromatic chicken. Carefully transfer the wonderfully tender chicken breasts to a cutting board or a shallow dish. Using two forks, you’ll find they practically fall apart, making shredding a breeze. Alternatively, you can slice them into strips or cubes. Don’t forget to add a little of that flavorful cooking liquid back in – it’s the secret to keeping your chicken incredibly moist and absolutely bursting with flavor!
Different Ways to Present and Serve
The beauty of this Instant Pot Chicken Breast: Effortless & Delicious! isn’t just its ease, but its incredible versatility! Once you have your perfectly cooked and shredded (or sliced) chicken, the culinary possibilities are endless:
- Taco & Burrito Night: Pile it high into warm tortillas with your favorite toppings like salsa, guacamole, cheese, and a squeeze of lime for an instant crowd-pleaser.
- Dynamic Salads & Grain Bowls: Add a protein punch to your leafy greens, quinoa bowls, or rice bowls. The seasoned chicken pairs beautifully with almost any dressing.
- Sandwiches & Wraps: Create mouth-watering chicken sandwiches, paninis, or wraps. Mix it with a little mayo for a quick chicken salad, or layer it with cheese and veggies.
- Pasta Perfection: Stir it into your favorite pasta dishes, from a creamy alfredo to a zesty lemon-garlic pasta, for a satisfying and complete meal.
- Soup & Chili Enhancer: Drop spoonfuls into simmering soups, stews, or chili for added heartiness and flavor.
- Quick Enchiladas or Casseroles: This shredded chicken is ideal for filling enchiladas or incorporating into cheesy casseroles for a comforting dinner.
- Stir-Fries & Curries: Toss it into a quick stir-fry with your favorite vegetables and a savory sauce, or add it to a mild coconut curry for a flavorful twist.
How You Can Store It and How Long Does It Last
Making a big batch of this Instant Pot Chicken Breast: Effortless & Delicious! is a smart move for meal prep, given its excellent storage capabilities. Here’s how to keep it fresh:
- Refrigeration: Once the chicken has cooled completely, transfer it to an airtight container. It will stay fresh and delicious in the refrigerator for up to 3-4 days. For best results, store it with a little of the cooking liquid to maintain moisture and flavor.
- Freezing: For longer storage, this chicken freezes beautifully! Again, allow it to cool completely. You can freeze it in individual portions or larger batches, making sure to include some of the cooking liquid to prevent it from drying out upon reheating. Place it in freezer-safe bags or containers. Label with the date. It will maintain its quality in the freezer for up to 2-3 months.
To reheat, simply thaw overnight in the refrigerator if frozen, then warm gently in the microwave or on the stovetop with a splash more water or broth to ensure it remains juicy.
FAQs Sections
- Can I use frozen chicken breasts directly in this recipe?
Absolutely! The recipe is designed for both fresh and frozen chicken breasts. Just remember to adjust the cooking time: 10 minutes on high pressure for frozen, and 6-7 minutes for fresh. - What if my chicken breasts are very thick or very thin?
For very large or thick chicken breasts (over 1 inch thick), you might add 1-2 minutes to the cook time. For very thin breasts, you could slightly reduce the cooking time by 1 minute, but 6 minutes for fresh is generally safe. - Can I use boneless, skinless chicken thighs instead of breasts?
Yes, you can! Chicken thighs tend to be more forgiving and stay juicy. Cook boneless, skinless thighs for about 8-10 minutes on high pressure, followed by a natural release. - Can I double the recipe?
You can usually double the amount of chicken in an Instant Pot without significantly changing the cook time, as long as you don’t exceed the max fill line of your pot and the chicken is still in a single layer or loosely packed. The liquid amount typically remains the same unless you’re cooking a much larger quantity. - What’s the difference between natural release and quick release?
Natural Release (NR) means you let the pressure release on its own, gradually. This is important for meats like chicken as it helps keep them tender. Quick Release (QR) means you manually open the vent valve to release pressure quickly. QR is usually for delicate foods that you don’t want to overcook. This recipe uses a combination for optimal results. - Can I add other vegetables to the pot along with the chicken?
You can, but be mindful of cooking times. Root vegetables like carrots and potatoes might cook well with the chicken. Softer vegetables like bell peppers or zucchini might become too mushy with the chicken’s cooking time and are best added later or cooked separately. - Is this recipe spicy?
The 1 tablespoon of chili powder provides a mild to moderate warmth, along with a smoky flavor, rather than intense heat. If you prefer it spicier, you can add a pinch of cayenne pepper; for less heat, reduce the chili powder. - How can I make this even more flavorful?
Consider adding a bay leaf, a pinch of smoked paprika, onion powder, or a squeeze of lime juice after cooking. You could also marinate the chicken in the spices for 30 minutes before cooking, though it’s not strictly necessary. - What kind of Instant Pot should I use for this recipe?
This recipe works perfectly with any brand of electric pressure cooker, such as Instant Pot, Ninja Foodi, Crock-Pot Express, etc. - Can I omit the water or stock?
No, you need at least 1 cup of liquid for the Instant Pot to come to pressure safely and to prevent the dreaded “burn” message. The liquid also contributes to the moisture and flavor of the chicken.
Instant Pot Chicken Breast: Effortless & Delicious!
Equipment
- Electric Pressure Cooker
Ingredients
- 3 pounds boneless, skinless chicken breasts can be fresh or frozen
- 1 cup water or chicken stock
- 3 cloves garlic minced
- 1 tablespoon chili powder
- 1 teaspoon ground cumin
- 1 teaspoon dried oregano
- 1 teaspoon kosher salt
- 0.5 teaspoon black pepper
Instructions
- Combine all ingredients—chicken breasts, water or stock, minced garlic, chili powder, cumin, oregano, salt, and pepper—directly into your electric pressure cooker pot.
- Secure the lid firmly and turn the valve to the "sealing" position. Set the pressure cooker to cook on high pressure for 10 minutes if using frozen chicken. For fresh chicken, cook on high pressure for 6-7 minutes (adjust slightly for very large or small pieces).
- Once cooking is complete, allow the pressure to release naturally for 10 minutes. After this natural release, carefully quick-release any remaining pressure until the float valve drops.
- Gently remove the lid. Take the wonderfully tender chicken out of the pot and easily shred it using two forks, or slice it as desired. Add a little of the cooking liquid back in to keep the chicken incredibly moist and flavorful.
Notes
Prep Time : 20 minutes
Cook Time : 10 minutes
Total Time : 30 minutes
Servings : 8
Calories : 165
Total Carbs: 0g
Net Carbs: 0g
Fats: 4g
Protein: 34.5g