
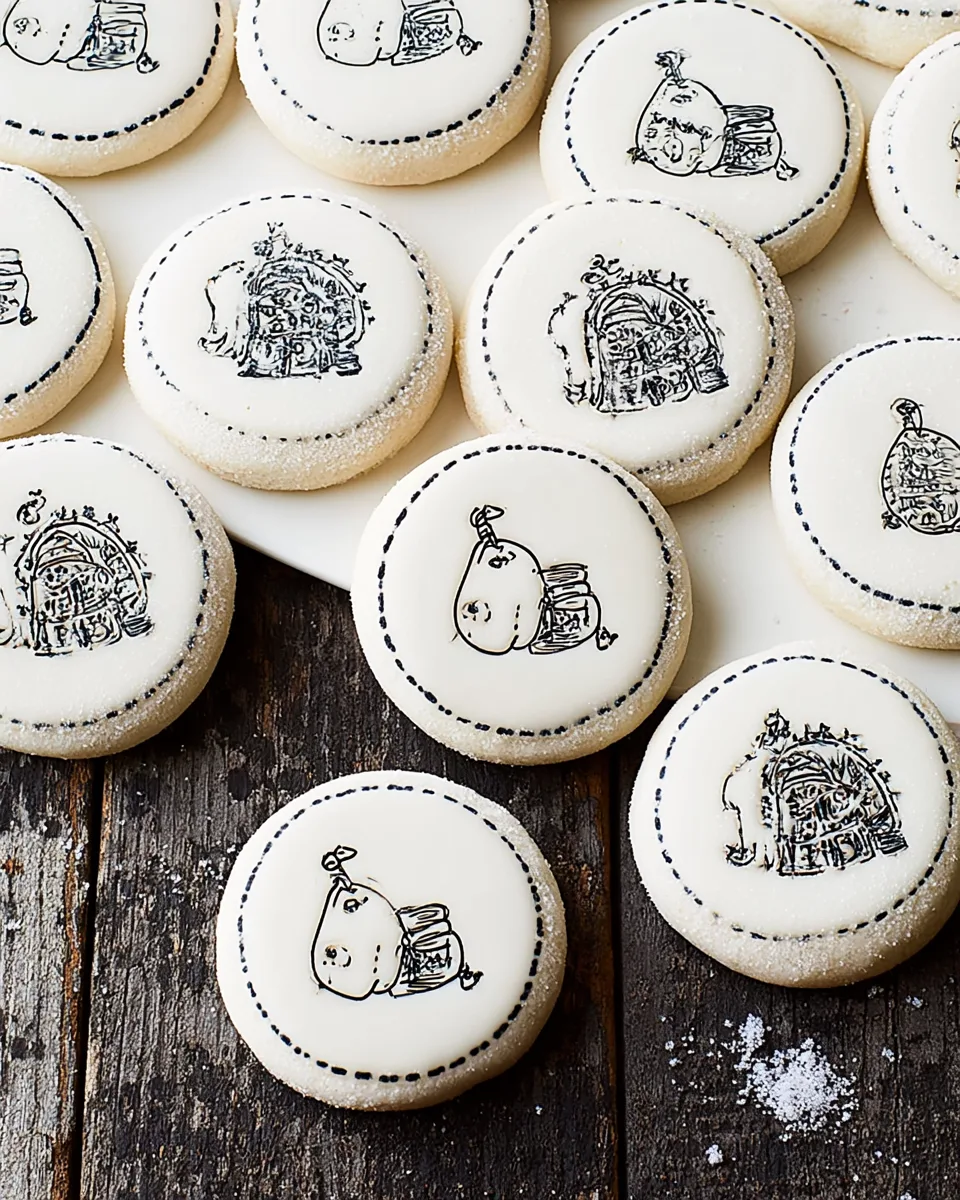
🎒📚 School bells are ringing, and so are the giggles when you open a lunchbox to find Back-to-School Stamped Cookies! These aren’t just any cookies – they’re edible little masterpieces stamped with apples, buses, and books. Made with wholesome whole wheat pastry flour and sweetened with coconut sugar, they’re a mom‑approved (and kid‑loved) treat. The best part? You get to play artist with clear stamps and royal icing. Get ready to bake, stamp, and pack the happiest lunchbox on the block. Let’s make some cookie magic! 🍪🎨
✨ Why You’ll Love This Recipe
- 🎨 Creative & fun: Use adorable school-themed stamps to personalise every cookie – no artistic talent needed! Kids can help stamp their own.
- 🥇 Healthier twist: Whole wheat pastry flour + coconut sugar = fiber‑rich, less‑refined sweetness. Only 110 calories per cookie!
- ⏰ Make‑ahead friendly: Bake and decorate a batch on Sunday; they stay fresh all week. Perfect for busy school mornings.
- 🎒 Lunchbox wow‑factor: These stamped cookies turn an ordinary snack into a conversation starter. Your child will be the lunchroom star!
🍪 Ingredients
For the cookies:
- 2 cups whole wheat pastry flour
- ½ cup unsalted butter (softened)
- ½ cup coconut sugar (or granulated sugar)
- 1 large egg
- 1 tsp vanilla extract
- ¼ tsp salt
For stamping & decorating:
- 1 cup powdered sugar
- 1 tbsp meringue powder
- 2 tbsp water (plus drops as needed)
- Food-safe gel colors (black, blue, red, etc.)
- Clear stamp with school design (apple, book, bus)
- Uninked felt stamp pad or paper towel
📝 Step‑by‑Step Instructions
- Make dough: Cream softened butter and coconut sugar until fluffy. Beat in egg and vanilla. Gradually add flour and salt; mix until a soft dough forms. Shape into a disc, wrap in plastic, and chill for 30 minutes. (Don’t skip chilling – it makes rolling easy!)
- Bake cookies: Preheat oven to 350°F (175°C). On a lightly floured surface, roll dough to ¼‑inch thick. Cut into school shapes (or simple circles). Place on a baking sheet and bake 8–10 minutes, until edges are light golden. Cool completely on a wire rack.
- Prepare royal icing: Whisk powdered sugar, meringue powder, and 2 tbsp water until smooth and thick. Add water drop by drop if too stiff – it should be spreadable but not runny. Spread a thin, even layer over each cooled cookie. Let dry completely (about 2 hours).
- Stamp design: Dab a tiny amount of food‑safe gel color onto a paper towel or uninked pad. Gently press your clear stamp into the color, then blot off excess. Carefully stamp onto the dried icing, pressing evenly. Lift straight up. Fix any missing lines with a food‑safe marker.
- Pack for lunch: Let the ink dry for 15 minutes. Stack cookies with parchment paper between layers inside a lunchbox. Grab and go!
🎒 How to Serve & Present
- Lunchbox surprise: Tuck one or two stamped cookies inside a reusable silicone bag with a tiny note – instant smile!
- Back‑to‑school party: Arrange cookies on a wooden board with apple slices and cheese cubes. Let kids “stamp” their own cookie station.
- Gift in a jar: Stack cookies in a clear mason jar, tie with a ribbon and a mini chalkboard tag. Perfect for teachers or new classmates.
- Ice cream sandwich upgrade: Use two cookies as “buns” for a scoop of vanilla ice cream. Roll the edges in sprinkles – decadent!
- String into cookie garland: Punch a small hole before baking, thread with twine, and hang as edible classroom décor.
📦 Storage & Shelf Life
🍪 How to store: Keep stamped cookies in an airtight container at room temperature, with parchment between layers. Do not refrigerate – moisture can make the icing sticky.
⏳ How long it lasts: They stay fresh for 5–7 days. The royal icing hardens and protects the cookie. If stacking, change parchment if any moisture appears.
❄️ Freezer option: Un-iced cookies freeze beautifully for up to 2 months. Thaw, then ice and stamp fresh. Iced cookies can also be frozen (wrap individually) for up to 1 month.
❓ Frequently Asked Questions
🎒📚 Now you’re ready to bake the most adorable Back-to-School Stamped Cookies ever! Happy lunchbox packing! 🍪✨
“`
Back-to-School Stamped Cookies
Equipment
- Clear stamp with school-themed design
- Uninked felt stamp pad
Ingredients
Cookie Dough
- 2 cups whole wheat pastry flour
- 0.5 cup unsalted butter softened
- 0.5 cup coconut sugar
- 1 large egg
- 1 tsp vanilla extract
- 0.25 tsp salt
Royal Icing & Decoration
- 1 cup powdered sugar
- 1 tbsp meringue powder
- 2 tbsp water
- food-safe gel colors
Instructions
- Cream butter and sugar until fluffy. Beat in egg and vanilla. Gradually add flour and salt; mix until a soft dough forms. Roll into a disc, wrap in plastic, and chill 30 minutes.
- Preheat oven to 350°F. Roll dough to ¼-inch thick on floured surface. Cut into school-themed shapes. Place on baking sheet; bake 8–10 minutes until edges are lightly golden. Cool completely.
- Whisk powdered sugar, meringue powder, and water until smooth and thick. Spread a thin, even layer over each cooled cookie. Let dry completely (about 2 hours).
- Put a small dab of gel color on a flat paper towel or uninked pad. Gently press your clear stamp into the ink, then blot off excess. Carefully stamp onto the dried icing, pressing evenly. Lift straight up.
- Once ink is dry (15 minutes), stack cookies with parchment between layers in a lunch box.