Why You’ll Love This Recipe
-
Ultimate Simplicity
No fancy ice cream maker required! All you need is a Mason jar, a few ingredients, and a good arm workout. It’s the ultimate hassle-free dessert that proves deliciousness doesn’t need complexity. Get ready for homemade goodness without the fuss!
-
Keto-Friendly & Low-Carb Dream
Craving something sweet without derailing your diet? This Mason Jar Chocolate Ice Cream uses powdered allulose, keeping net carbs incredibly low (just 3g per serving!). Indulge in rich, creamy chocolate bliss entirely guilt-free, making it perfect for your keto lifestyle.
-
Seriously Speedy Prep
From start to freezer, you’re looking at a mere 5 minutes of active prep time. That’s faster than deciding what to watch on Netflix! The longest part is waiting for it to freeze, but trust us, the anticipation is worth every second for this quick-fix treat.
-
Pure Chocolate Bliss
Rich, creamy, and wonderfully chocolatey, this recipe delivers that classic ice cream satisfaction in a perfectly portioned Mason jar. Every spoonful is a delight, offering a deep, comforting cocoa flavor that will satisfy your sweet tooth without compromise.
Unleash Your Inner Ice Cream Wizard with Mason Jar Chocolate Ice Cream!
Ever wished for a magic wand that could whip up delicious, creamy ice cream in minutes, without a clunky machine or a laundry list of complex steps? Well, consider your wish granted! Get ready to discover the most ridiculously easy, unbelievably tasty, and delightfully low-carb treat that fits right in the palm of your hand. We’re talking about pure, unadulterated chocolate joy, all conjured up within the humble confines of a Mason jar. Say goodbye to store-bought guilt and hello to your new favorite homemade delight: a luscious Mason Jar Chocolate Ice Cream that’s as fun to make as it is to eat. This isn’t just a recipe; it’s a game-changer for anyone craving a sweet escape on a low-carb journey. Let’s shake things up and create some frozen magic!
Gather Your Goodies: Ingredients for Your Mason Jar Chocolate Ice Cream
Ready to transform simple ingredients into a chocolatey dream? Here’s what you’ll need to create your very own Mason Jar Chocolate Ice Cream. The magic truly lies in these few components, coming together to form a remarkably rich and satisfying treat:
- 1 cup heavy cream: The creamy base of our delightful dessert, providing richness and the perfect texture.
- 3 tablespoons powdered allulose: Our secret weapon for sweetness without the sugar crash. Powdered is essential for that perfectly smooth, non-grainy finish!
- 1 tablespoon unsweetened cocoa powder: For that deep, satisfying chocolate flavor. Choose a good quality cocoa for the best taste.
- 1 teaspoon vanilla extract: A touch of vanilla enhances the chocolate and adds an extra layer of deliciousness.
Shake It Up! Your Step-by-Step Guide to Mason Jar Chocolate Ice Cream
Creating your own Mason Jar Chocolate Ice Cream is ridiculously easy and incredibly satisfying. Follow these simple steps, and you’ll be on your way to a frosty, chocolatey treat in no time!
- Get Your Jar Ready: Start by grabbing a clean, sturdy Mason jar. Make sure it has a tight-fitting lid – this is absolutely crucial for our fun “shake-it-up” method!
- Pour in the Cream: Carefully measure and pour the heavy cream into your Mason jar. This will be the luxurious, rich foundation of your Mason Jar Chocolate Ice Cream.
- Add the Flavor Bombs: Next, introduce the vanilla extract. After that, spoon in the powdered allulose and the unsweetened cocoa powder. Remember, using powdered allulose is super important for achieving that silky-smooth consistency without any grittiness.
- Shake, Shake, Shake! Secure the lid *tightly* on the jar. Now, get ready for your arm workout! Vigorously shake the jar for a full 5 minutes. This isn’t just for mixing; it’s building volume, incorporating air, and creating that light, airy texture we want for perfect ice cream. If your arm needs a break, or you prefer a shortcut, an immersion blender can also do the trick – just be gentle and blend until thickened, not stiff like butter.
- Freeze to Perfection: Once shaken and thickened, pop the entire Mason jar into your freezer. Let it chill and solidify for about 3 hours. Keep an eye on it – you’re looking for that ideal creamy, frozen consistency, not rock-hard.
- Enjoy Your Creation! Once it reaches your desired texture, grab a spoon and dig into your homemade Mason Jar Chocolate Ice Cream! Indulge in this guilt-free, low-carb delight.
Presenting Your Sweet Success: Ways to Serve Your Mason Jar Chocolate Ice Cream
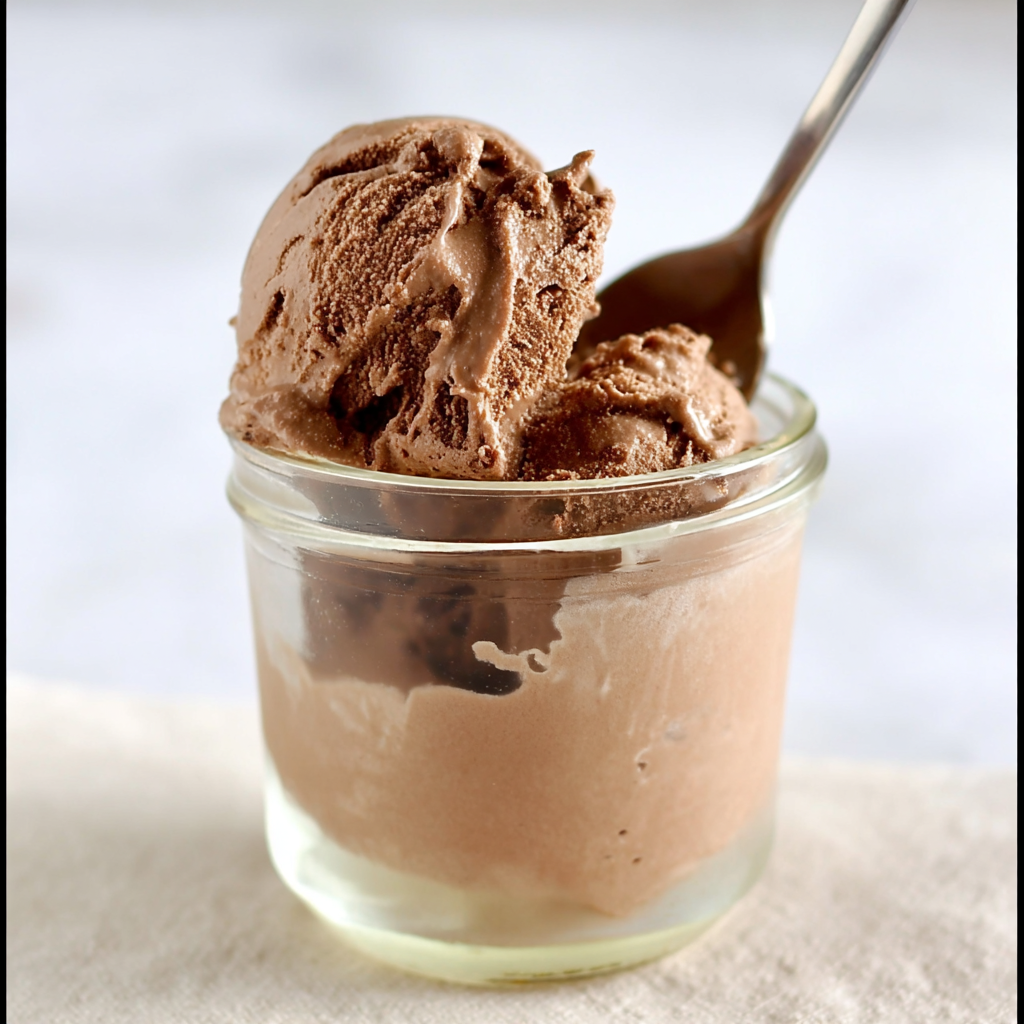
While this Mason Jar Chocolate Ice Cream is absolutely divine straight from the jar, half-frozen and ready for a spoon, there are plenty of fun ways to elevate your serving experience or turn it into a mini celebration!
- Classic Spoonful: The simplest and often best way! Grab a spoon and enjoy it directly from the Mason jar. It’s perfectly portioned for one or two and incredibly convenient for a quick, satisfying treat.
- Topping Extravaganza: Turn your single-serving treat into a mini sundae!
- Low-Carb Chocolate Chips: Sprinkle a few sugar-free chocolate chips for extra chocolatey crunch.
- Fresh Berries: A handful of raspberries or sliced strawberries adds a burst of freshness and color.
- Chopped Nuts: Almonds, pecans, or walnuts provide a delightful textural contrast and healthy fats.
- Whipped Cream: A dollop of fresh, unsweetened whipped cream on top is always a winner for an extra layer of indulgence.
- Sugar-Free Syrup: Drizzle with a sugar-free chocolate or caramel syrup for an added layer of flavor.
- Dessert Bowl Delight: For a more traditional presentation, scoop your Mason Jar Chocolate Ice Cream into a small dessert bowl or ramekin. This is great if you’re adding multiple toppings and want to savor each bite with a bit more elegance.
- Coffee Companion: Add a small scoop to your morning (or afternoon!) coffee for a decadent low-carb mocha treat. The ice cream will melt slowly, infusing your drink with rich chocolate flavor and a hint of sweetness.
Storage Savvy: Keeping Your Mason Jar Chocolate Ice Cream Fresh
One of the best things about this Mason Jar Chocolate Ice Cream is its convenience, both in making and storing! Once your ice cream has reached its ideal frozen consistency, you can simply keep it right in the sealed Mason jar in your freezer. It’s important to ensure the lid is tight to prevent freezer burn and keep unwanted odors out, preserving its delicious chocolatey flavor.
For the best taste and texture, we recommend enjoying your homemade Mason Jar Chocolate Ice Cream within 1 to 2 weeks. Beyond this, while still safe to eat, the texture might become a bit icier or harder, which is common for no-churn, homemade ice creams that don’t contain commercial stabilizers.
If your ice cream gets too hard (which can happen with low-carb recipes due to the lack of sugar to prevent ice crystal formation), simply remove it from the freezer 5-10 minutes before serving. This brief thawing period will allow it to soften to a scoopable, creamy texture. You can also give it a quick stir with a spoon to help break up any ice crystals that may have formed. Just remember, once it’s thawed and re-frozen multiple times, the quality might degrade slightly, so try to enjoy it in one or two sittings for the best experience!
FAQs: Your Burning Questions About Mason Jar Chocolate Ice Cream, Answered!
- Q1: Why powdered allulose? Can I use another sweetener?
A1: Powdered allulose is crucial because it dissolves perfectly, preventing a grainy texture. While other powdered sweeteners like erythritol can work, allulose typically yields a smoother, less icy result and has no aftertaste. - Q2: Can I make this Mason Jar Chocolate Ice Cream dairy-free?
A2: Yes! You can substitute heavy cream with full-fat canned coconut cream (chilled overnight, scoop out the thick cream) for a dairy-free version. The flavor will have a slight coconut note. - Q3: My ice cream turned out too hard. What did I do wrong?
A3: Low-carb ice creams often freeze harder due to the lack of sugar. Ensure you use powdered allulose, and let it sit at room temperature for 5-10 minutes before serving to soften. - Q4: What if I don’t have a Mason jar?
A4: Any jar or airtight container with a secure lid will work. The key is having enough space to vigorously shake and mix the ingredients. - Q5: How do I know when I’ve shaken it enough?
A5: After 5 minutes of vigorous shaking, the mixture should have noticeably increased in volume and become thicker, similar to a soft-serve consistency. It won’t be fully stiff like whipped cream, but much thicker than liquid cream. - Q6: Can I add mix-ins to my Mason Jar Chocolate Ice Cream?
A6: Absolutely! Stir in sugar-free chocolate chips, chopped nuts, or a few fresh berries after the shaking step, just before freezing. - Q7: Is this recipe truly keto-friendly?
A7: Yes! With only 3g net carbs per serving, it’s an excellent keto and low-carb dessert option. The nutrition facts are: Calories: 317 kcal, Total Carbs: 4 g, Net Carbs: 3 g, Fats: 33 g, Protein: 3 g. - Q8: Can I make this in a regular ice cream maker?
A8: While designed for no-churn, you could likely adapt it. Whip the cream and other ingredients until soft peaks form, then churn in your ice cream maker according to its instructions. - Q9: What other flavors can I make using this method?
A9: Get creative! Omit the cocoa for vanilla, or add espresso powder for coffee ice cream, peppermint extract for mint chocolate, or a spoonful of sugar-free peanut butter for peanut butter chocolate. - Q10: Can kids help make this Mason Jar Chocolate Ice Cream?
A10: Definitely! Shaking the jar is a fun and safe activity for kids, making it a wonderful family-friendly recipe. Just supervise when adding ingredients and handling the freezer.
Mason Jar Chocolate Ice Cream
Equipment
- Mason Jar
Ingredients
- 1 cup heavy cream
- 3 tablespoons powdered allulose
- 1 tablespoon unsweetened cocoa powder
- 1 teaspoon vanilla extract
Instructions
- Grab a clean mason jar and carefully pour in the heavy cream.
- Next, add the vanilla extract, followed by the powdered allulose and unsweetened cocoa powder. Using powdered allulose is key for that perfectly smooth, non-grainy ice cream texture.
- Secure the lid tightly on the jar and get ready to shake! Vigorously shake the jar for a full 5 minutes. This shaking builds volume and makes your ice cream light and airy. If you prefer, an immersion blender can also do the trick, but be gentle – you want ice cream, not butter!
- Pop the jar into your freezer for about 3 hours, or until it reaches your ideal creamy, frozen consistency.
Notes
Calories: 317 kcal
Total Carbs: 4 g
Net Carbs: 3 g
Fats: 33 g
Protein: 3 g