Why You’ll Love These Christmas Peppermint Dream Cups
- Unforgettable Festive Flavor: These aren’t just cookies; they’re a symphony of rich, dark chocolate and cool, creamy peppermint, embodying the true spirit of Christmas in every bite. The “Christmas Peppermint Dream Cups” name truly says it all!
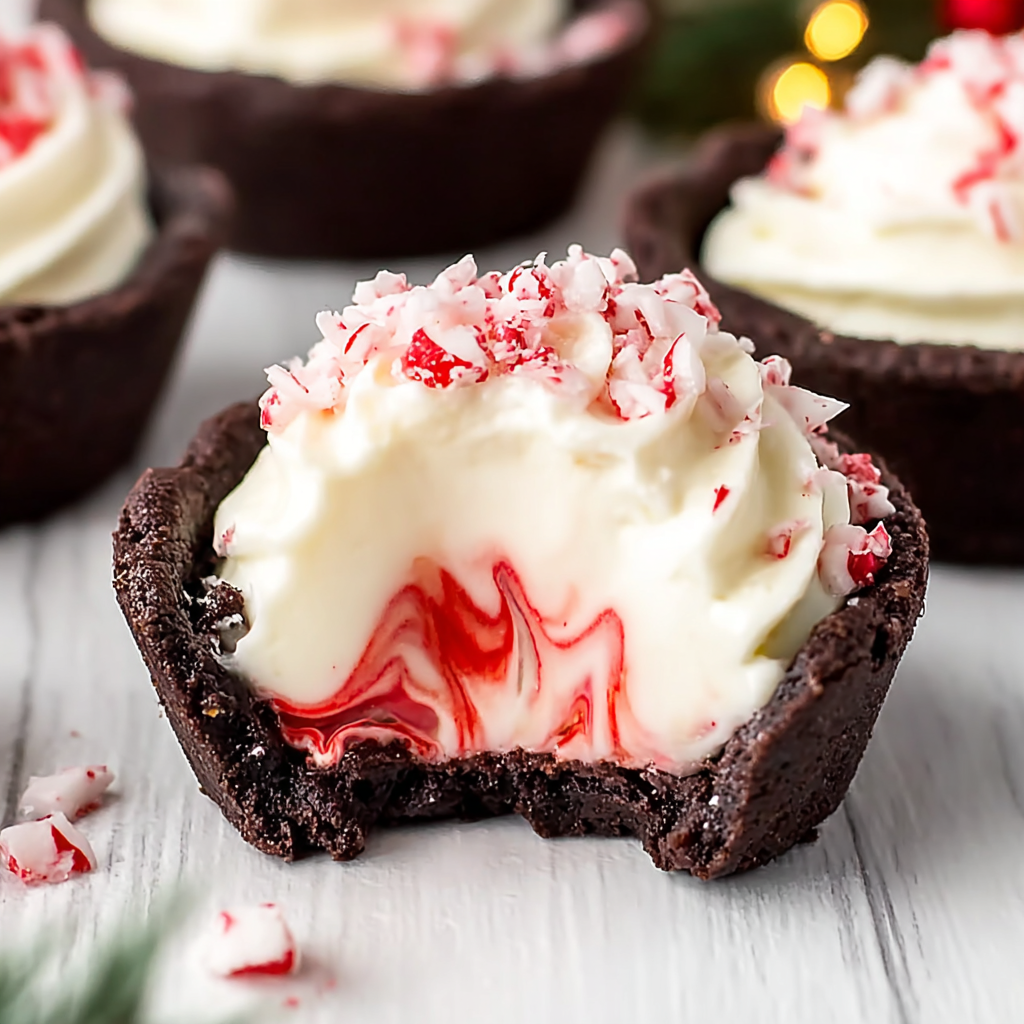
- Show-Stopping Presentation: With their deep chocolate color, vibrant red swirl, and sparkling candy cane topping, these cups are a visual delight. They’re guaranteed to impress at any holiday gathering and make your dessert table shine.
- Perfectly Portioned Pleasure: Each individual cup is a self-contained treat, making them easy to serve, eat, and enjoy without any mess. No cutting or slicing required – just grab and delight!
- Surprisingly Simple to Make: Don’t let their gourmet appearance fool you. While they look impressive, our clear, step-by-step instructions make these “Christmas Peppermint Dream Cups” totally achievable for bakers of all skill levels, leaving you more time for holiday cheer.
Unwrap the Magic: Introducing Your New Favorite Holiday Treat!
Hear that? It’s the jingle bells of joy, the whisper of holiday magic, and the sweet scent of chocolate and peppermint dancing through the air! Forget your run-of-the-mill cookies this year. We’re about to introduce you to the ultimate festive indulgence: our spectacular Christmas Peppermint Dream Cups. Imagine a deep, dark chocolate cookie cup, so tender it practically melts in your mouth, cradling a cloud of fluffy, peppermint-infused cheesecake filling, complete with an optional festive red swirl. Topped with shimmering crushed candy canes, these treats are more than just a dessert – they’re a bite of pure holiday enchantment. Get ready to bake up some serious festive fun and become the star of every holiday party!
Ingredients for Your Christmas Peppermint Dream Cups
For the Chocolate Cookie Cups:
- 🌾 2 cups all-purpose flour
- 🍫 1/4 cup Dutch-processed cocoa powder (sifted for smoothness)
- ⚫ 1/4 cup black cocoa powder (for deep color, or use more regular cocoa)
- ✨ 1 teaspoon baking soda
- 🧂 1/2 teaspoon salt
- 🧈 1 cup unsalted butter, softened
- 🍬 1/2 cup granulated sugar
- 🍯 1 cup light brown sugar, packed
- 🥚 2 large eggs, at room temperature
- 🍦 1 teaspoon vanilla extract
For the Peppermint Cheesecake Filling:
- 🥛 1 cup heavy whipping cream, well chilled
- 🧀 8 ounces full-fat cream cheese, softened
- 🍬 1/2 cup granulated sugar
- 🌿 1 teaspoon peppermint extract
- 🔴 Red food color gel (optional, for festive swirl)
- 🍭 Crushed candy canes (for topping)
Step-by-Step Directions to Create Christmas Peppermint Dream Cups
For the Chocolate Cookie Cups:
- Get Ready! Preheat your oven to 350°F (175°C). Lightly spray two regular muffin tins with cooking spray to prevent sticking.
- In a medium bowl, whisk together the flour, both cocoa powders, baking soda, and salt until well combined. Set this dry mixture aside.
- In a larger bowl, beat the softened butter and both sugars together with an electric mixer on medium-high speed until the mixture is light and fluffy (about 2-3 minutes). Reduce the speed, then add the eggs one at a time, followed by the vanilla extract, beating just until everything is combined.
- Gradually add the dry flour mixture to the wet ingredients, mixing on low speed until just combined. Be careful not to overmix!
- Use a large cookie scoop (about 3 tablespoons) to place generous mounds of dough into each muffin cup.
- Bake for about 10-13 minutes, or until the edges are set but the centers still look a little soft. This keeps them wonderfully tender!
- Once out of the oven, immediately use the back of a small jar or a round tool to gently press down in the center of each cookie cup, creating a perfect well for the filling. Let them cool in the pans for 10 minutes, then carefully twist each one to loosen. After 5 more minutes, remove them and let them cool completely on a wire rack.
For the Peppermint Cheesecake Filling:
- In a chilled bowl with a cold whisk (this helps!), whip the heavy cream until stiff peaks form. Set aside.
- In another bowl, beat the softened cream cheese, sugar, and peppermint extract until smooth and creamy. Gently fold the whipped cream into the cream cheese mixture until just combined and fluffy.
- If you want that festive candy cane swirl, use a small, food-safe paintbrush to paint two red stripes inside a piping bag fitted with a large round tip. Carefully spoon the cheesecake filling into the bag.
- Pipe a beautiful swirl of filling into each cooled cookie cup. Refrigerate for 1-2 hours until the filling is nicely set.
- Just before serving, sprinkle with crushed candy canes for that extra holiday sparkle!
Serving and Presenting Your Christmas Peppermint Dream Cups
These “Christmas Peppermint Dream Cups” are already gorgeous straight out of the fridge, but a little extra flair can turn them into a true showstopper! For a classic look, simply arrange them on a festive platter, perhaps nestled amongst some fresh pine sprigs or a string of fairy lights. Want to get even more creative? Drizzle a little melted white chocolate or dark chocolate over the top before adding the candy canes for an extra layer of decadence. You could also try different toppings like mini chocolate chips, edible glitter, or a tiny sprig of fresh mint for a pop of color. For gifting, place individual cups into small cellophane bags tied with a festive ribbon – they make delightful hostess gifts or party favors! Serve them chilled, allowing the crisp peppermint and rich chocolate to truly sing.
Storage & Shelf Life of Your Christmas Peppermint Dream Cups
These delightful “Christmas Peppermint Dream Cups” are best enjoyed fresh, but thankfully, they store beautifully too! Once assembled, keep your cups in an airtight container in the refrigerator for 2-3 days. The cookie cups will remain tender, and the cheesecake filling will stay perfectly creamy and set. For smart make-ahead planning, you can bake the chocolate cookie cups and freeze them unfilled for up to 4 weeks. Just thaw them at room temperature when you’re ready to assemble, then prepare the filling and pipe it in. Remember to always add the crushed candy canes just before serving to ensure they stay crisp and sparkling, providing that perfect crunch to your “Christmas Peppermint Dream Cups.”
FAQs About Christmas Peppermint Dream Cups
-
Can I use regular cocoa powder instead of black cocoa?
Absolutely! The black cocoa powder is mainly for the deep, dramatic color. If you don’t have it, just substitute with an equal amount of Dutch-processed cocoa powder for a slightly lighter, but still delicious, chocolate flavor.
-
What if I don’t have a round tool to press the wells?
No problem! The back of a clean shot glass, a small spice jar, or even your thumb (gently!) can work wonders to create that perfect indentation in your cookie cups.
-
Can I make these gluten-free?
While this specific recipe is not gluten-free, you could experiment with a 1:1 gluten-free all-purpose flour blend. Baking times might vary slightly, so keep an eye on them.
-
My heavy cream isn’t whipping to stiff peaks, what went wrong?
Ensure your heavy cream, bowl, and whisk are all very cold. This is crucial for successful whipping. If it’s still not working, try chilling everything for another 15-20 minutes, or ensure your cream has at least 35% fat content.
-
Can the peppermint cheesecake filling be made ahead of time?
Yes, the filling can be made up to 24 hours in advance and stored in an airtight container in the refrigerator. Give it a gentle whisk or fold before piping, as it might stiffen slightly.
-
How do I prevent my cookie cups from sticking to the muffin tin?
Make sure to spray your muffin tins thoroughly with cooking spray. Allowing them to cool in the pan for 10 minutes, then twisting gently, also helps immensely. A non-stick muffin tin is also a great investment!
-
Is the red food color gel for the swirl necessary?
Not at all! It’s purely for aesthetic appeal to enhance the festive look of your “Christmas Peppermint Dream Cups.” They will taste just as delicious without it.
-
Can I use different extracts for the filling?
While peppermint is key to these “Christmas Peppermint Dream Cups,” you could certainly experiment! A dash of almond or even a hint of orange extract could create a unique twist, though it would change the classic Christmas flavor profile.
-
My cookie cups are tough/dry. What happened?
This usually indicates overmixing the dough after adding the flour, or overbaking. Mix only until just combined, and pull them from the oven when the centers still look slightly soft for that wonderfully tender texture.
-
Can I make mini Christmas Peppermint Dream Cups?
Yes, you can use a mini muffin tin! Adjust the baking time accordingly, likely around 7-9 minutes, and use a smaller cookie scoop. They’d make adorable bite-sized treats!
Christmas Peppermint Dream Cups 🎄
Equipment
- Muffin tins
- Electric Mixer
- Large cookie scoop
- Small jar or round tool
- Wire Rack
- Chilled bowl
- Cold whisk
- Piping bag
- Large round tip
- Small food-safe paintbrush
Ingredients
Chocolate Cookie Cups
- 2 cups all-purpose flour
- 0.25 cup Dutch-processed cocoa powder sifted for smoothness
- 0.25 cup black cocoa powder for deep color, or use more regular cocoa
- 1 tsp baking soda
- 0.5 tsp salt
- 1 cup unsalted butter softened
- 0.5 cup granulated sugar
- 1 cup light brown sugar packed
- 2 large eggs at room temperature
- 1 tsp vanilla extract
Peppermint Cheesecake Filling
- 1 cup heavy whipping cream well chilled
- 8 ounces full-fat cream cheese softened
- 0.5 cup granulated sugar
- 1 tsp peppermint extract
- Red food color gel optional, for festive swirl
- Crushed candy canes for topping
Instructions
- For the Chocolate Cookie Cups:
Get ready! Preheat your oven to 350°F (175°C). Lightly spray two regular muffin tins with cooking spray to prevent sticking. - In a medium bowl, whisk together the flour, both cocoa powders, baking soda, and salt until well combined. Set this dry mixture aside.
- In a larger bowl, beat the softened butter and both sugars together with an electric mixer on medium-high speed until the mixture is light and fluffy (about 2-3 minutes). Reduce the speed, then add the eggs one at a time, followed by the vanilla extract, beating just until everything is combined.
- Gradually add the dry flour mixture to the wet ingredients, mixing on low speed until just combined. Be careful not to overmix!
- Use a large cookie scoop (about 3 tablespoons) to place generous mounds of dough into each muffin cup.
- Bake for about 10-13 minutes, or until the edges are set but the centers still look a little soft. This keeps them wonderfully tender!
- Once out of the oven, immediately use the back of a small jar or a round tool to gently press down in the center of each cookie cup, creating a perfect well for the filling. Let them cool in the pans for 10 minutes, then carefully twist each one to loosen. After 5 more minutes, remove them and let them cool completely on a wire rack.
- For the Peppermint Cheesecake Filling:
In a chilled bowl with a cold whisk (this helps!), whip the heavy cream until stiff peaks form. Set aside. - In another bowl, beat the softened cream cheese, sugar, and peppermint extract until smooth and creamy. Gently fold the whipped cream into the cream cheese mixture until just combined and fluffy.
- If you want that festive candy cane swirl, use a small, food-safe paintbrush to paint two red stripes inside a piping bag fitted with a large round tip. Carefully spoon the cheesecake filling into the bag.
- Pipe a beautiful swirl of filling into each cooled cookie cup. Refrigerate for 1-2 hours until the filling is nicely set.
- Just before serving, sprinkle with crushed candy canes for that extra holiday sparkle!
Notes
Calories: 300kcal
Total Carbs: 32g
Net Carbs: 31g
Fats: 18g
Protein: 3g