Get Ready for the Easiest, Most Delicious Summer Treat Ever!
Picture this: a scorching summer day, the sun beaming down, and all you crave is something wonderfully cold, creamy, and utterly delightful. But who wants to haul out an ice cream maker, deal with rock salt, or wait for hours? Not us! Prepare to have your mind blown with our recipe for Dreamy 2-Ingredient Summer Ice Cream! Yes, you read that right – just two simple ingredients stand between you and a freezer full of homemade magic. Say goodbye to complicated gadgets and hello to pure, unadulterated dessert bliss that tastes like it came straight from your favorite scoop shop. This isn’t just ice cream; it’s a hassle-free ticket to summer happiness!
Why You’ll Love This Recipe
This isn’t just another ice cream recipe; it’s a game-changer! Here are four compelling reasons why our Dreamy 2-Ingredient Summer Ice Cream! will become your go-to dessert for the season:
- Seriously Simple: Forget the churning, the special machines, and the endless ingredient lists. With just two core items (and an optional vanilla boost), anyone can make this. It’s perfect for beginner bakers or busy parents!
- Lightning-Fast Prep: You’ll have this creamy mixture whipped up and in the freezer in under 15 minutes. That leaves more time for sunshine, swimming, and all your favorite summer activities.
- Endlessly Customizable: While it’s fantastic on its own, this recipe is a blank canvas for your culinary creativity! Add fruits, chocolates, nuts, or cookies to make it uniquely yours every single time.
- Unbelievably Delicious: Despite its simplicity, the resulting ice cream is incredibly rich, smooth, and wonderfully sweet. It achieves that perfect scoopable texture without any special effort, guaranteeing smiles all around.
Ingredients You’ll Need
Gathering your ingredients for this Dreamy 2-Ingredient Summer Ice Cream! is as simple as the recipe itself. Just make sure your heavy cream is super cold for the best results!
- 2 cups heavy cream, very cold: This is the magic base that whips up into light, airy perfection.
- 1 can (14 ounces) sweetened condensed milk: Our secret weapon for sweetness and that signature creamy texture, no sugar crystals here!
- 2 teaspoons vanilla extract (optional, for extra flavor): A splash of vanilla deepens the flavor profile, making it even more irresistible.
Step-by-Step Directions to Heavenly Ice Cream
Making your own Dreamy 2-Ingredient Summer Ice Cream! is an absolute breeze. Follow these simple steps and get ready for a treat!
- Whip the Cream to Cloud-Like Perfection: Grab your stand mixer with a whisk attachment (or a hand mixer and a chilled metal bowl if you prefer). Pour in your very cold heavy cream. Beat it on high speed until it transforms into stiff peaks, firm and fluffy like glorious white clouds. This usually takes just 1 to 2 minutes, so keep an eye on it!
- Gently Fold in Sweetness: Once your cream is perfectly whipped, carefully pour the entire can of sweetened condensed milk into the bowl. If you’re using vanilla extract, now’s the time to add it too. Using a spatula, gently fold the condensed milk and vanilla into the whipped cream. The key here is to be delicate! You want to keep all that beautiful air you just whipped in.
- Personalize with Your Favorites (Optional): Feeling adventurous? This is where the real fun begins! If you want to add any delicious mix-ins – think chopped fresh fruit, chocolate chips, cookie crumbles, nuts, or even a swirl of jam – gently fold them into your creamy base now. Don’t overmix!
- Freeze for Fun and Firmness: Transfer your delightful ice cream mixture into a freezer-safe container with a tight-fitting lid. For an extra layer of protection against ice crystals, press a piece of plastic wrap directly onto the surface of the mixture before sealing the lid. Place it in the freezer and let it chill out for at least 6 hours, or ideally overnight, until it’s perfectly firm and wonderfully scoopable.
Creative Ways to Present and Serve Your Dreamy Treat
Once your Dreamy 2-Ingredient Summer Ice Cream! is perfectly frozen, the serving possibilities are endless! This versatile dessert can elevate any occasion. Here are some fun ways to present and serve your homemade masterpiece:
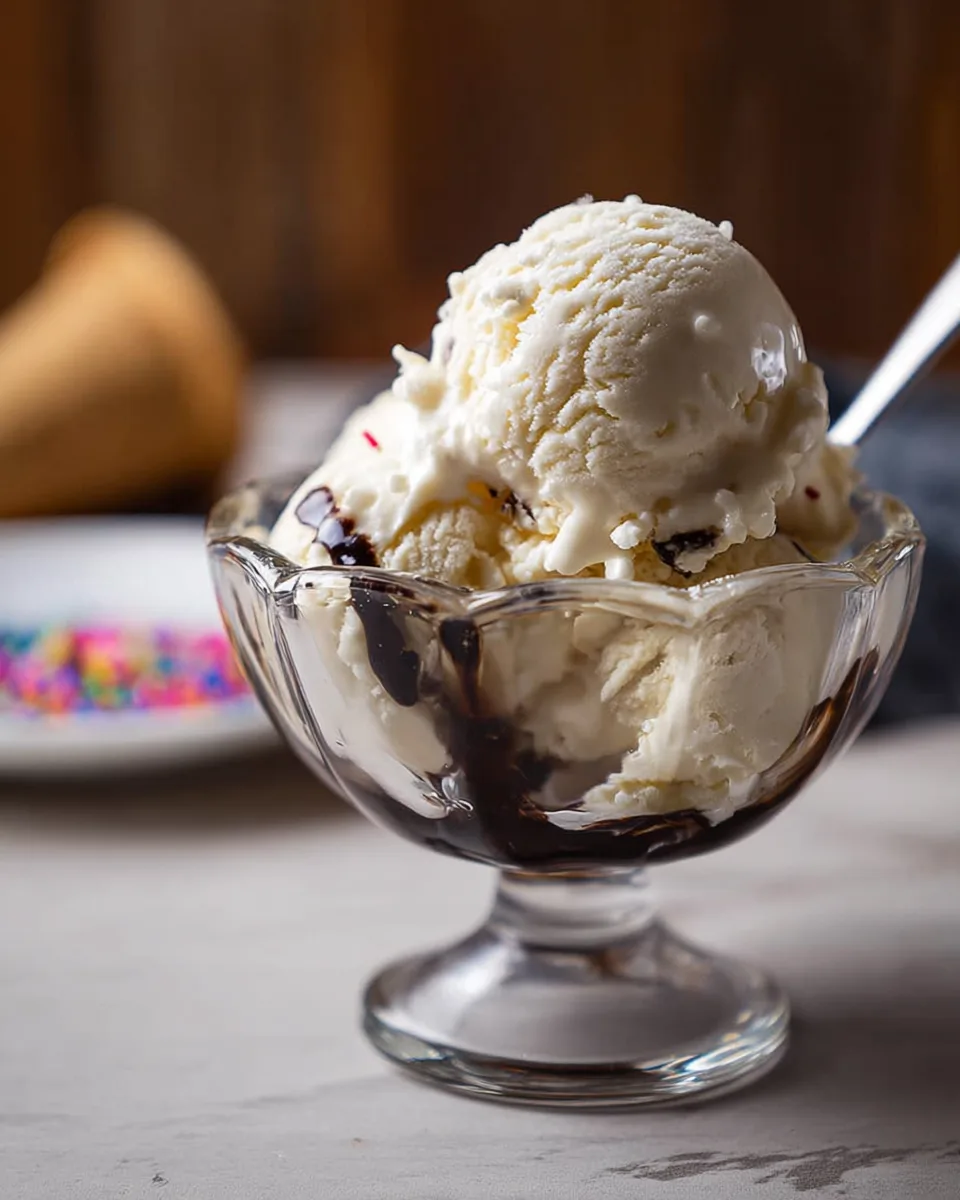
- Classic Scoops: The simplest and often the best! Serve generous scoops in a bowl or a crispy waffle cone.
- Ultimate Sundaes: Layer with hot fudge, caramel sauce, whipped cream, sprinkles, chopped nuts, and a cherry on top for a decadent dessert.
- Ice Cream Sandwiches: Scoop between two soft cookies (like chocolate chip or oatmeal) for a portable, delightful treat.
- Fruity Parfaits: Alternate layers of ice cream with fresh berries, granola, and a drizzle of honey in a tall glass.
- Affogato Style: Place a scoop in a mug and pour a shot of hot espresso over it for an instant sophisticated dessert.
- With Baked Goods: A perfect accompaniment to warm apple pie, brownies, or a slice of cake. The contrast of warm and cold is divine!
- Milkshakes: Blend with a splash of milk and your favorite syrups or fruit for a thick, refreshing milkshake.
Storing Your Homemade Goodness
Congratulations, you’ve made a batch of incredible Dreamy 2-Ingredient Summer Ice Cream! Now, how do you keep it tasting fresh and fabulous? Proper storage is key to preventing ice crystals and maintaining that coveted creamy texture.
How to Store:
- Always transfer your ice cream mixture into a high-quality, freezer-safe container with an airtight lid. This is your first line of defense against freezer burn.
- For extra protection, press a layer of plastic wrap directly onto the surface of the ice cream before putting on the lid. This minimizes air exposure, which is the main culprit for ice crystals forming.
- Store it in the back of your freezer, where temperatures are most consistent, rather than near the door, which experiences frequent temperature fluctuations.
How Long Does It Last?
When stored correctly, your homemade Dreamy 2-Ingredient Summer Ice Cream! will maintain its best quality for about 2-3 weeks. While it might still be safe to eat after that, its texture and flavor might start to degrade as ice crystals can slowly form over time. Enjoy it fresh for the ultimate experience!
FAQs About Your Dreamy 2-Ingredient Summer Ice Cream!
Got questions about this unbelievably easy and delicious recipe? We’ve got answers!
- What makes this “no-churn” ice cream?
“No-churn” means you don’t need a special ice cream maker to create a creamy dessert. The process relies on whipping heavy cream to incorporate air and folding it with sweetened condensed milk, which prevents large ice crystals from forming thanks to its high sugar content. - Can I make this dairy-free?
Yes, you can! Use full-fat canned coconut cream (chilled overnight and just scoop out the thick cream) and a dairy-free sweetened condensed milk alternative. Results may vary slightly in texture. - Why do I need very cold heavy cream?
Very cold cream whips up much faster and achieves stiffer, more stable peaks. This stability is crucial for incorporating enough air to make the ice cream light and fluffy. - What are some good mix-ins for this ice cream?
The possibilities are endless! Try chopped Oreos, chocolate chips, fresh berries, chopped nuts, cookie dough chunks, peanut butter swirls, or even a drizzle of caramel or fudge. - How do I prevent ice crystals from forming?
The best ways are to use an airtight container, press plastic wrap directly onto the surface before freezing, and avoid frequently opening the freezer door to maintain consistent cold temperatures. - Can I reduce the sweetness of the recipe?
The sweetened condensed milk is key to both the sweetness and the texture, preventing it from freezing solid. Reducing it might impact the final consistency. If you find it too sweet, balance it with tart mix-ins like raspberries or lemon zest. - Is it really just two ingredients?
Yes, the core recipe for Dreamy 2-Ingredient Summer Ice Cream! truly uses only heavy cream and sweetened condensed milk. Vanilla extract is optional but highly recommended for an enhanced flavor profile. - Can I use a different type of milk instead of heavy cream?
No, heavy cream is essential. Lighter milks or half-and-half do not have enough fat content to whip up into stiff peaks, which is critical for the no-churn method’s texture. - How long does it typically take to freeze?
It needs at least 6 hours to fully set, but for the best, most scoopable consistency, we recommend freezing it overnight (8-12 hours). - What’s the best way to scoop it when it’s really firm?
If your ice cream is very firm, let it sit out on the counter for 5-10 minutes before scooping. Running your scoop under hot water for a few seconds can also make scooping much easier!
Dreamy 2-Ingredient Summer Ice Cream!
Equipment
- Stand Mixer
- Freezer-safe container
Ingredients
- 2 cups heavy cream very cold
- 14 ounces sweetened condensed milk
- 2 teaspoons vanilla extract optional, for extra flavor
Instructions
- Whip the Cream: Get out your stand mixer with a whisk attachment (or use a hand mixer and a chilled metal bowl!). Beat the very cold heavy cream on high speed until it forms stiff peaks, which usually takes about 1 to 2 minutes. You want it firm and fluffy, like clouds!
- Gently Fold in Sweetness: Carefully fold the entire can of sweetened condensed milk into your whipped cream. Be gentle to keep all that lovely air you just whipped in. If you're using vanilla extract, stir it in now too.
- Add Your Favorites (Optional): If you're planning to mix in any extra goodies like chopped fruit, chocolate chips, or cookie crumbles, now's the perfect time to gently fold them into the creamy mixture.
- Freeze for Fun: Transfer your delightful ice cream mixture into a freezer-safe container with a lid. Cover it up tightly (you can even press plastic wrap directly onto the surface to prevent ice crystals!). Place it in the freezer and let it chill for at least 6 hours, or ideally overnight, until it's perfectly firm and scoopable.
Notes
Calories: 267
Total Carbs: 19g
Net Carbs: 19g
Fats: 20g
Protein: 3g Optional additions: If you're using vanilla extract for extra flavor, add it in step 2. You can also fold in chopped fruit, chocolate chips, or cookie crumbles in step 3.