Tired of complicated dessert recipes that leave your kitchen looking like a disaster zone and your energy completely drained? What if we told you there’s a sweet, creamy, chocolatey dream waiting for you that requires just three humble ingredients and zero oven time? Prepare to meet your new favorite no-bake marvel: the Easy 3-Ingredient Oreo Icebox Cake! This isn’t just a dessert; it’s a testament to simple indulgence, proving that you don’t need fancy techniques or a long ingredient list to create something truly spectacular. Get ready to impress your taste buds and everyone lucky enough to share a slice of this heavenly, hassle-free treat!
Why You’ll Love This Easy 3-Ingredient Oreo Icebox Cake
This dessert isn’t just a recipe; it’s a solution to your sweet cravings and busy schedule. Here are four irresistible reasons why you’ll fall head over heels for this Easy 3-Ingredient Oreo Icebox Cake:
- Seriously Simple & No-Bake: Forget preheating ovens or complex baking steps. With just three ingredients and a few minutes of layering, you’re on your way to dessert heaven. It’s the ultimate hassle-free treat for even the most novice of cooks!
- Crowd-Pleasing Perfection: Who doesn’t love Oreos? Combined with creamy whipped topping, this cake is a guaranteed hit at parties, potlucks, or family dinners. Its familiar, comforting flavors appeal to all ages, making it a universal favorite.
- Make-Ahead Marvel: This isn’t a dessert you rush; it’s one that gets better with time! The required chill period means you can assemble it hours, or even a day, in advance. This frees you up to enjoy your guests or relax, knowing dessert is already taken care of.
- Incredibly Versatile: While perfect as is, this Easy 3-Ingredient Oreo Icebox Cake is also a fantastic canvas for customization. Add a drizzle of caramel, a sprinkle of nuts, or some fresh fruit to make it uniquely yours – though it’s utterly delicious in its original form!
Ingredients for Your Easy 3-Ingredient Oreo Icebox Cake
Gather your simple supplies! You truly only need these three items to create magic:
- 90 Oreo cookies (Original or Double Stuf work beautifully)
- 3 tubs (8 ounces each) frozen whipped topping, thawed
- 1 ½ to 2 cups milk (any type you prefer – dairy, almond, soy, oat, etc.)
- (Optional) Chocolate sauce or extra crushed Oreos for serving
Detailed Step-by-Step Directions
Creating your Easy 3-Ingredient Oreo Icebox Cake is as fun as it is simple. Follow these steps for perfect results every time:
- Prepare Your First Layer of Oreos: Take 30 Oreo cookies. Gently dip each cookie, one at a time, into the milk. Only dip for a few seconds – just until they start to soften slightly, but ensure they don’t become mushy. You want them pliable, not disintegrating!
- Arrange in Dish: Carefully arrange these softened cookies in a single, even layer at the bottom of a 9×13 inch baking dish. Try to fit them snugly, breaking a few if needed to fill gaps.
- Add Your First Whipped Topping Layer: Take one entire 8-ounce tub of the thawed whipped topping and spread it evenly over the layer of Oreos. Make sure the cookies are completely covered.
- Repeat the Process (Twice!): Now, repeat steps 1-3 two more times. Dip another 30 Oreos into the milk, arrange them over the whipped topping, and then spread another tub of thawed whipped topping over that layer. Do this one more time with the final 30 Oreos and the last tub of whipped topping. You’ll end up with three layers of cookies and three layers of whipped topping, with the final tub of whipped topping being the very top layer.
- Optional Toppings: If desired, drizzle with chocolate sauce or sprinkle some crushed Oreos on top for an extra touch of deliciousness and visual appeal.
- Chill Time is Crucial: Cover the dish tightly with plastic wrap and place it in the refrigerator. This is the most important step! Refrigerate for at least 6 hours, or ideally, overnight. This extended chill time allows the cookies to fully absorb moisture, transforming them into a wonderfully soft, cake-like texture, and lets all the flavors meld together beautifully.
- Slice and Serve: Once thoroughly chilled, remove from the refrigerator, slice into generous portions, and serve this delightful, no-bake dessert!
Presenting and Serving Your Icebox Cake
While the Easy 3-Ingredient Oreo Icebox Cake is a showstopper on its own, a little presentation goes a long way. Here are some ideas to make it even more appealing:
- Classic Elegance: As suggested in the recipe, a simple drizzle of chocolate sauce (hot fudge or chocolate syrup) and a sprinkle of extra crushed Oreos provides a perfect finish.
- Fresh & Fruity: Add a burst of color and tang! Garnish individual slices with fresh berries like raspberries, strawberries, or blueberries. A sprig of fresh mint can also add a touch of sophisticated greenery.
- Sweet & Saucy: Beyond chocolate, consider a drizzle of caramel sauce or even a hint of raspberry coulis for different flavor profiles.
- Individual Delights: For portion control or a charming party presentation, assemble smaller versions in mason jars or clear ramekins. Layer the dipped Oreos and whipped topping, chill, and serve with a mini spoon.
- Coffee Shop Style: Serve alongside a hot cup of coffee, a glass of cold milk, or even with a scoop of vanilla bean ice cream for an extra indulgent experience.
When serving, use a sharp, thin knife for clean slices. If the knife gets sticky, wipe it clean between cuts. Ensure the cake is well-chilled for the best texture and easiest slicing.
Storage and Shelf Life
One of the beauties of this Easy 3-Ingredient Oreo Icebox Cake is its make-ahead nature, which also translates to excellent storage. Here’s how to keep your dessert fresh:
- In the Refrigerator: Cover the baking dish tightly with plastic wrap or transfer leftover slices to an airtight container. Stored in the refrigerator, the cake will remain delicious for 3-4 days. The cookies will continue to soften slightly over time, but the cake will still maintain a pleasant texture.
- Can You Freeze It? Yes, you can! For longer storage, you can freeze the icebox cake. Wrap the entire dish (or individual slices) very tightly in several layers of plastic wrap, then an additional layer of aluminum foil. It can be stored in the freezer for up to 1 month.
- Thawing Frozen Cake: To enjoy, transfer the frozen cake from the freezer to the refrigerator and let it thaw for several hours or overnight until soft enough to slice. Note that the texture of the cookies might be slightly firmer after freezing and thawing, but it will still be a delightful treat!
Always ensure your cake is well-covered to prevent it from absorbing odors from other foods in your fridge or freezer, and to keep it from drying out.
FAQs About the Easy 3-Ingredient Oreo Icebox Cake
Got questions about this delightful Easy 3-Ingredient Oreo Icebox Cake? We’ve got answers!
- Q: What kind of Oreos are best for this recipe?
A: Original or Double Stuf Oreos work perfectly. You can also experiment with flavored Oreos (like mint, peanut butter, or golden Oreos) for a fun twist! - Q: Can I use homemade whipped cream instead of frozen whipped topping?
A: Yes, you can! However, ensure your homemade whipped cream is stabilized (e.g., by adding a little cream cheese, gelatin, or cornstarch) to prevent it from deflating or “weeping” moisture, which can make the cake watery. - Q: What kind of milk should I use for dipping the Oreos?
A: Any type of milk works well! Dairy milk (whole, 2%, skim) or non-dairy alternatives like almond milk, soy milk, or oat milk are all suitable. - Q: Why do the cookies need to be dipped in milk?
A: Dipping the cookies in milk is essential. It softens them, allowing them to absorb moisture and transform from crunchy biscuits into a tender, cake-like texture during the chilling process. - Q: Can I make this icebox cake ahead of time for a party?
A: Absolutely! In fact, this is a perfect make-ahead dessert. It requires at least 6 hours of chilling, so preparing it the day before your event is ideal. - Q: How long does it really need to chill?
A: While a minimum of 6 hours is required for the cookies to soften adequately, chilling it overnight (12+ hours) will give you the absolute best texture, ensuring the cookies are wonderfully soft and integrated. - Q: Can I add other flavors or mix-ins to the cake?
A: Get creative! You can drizzle caramel sauce between layers, sprinkle mini chocolate chips, add a layer of fresh fruit like sliced bananas or strawberries (though they might release moisture), or even add a touch of instant coffee powder to the milk for a mocha flavor. - Q: My cake seems too soft and falls apart. What went wrong?
A: The most common reason for a cake that’s too soft or mushy is over-dipping the Oreos in milk, or not allowing enough chill time. Ensure you only dip for a few seconds, and always let it chill for at least 6 hours, preferably overnight. - Q: Is this dessert suitable for a large gathering?
A: Yes, it’s perfect! A 9×13 inch baking dish yields 15-20 servings, making it an excellent choice for potlucks, parties, or family get-togethers. - Q: Can I use a different size baking pan?
A: You can, but you’ll need to adjust the number of Oreos and whipped topping accordingly. For a smaller pan, you might need fewer cookies per layer but could build more layers. For a larger pan, you’ll need more cookies and possibly more whipped topping tubs.
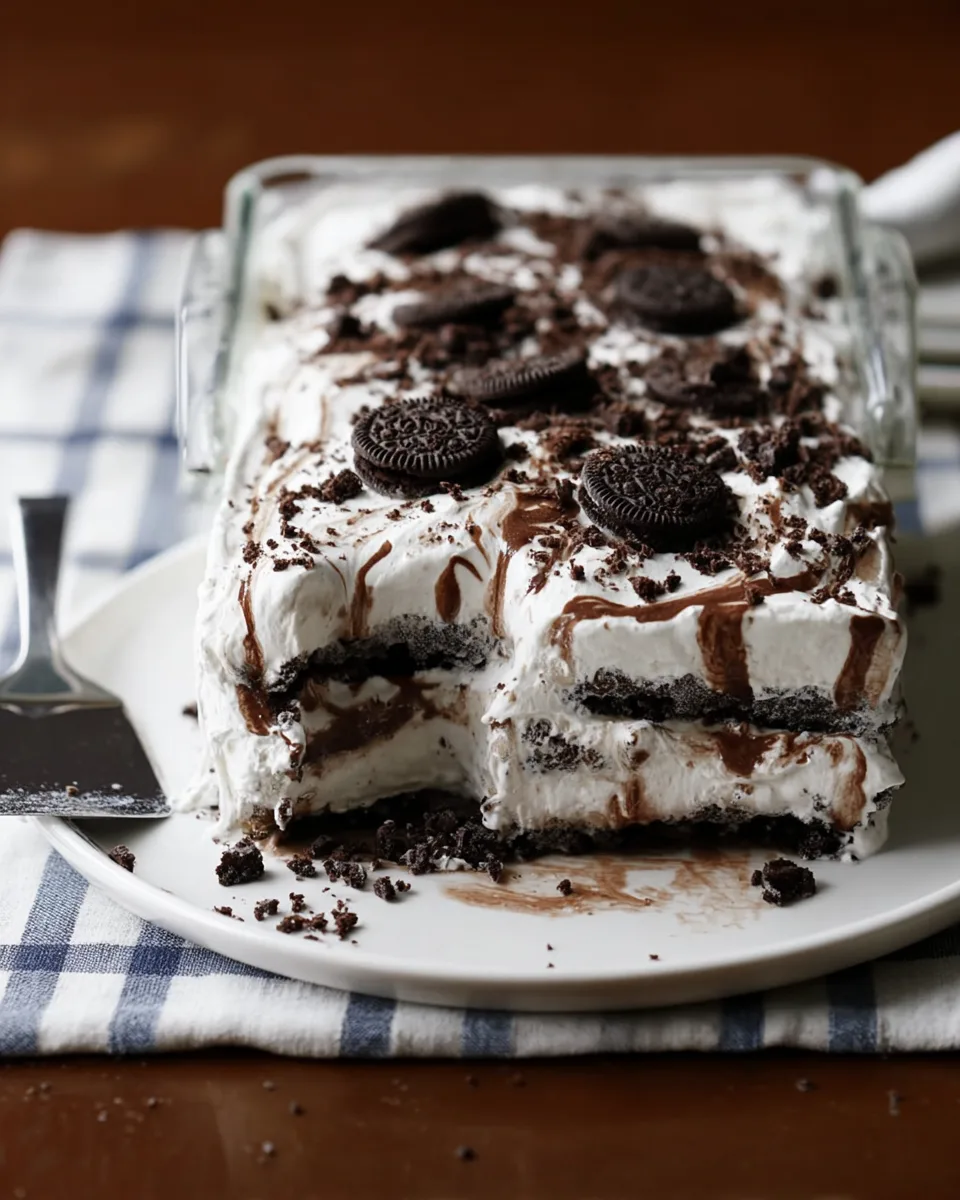
Easy 3-Ingredient Oreo Icebox Cake 🍰
Equipment
- 9x13 inch Baking Dish
Ingredients
- 90 Oreo cookies (Original or Double Stuf)
- 3 tubs frozen whipped topping (8 ounces each), thawed
- 1 ½ to 2 cups milk (any type)
- Chocolate sauce or extra crushed Oreos (Optional) for serving
Instructions
- Begin by gently dipping 30 Oreo cookies, one at a time, into the milk for just a few seconds until they start to soften but aren't mushy. Arrange these softened cookies in a single layer at the bottom of a 9x13 inch baking dish.
- Next, spread one entire 8-ounce tub of the thawed whipped topping evenly over the first layer of Oreos.
- Repeat this simple layering process two more times: dip another 30 Oreos, arrange them, and then spread another tub of whipped topping. Finish with the last tub of whipped topping as the top layer.
- If you'd like an extra touch, drizzle with chocolate sauce or sprinkle with some crushed Oreos on top.
- Cover the dish tightly with plastic wrap and refrigerate for at least 6 hours, or ideally, overnight. This chill time allows the cookies to become wonderfully soft and cake-like, and all the flavors to meld beautifully.
- Slice and serve this delightful, no-bake dessert!
Notes
Calories: 109
Total Carbs: 13.2g
Net Carbs: 13.2g
Fats: 5.2g
Protein: 2.5g
#NoBakeDessert #EasyRecipe #OreoLove #DessertGoals