Why You’ll Love This Recipe
Get ready to fall head over heels for these Valentine’s Day Fudgy Red Velvet Brownies! Here are four irresistible reasons why this recipe will be your new holiday favorite:
- Unbelievably Fudgy Texture: Forget dry, cakey brownies! This recipe delivers that perfect, dense, and chewy fudgy center we all crave, making every bite a melt-in-your-mouth experience.
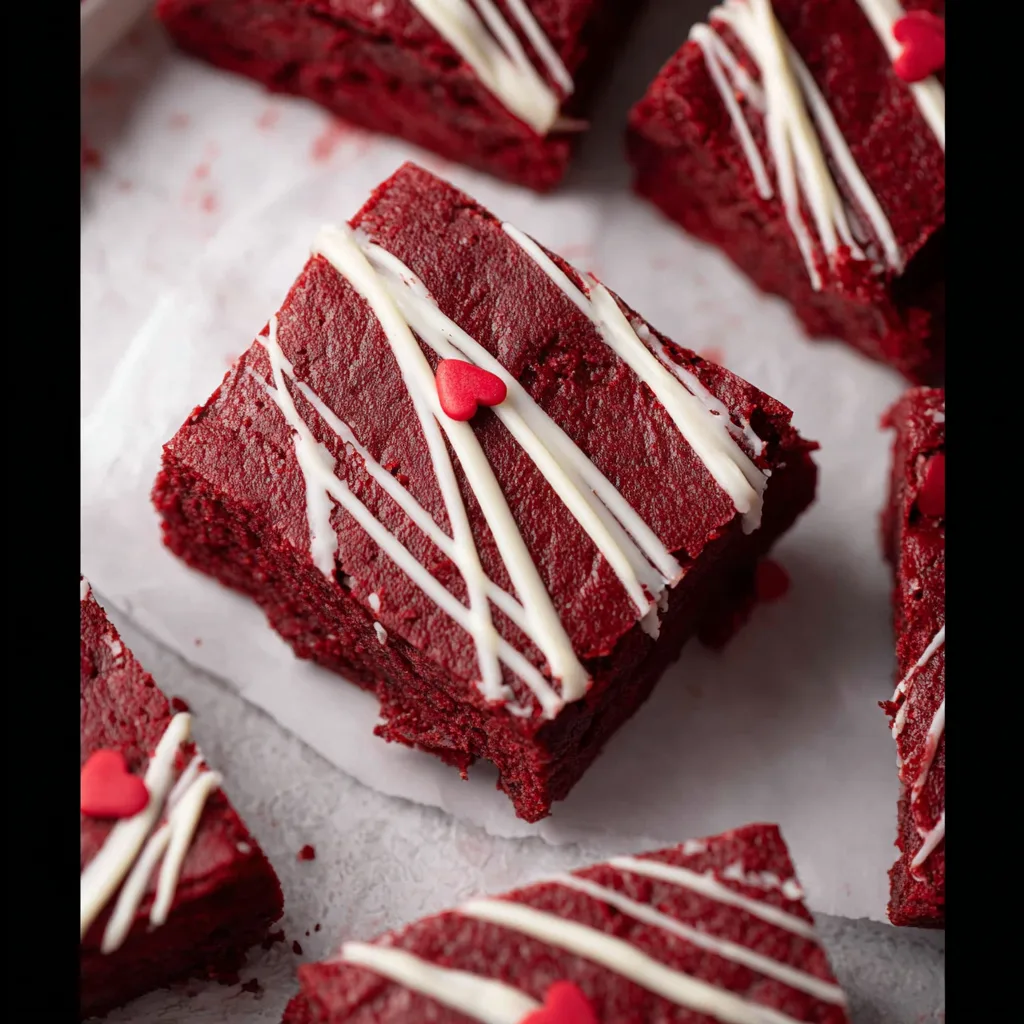
- Stunning Valentine’s Aesthetic: With their vibrant red hue, these brownies are a feast for the eyes as much as they are for the palate. They scream romance and celebration, making them ideal for your Valentine’s Day festivities.
- Effortlessly Easy to Make: Don’t let their gourmet look fool you. These brownies are surprisingly simple to whip up, even for beginner bakers. With clear, step-by-step instructions, you’ll have a batch of deliciousness ready in no time.
- Irresistible Red Velvet Flavor: Combining the subtle tang of red velvet with rich chocolate notes, these brownies offer a sophisticated twist on a classic treat. The optional white chocolate chips add another layer of indulgence you won’t want to miss.
💖 What’s sweeter than love? Homemade treats made with love! This Valentine’s Day, skip the crowded restaurants and predictable chocolates. Instead, sweep your loved one (or yourself!) off their feet with a batch of homemade magic: our incredible Valentine’s Day Fudgy Red Velvet Brownies. Imagine biting into a rich, decadent square, bursting with chocolatey goodness and that signature red velvet tang, all wrapped up in a perfectly fudgy package. It’s not just a dessert; it’s a declaration of affection, baked into every vibrant red crumb.
Whether you’re celebrating with a partner, friends, or indulging in some well-deserved self-love, these brownies are the ultimate way to add a splash of color and a whole lot of flavor to your day. They’re easy, impressive, and guaranteed to make hearts flutter. So, tie on that apron, put on your favorite love songs, and let’s get baking!
Ingredients with Measurements
Gather your delightful ingredients to create these enchanting Valentine’s Day Fudgy Red Velvet Brownies:
- 🧈 3/4 cup unsalted butter, melted
- 🍫 2 oz chopped semi-sweet chocolate bar
- 🍚 1 & 1/4 cup granulated sugar
- 🥚 2 large eggs
- 💧 2 teaspoon vanilla extract
- 🧪 1 teaspoon white vinegar
- 🍓 1/2 tablespoons red gel food coloring
- 🤎 2 tablespoons unsweetened cocoa powder
- 🌾 1 & 1/4 cup all-purpose flour
- 🧂 1/4 teaspoon salt
- 💖 1/2 cup white chocolate chips (optional, for mixing in or drizzling)
Detailed Step-by-Step Directions on How to Make the Recipe
Ready to bake some love? Follow these easy steps to create your perfect batch of Valentine’s Day Fudgy Red Velvet Brownies:
- Get Ready: First things first, preheat your oven to a cozy 350°F (175°C). Then, grab an 8×8 inch baking pan and line it with parchment paper, leaving a little overhang on the sides – trust us, future you will thank you for making cleanup a breeze!
- Melt & Mix: In a large, microwave-safe bowl, combine your melted butter and the chopped semi-sweet chocolate. Heat it in short 30-second bursts, stirring well after each burst, until it’s completely smooth and glossy. Patience makes perfect here!
- Sweeten It Up: Once your chocolate mix is silky, stir in the granulated sugar until it’s fully incorporated. Next, beat in the eggs one by one, ensuring each is well combined before adding the next. Now for the magic: fold in the vanilla extract, white vinegar (this helps activate that gorgeous red color!), and that vibrant red gel food coloring until your batter is a stunning crimson.
- Dry Blend: In a separate, medium-sized bowl, use a whisk or a sifter to combine your cocoa powder, all-purpose flour, and salt. Sifting helps prevent lumps and ensures a light, airy texture in your final brownies.
- Combine Gently: Slowly add your dry ingredient mixture to the wet red batter. Mix just until everything is combined and no streaks of flour remain. Remember, overmixing is the enemy of fudgy brownies, so stop as soon as it comes together! If you’re using them, gently fold in half of your white chocolate chips now for an extra layer of sweetness.
- Into the Pan: Pour your beautiful, bright red batter into your prepared 8×8 inch pan. Use a spatula to spread it out evenly, reaching all the corners.
- Bake to Perfection: Pop the pan into your preheated oven and bake for 30-35 minutes. To check for doneness, insert a toothpick into the center. It should come out with a few moist crumbs clinging to it, not wet batter. This is the secret to that delicious fudgy texture!
- Cool Down: This step requires serious willpower, but it’s crucial! Let your brownies cool completely in the pan on a wire rack. Cooling ensures clean, neat cuts and allows the fudgy texture to set perfectly.
- Serve & Enjoy: Once fully cooled, lift the brownies out of the pan using the parchment paper overhang. Slice them into lovely squares. For an extra special touch, melt your remaining white chocolate chips and drizzle them over the cooled brownies. Share and savor your homemade, delightful treats!
Detailed Different Ways You Can Present the Recipe and How to Serve It
These Valentine’s Day Fudgy Red Velvet Brownies are already stunning, but here are some ideas to make them even more special and impress your sweetheart:
- Classic Presentation: Simply slice them into elegant squares. The vibrant red color speaks for itself! Arrange them neatly on a white platter for a striking contrast.
- White Chocolate Dream: As suggested in the recipe, a generous drizzle of melted white chocolate adds a beautiful visual appeal and an extra layer of creamy sweetness. You can use a fork to create abstract drizzles or a piping bag for more precise lines.
- Heart-Shaped Love: Once the brownies are completely cooled, use a heart-shaped cookie cutter to cut out individual portions. This instantly transforms them into adorable, bite-sized declarations of love, perfect for Valentine’s Day.
- Powdered Sugar Dusting: For a simple yet elegant touch, dust the cooled brownies with a light layer of powdered sugar. You can even place a doily or a heart-shaped stencil on top before dusting to create a pattern.
- À la Mode Indulgence: Serve a warm brownie square with a scoop of vanilla bean or strawberry ice cream. The contrast of warm brownie and cold ice cream is heavenly! A dollop of whipped cream and a few fresh raspberries or strawberries will complete this luxurious dessert.
- Rich & Creamy Topping: A swirl of cream cheese frosting (the classic red velvet companion!) piped on top of each brownie square would elevate them to a mini cake experience.
- Gifting Perfection: Package individual brownies or small stacks in clear cellophane bags tied with a festive ribbon. Place them in a decorative box, perhaps with a handwritten note, for a truly thoughtful homemade gift.
How You Can Store It and How Long Does It Last
To keep your delicious Valentine’s Day Fudgy Red Velvet Brownies fresh and ready for whenever a craving strikes, proper storage is key:
- At Room Temperature: Once completely cooled, store your brownies in an airtight container. They will stay wonderfully fresh and fudgy for up to 3-4 days on your countertop. Keep them away from direct sunlight or heat sources.
- In the Refrigerator: If you want them to last a bit longer, or if your kitchen is particularly warm, place the airtight container in the refrigerator. Your brownies will remain fresh for up to a week. Just let them come to room temperature for about 15-20 minutes before serving, or gently warm them in the microwave for a few seconds for an extra gooey treat.
- Freezing for Future Indulgence: These brownies freeze beautifully! Once fully cooled, cut them into individual squares. Wrap each square tightly in plastic wrap, then place them in a freezer-safe airtight container or a heavy-duty freezer bag. They can be stored in the freezer for up to 2-3 months. To enjoy, simply thaw them at room temperature for a few hours, or overnight in the refrigerator.
FAQs Sections
Got questions about these delightful Valentine’s Day Fudgy Red Velvet Brownies? We’ve got answers!
- Why do you use white vinegar in red velvet recipes?
White vinegar serves a few purposes in red velvet. It reacts with the baking soda (often present in cocoa powder) to create lift and tenderness, but more importantly, it helps to activate and enhance the vibrant red color of the food coloring, giving you that iconic red velvet hue. - Can I skip the red gel food coloring?
Technically, yes, you can skip it. However, your brownies will not have the characteristic vibrant red color and will look more like chocolate brownies. While they’ll still be delicious and fudgy, they won’t quite be “red velvet” without the red! - What if I don’t have a semi-sweet chocolate bar?
You can substitute with good quality semi-sweet chocolate chips (ensure they melt smoothly). Alternatively, if you only have cocoa powder, you might need to adjust the butter slightly and ensure you’re using a rich cocoa powder for depth of flavor. - How do I know my brownies are perfectly fudgy and not overbaked?
The key is the toothpick test! Insert a toothpick into the center of the brownies. If it comes out with moist crumbs attached but no wet batter, they’re perfect. If it comes out completely clean, they might be a little dry. If it’s wet batter, they need more time. - Can I make these brownies gluten-free?
Yes, you can! Substitute the all-purpose flour with a 1:1 gluten-free all-purpose flour blend. Make sure your blend contains xanthan gum for best results. - Can I use butter substitutes like margarine or coconut oil?
While you can, using butter will give you the best flavor and texture for these fudgy brownies. Margarine might alter the taste and texture slightly, and coconut oil could impart a subtle coconut flavor. - Why is sifting the dry ingredients important?
Sifting helps to break up any lumps in the flour and cocoa powder, ensuring they are evenly distributed throughout the batter. This results in a smoother batter and a more consistent, tender texture in your baked brownies. - Can I double this recipe for a larger batch?
Absolutely! If you want to double the recipe, you’ll need a 9×13 inch baking pan. The baking time might need to be adjusted slightly, usually an extra 5-10 minutes, but still rely on the toothpick test for doneness. - What happens if I overmix the batter?
Overmixing develops the gluten in the flour, which can lead to tougher, more cake-like brownies instead of the desired fudgy texture. Mix just until the dry ingredients are incorporated into the wet. - What’s the best way to cut clean, neat squares?
Patience is key! Ensure the brownies are completely cooled before cutting. Use a very sharp knife, and for the cleanest cuts, wipe the blade clean with a damp cloth after each slice.
Valentines Day Fudgy Red Velvet Brownies
Ingredients
Brownie Batter
- 3/4 cup unsalted butter melted
- 2 oz semi-sweet chocolate chopped
- 1 1/4 cup granulated sugar
- 2 eggs large
- 2 tsp vanilla extract
- 1 tsp white vinegar
- 1/2 tbsp red gel food coloring
- 2 tbsp unsweetened cocoa powder
- 1 1/4 cup all-purpose flour
- 1/4 tsp salt
Optional
- 1/2 cup white chocolate chips optional
Instructions
- Preheat oven to 350°F (175°C) and line an 8×8 inch pan with parchment paper.
- Melt butter and chocolate together until smooth.
- Mix in sugar, then eggs, vanilla, vinegar, and food coloring.
- In a separate bowl, mix cocoa powder, flour, and salt.
- Combine dry ingredients with wet ingredients gently.
- Pour batter into pan and bake for 30–35 minutes.
- Cool completely before slicing.