Why You’ll Love These Easy Homemade Christmas Cloud Cookies
Get ready to discover your new favorite holiday treat! These Easy Homemade Christmas Cloud Cookies aren’t just cookies; they’re little bites of festive joy, designed to make your holiday baking experience as magical as the season itself. Here are four reasons why you’ll absolutely adore this recipe:
- Effortlessly Delicious: Forget complicated recipes! Our step-by-step guide ensures a smooth, enjoyable baking journey, even for beginners. You’ll be whipping up professional-looking cookies in no time.
- Unbelievably Soft & Fluffy: Thanks to our secret ingredient – cornstarch – these cookies live up to their “cloud” name. Each bite is melt-in-your-mouth tender, a delightful contrast to chewier or crispier holiday cookies.
- Perfectly Festive & Customizable: From vibrant gel food colors to an array of cheerful sprinkles, these cookies are a blank canvas for your holiday creativity. Make them sparkle, glow, or embody a classic Christmas charm!
- Pure Joy in Every Bite: There’s something truly special about homemade cookies. These Cloud Cookies bring warmth, comfort, and a sprinkle of holiday magic to every gathering, making them ideal for sharing, gifting, or simply savoring yourself.
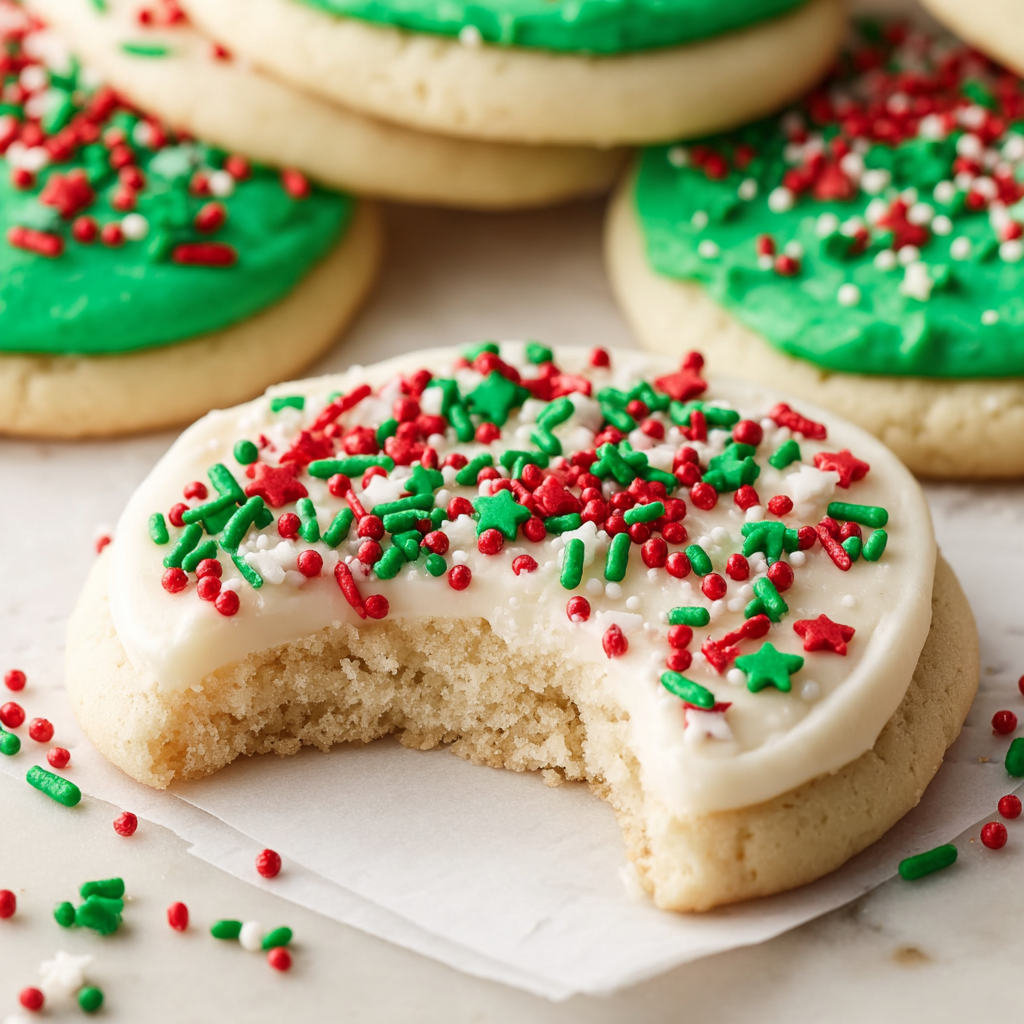
Picture this: a cozy evening, twinkling lights, and the aroma of freshly baked cookies filling your home. Sounds like a dream, right? Well, get ready to make that dream a delicious reality with our recipe for Easy Homemade Christmas Cloud Cookies! These aren’t just any cookies; they’re little puffs of heaven, so incredibly soft and fluffy, they practically float off the plate. We’re talking about a cookie so tender, it melts in your mouth, leaving behind a whisper of vanilla and almond that perfectly captures the spirit of the holidays.
Forget the stress of elaborate holiday baking. Our recipe is designed to be joyful, straightforward, and utterly rewarding. With a simple dough that comes together beautifully and a light, creamy frosting that’s a breeze to whip up, you’ll be creating festive masterpieces without breaking a sweat. Whether you’re baking for a cookie exchange, a family gathering, or just a sweet treat for yourself, these Easy Homemade Christmas Cloud Cookies are guaranteed to be the star of your holiday spread. Let’s get started on this delicious journey!
Ingredients for Your Christmas Cloud Cookies
For the Soft & Fluffy Cookies:
- ☁️ 2 ¾ cups all-purpose flour
- 🌟 ¼ cup cornstarch (our secret for that delightful tenderness!)
- ✨ ¾ teaspoon baking soda
- 💖 ½ teaspoon baking powder
- 🧂 ½ teaspoon fine sea salt
- 🧈 1 stick (½ cup) unsalted butter, softened to a cool room temperature
- 🍚 1 cup granulated sugar
- 🥚 1 large egg, at room temperature
- 🥛 ⅓ cup sour cream, at room temperature (for a moist crumb!)
- 🌿 1 tablespoon pure vanilla extract
- 🌰 ¼ teaspoon almond extract (optional, but it adds a lovely touch!)
For the Light & Creamy Frosting:
- 🧁 2 cups + 2 tablespoons powdered sugar, sifted
- 🧈 1 stick (½ cup) unsalted butter, cool room temperature
- 🧂 ¼ teaspoon fine sea salt
- 🌿 2 teaspoons pure vanilla extract
- 🥛 2 tablespoons heavy or whipping cream
- 🌈 Gel food coloring, if desired (or use natural powders for vibrant hues!)
- 🎉 Sprinkles, if desired (choose your favorite festive mix!)
Detailed Step-by-Step Directions to Make Cloud Cookies
Let’s Get Baking!
- First, preheat your oven to 350°F (175°C). Line a couple of baking sheets with parchment paper for super easy cleanup.
- In a medium bowl, simply whisk together your dry ingredients: the flour, cornstarch, baking soda, baking powder, and salt. Set this aside for a moment.
Crafting Your Delightful Dough:
- In the bowl of a stand mixer (or using a hand mixer), beat the softened butter and granulated sugar together on medium-high speed until the mixture is wonderfully light and fluffy, which usually takes about 3 minutes. Don’t forget to scrape down the sides of the bowl with a spatula!
- Now, on low speed, add in the egg, sour cream, pure vanilla extract, and the optional almond extract. Increase the speed to medium and beat for about 2 minutes until the mixture looks thicker and smooth. Give the bowl another good scrape.
- With the mixer on low speed, gradually add your dry flour mixture to the wet ingredients. Mix just until everything is combined and no dry streaks remain – be careful not to overmix!
Bake to Perfection:
- Using a medium cookie scoop (about 1 ½ tablespoons), drop rounded balls of dough onto your prepared baking sheets. Gently roll each ball until it’s smooth, then flatten them with the palm of your hand to about ¼-inch thick. If the dough feels a bit sticky, lightly dampen your hands.
- Bake for approximately 11 minutes, or until the cookies look dry on top and are just barely pale around the edges. The key is to avoid overbaking to keep them incredibly soft!
- Once baked, carefully transfer your beautiful cookies to a wire rack to cool completely. This is essential before you add the frosting!
Whip Up the Frosting Fun!
- In your stand mixer bowl, combine the sifted powdered sugar and the cool butter. Mix on low speed until everything is smooth, then increase the speed to medium and beat for another 3 minutes until it’s light and creamy.
- Stir in the salt, pure vanilla extract, and heavy cream. Beat on medium speed for 1 minute, adding a tiny bit more cream if needed to reach your desired creamy consistency. If you’re using food coloring, mix it in now!
- Generously frost each cooled cookie with a spoonful of your dreamy icing, spreading it evenly. If you’re adding sprinkles, do it right after frosting each cookie, as this homemade icing can set quite quickly.
- Allow your gorgeous cookies to sit for about 4 hours, or until the frosting is firm to the touch. This makes them perfect for stacking and sharing!
Enjoy your homemade, festive treats!
Presenting and Serving Your Easy Homemade Christmas Cloud Cookies
These Easy Homemade Christmas Cloud Cookies are not just a delight to eat, but also a joy to behold! Their soft, pillowy texture and creamy frosting make them incredibly versatile for festive presentation. Here are some fun ideas to make your cookies shine:
- Color Extravaganza: Divide your frosting into smaller bowls and use different gel food colorings to create a rainbow of holiday hues. Think classic red and green, frosty blues and whites for a winter wonderland, or elegant gold and silver.
- Sprinkle Magic: This is where the real fun begins! Use themed sprinkles like tiny snowflakes, stars, candy canes, or classic nonpareils. Apply them immediately after frosting each cookie for best adhesion, creating a dazzling effect.
- Gift-Ready Stacks: Once the frosting is fully set (after about 4 hours), stack your cookies carefully in clear cellophane bags tied with festive ribbons, or arrange them in decorative tins or cookie boxes. They make heartfelt homemade gifts for friends, neighbors, and teachers!
- Holiday Platter Perfection: Arrange your frosted and decorated Cloud Cookies on a beautiful serving platter amidst other holiday treats. Their vibrant colors and inviting appearance will make them a centerpiece at any party.
- Serving Suggestions: Pair these delightful cookies with a warm mug of hot cocoa, a cozy cup of coffee or tea, or a tall glass of milk for the younger ones. They’re also an exquisite dessert after a holiday meal.
Storing Your Easy Homemade Christmas Cloud Cookies
To keep your delicious Easy Homemade Christmas Cloud Cookies fresh and wonderful, proper storage is key! Once the frosting has completely set (which typically takes about 4 hours), you can store them in a few different ways:
- At Room Temperature: Place the frosted cookies in an airtight container. If you need to stack them, it’s a good idea to place a piece of parchment paper between layers to prevent them from sticking or smudging. They will stay wonderfully soft and fresh for up to six days.
- Freezing for Later: These cookies freeze beautifully! For best results, first flash-freeze the frosted cookies on a baking sheet for about an hour until the frosting is firm. Then, transfer them to an airtight freezer-safe container or a heavy-duty freezer bag, again with parchment paper between layers if stacking. They can be frozen for up to six weeks.
- Thawing: When you’re ready to enjoy them, simply remove the desired number of cookies from the freezer and let them thaw at room temperature. They’ll be just as soft and flavorful as when they were first baked!
No matter how you store them, these festive treats are sure to bring a smile whenever they’re enjoyed!
FAQs About Your Easy Homemade Christmas Cloud Cookies
1. What makes these cookies “cloud” cookies?
The “cloud” texture comes primarily from the combination of cornstarch in the dough, which tenderizes the crumb, and sour cream, which adds moisture and creates an incredibly soft, cake-like consistency. It’s truly a melt-in-your-mouth experience!
2. Can I make the cookie dough ahead of time?
Yes, absolutely! You can prepare the cookie dough, cover it tightly with plastic wrap, and refrigerate it for up to 2-3 days. When you’re ready to bake, let the dough sit at room temperature for about 15-20 minutes to soften slightly before scooping and baking.
3. Why did my cookies spread too much?
Several factors can cause cookies to spread: your butter might have been too warm (should be cool room temperature), the dough could be overmixed, or your oven temperature might be inconsistent. Ensure your baking sheets are cool before placing dough on them, too!
4. Can I use regular milk instead of sour cream in the dough?
While you can substitute, we highly recommend sticking to sour cream or full-fat Greek yogurt. Sour cream’s acidity and fat content contribute significantly to the moist crumb and tender texture that defines these “cloud” cookies. Regular milk won’t give the same delightful result.
5. What’s the best way to get uniform cookies?
A cookie scoop (like the 1 ½ tablespoon size mentioned) is your best friend for uniform cookies! It ensures each cookie is the same size, leading to even baking and a beautiful, consistent presentation.
6. How do I prevent my frosting from being too soft or too stiff?
If your frosting is too soft, add a little more sifted powdered sugar, a tablespoon at a time, until it reaches the desired consistency. If it’s too stiff, add a tiny bit more heavy cream (half a teaspoon at a time) until it loosens up. Room temperature butter is key!
7. Can I freeze these cookies with the frosting already on them?
Yes, you can! Make sure the frosting is completely set before freezing. We recommend flash-freezing the frosted cookies on a baking sheet for about an hour, then transferring them to an airtight freezer-safe container with parchment paper between layers. They’ll last up to six weeks.
8. What type of food coloring works best for vibrant holiday hues?
Gel food coloring is highly recommended for achieving vibrant, deep colors without adding too much liquid to your frosting. A little goes a long way, giving you those bright reds, greens, and blues perfect for Christmas!
9. Are these Easy Homemade Christmas Cloud Cookies suitable for cookie exchanges?
Absolutely! Their festive appearance, incredible softness, and ability to hold up well (especially once the frosting is set) make them a fantastic choice for cookie exchanges. Prepare for compliments and recipe requests!
10. What’s the secret to ensuring my frosting sets perfectly firm for stacking?
The main secret is patience! Allow the frosted cookies to sit undisturbed at room temperature for at least 4 hours, or even overnight, until the frosting develops a firm outer crust. Using cool (not cold) room temperature butter in the frosting also helps achieve the right texture for setting.
Easy Homemade Christmas Cloud Cookies ☁️🎄
Equipment
- Stand Mixer
- Hand Mixer
- Baking Sheets
- Parchment Paper
- Medium Bowl
- Spatula
- Medium cookie scoop
- Wire Rack
Ingredients
For the Soft & Fluffy Cookies
- 2.75 cups all-purpose flour
- 0.25 cup cornstarch (our secret for that delightful tenderness!)
- 0.75 tsp baking soda
- 0.5 tsp baking powder
- 0.5 tsp fine sea salt
- 0.5 cup unsalted butter softened to a cool room temperature (1 stick)
- 1 cup granulated sugar
- 1 large egg at room temperature
- 0.33 cup sour cream at room temperature (for a moist crumb!)
- 1 tbsp pure vanilla extract
- 0.25 tsp almond extract optional, but it adds a lovely touch!
For the Light & Creamy Frosting
- 2.125 cups powdered sugar sifted (2 cups + 2 tablespoons)
- 0.5 cup unsalted butter cool room temperature (1 stick)
- 0.25 tsp fine sea salt
- 2 tsp pure vanilla extract
- 2 tbsp heavy or whipping cream
- Gel food coloring if desired (or use natural powders for vibrant hues!)
- Sprinkles if desired (choose your favorite festive mix!)
Instructions
Let's Get Baking!
1. First, preheat your oven to 350°F (175°C). Line a couple of baking sheets with parchment paper for super easy cleanup.- 2. In a medium bowl, simply whisk together your dry ingredients: the flour, cornstarch, baking soda, baking powder, and salt. Set this aside for a moment.
Crafting Your Delightful Dough:
3. In the bowl of a stand mixer (or using a hand mixer), beat the softened butter and granulated sugar together on medium-high speed until the mixture is wonderfully light and fluffy, which usually takes about 3 minutes. Don't forget to scrape down the sides of the bowl with a spatula!- 4. Now, on low speed, add in the egg, sour cream, pure vanilla extract, and the optional almond extract. Increase the speed to medium and beat for about 2 minutes until the mixture looks thicker and smooth. Give the bowl another good scrape.
- 5. With the mixer on low speed, gradually add your dry flour mixture to the wet ingredients. Mix just until everything is combined and no dry streaks remain – be careful not to overmix!
Bake to Perfection:
6. Using a medium cookie scoop (about 1 ½ tablespoons), drop rounded balls of dough onto your prepared baking sheets. Gently roll each ball until it's smooth, then flatten them with the palm of your hand to about ¼-inch thick. If the dough feels a bit sticky, lightly dampen your hands.- 7. Bake for approximately 11 minutes, or until the cookies look dry on top and are just barely pale around the edges. The key is to avoid overbaking to keep them incredibly soft!
- 8. Once baked, carefully transfer your beautiful cookies to a wire rack to cool completely. This is essential before you add the frosting!
Whip Up the Frosting Fun!
9. In your stand mixer bowl, combine the sifted powdered sugar and the cool butter. Mix on low speed until everything is smooth, then increase the speed to medium and beat for another 3 minutes until it's light and creamy.- 10. Stir in the salt, pure vanilla extract, and heavy cream. Beat on medium speed for 1 minute, adding a tiny bit more cream if needed to reach your desired creamy consistency. If you're using food coloring, mix it in now!
- 11. Generously frost each cooled cookie with a spoonful of your dreamy icing, spreading it evenly. If you're adding sprinkles, do it right after frosting each cookie, as this homemade icing can set quite quickly.
- 12. Allow your gorgeous cookies to sit for about 4 hours, or until the frosting is firm to the touch. This makes them perfect for stacking and sharing!
Notes
Nutrition Information (per cookie, estimated):
- Calories: 185 kcal
- Total Carbs: 28g
- Net Carbs: 28g
- Fats: 8g
- Protein: 2g