Why You’ll Love This Summery Vanilla Bean Dream Ice Cream Recipe
Get ready to fall head over heels for your new favorite homemade treat! This Summery Vanilla Bean Dream Ice Cream isn’t just a dessert; it’s an experience. Here are four irresistible reasons why you’ll absolutely adore whipping up this creamy masterpiece:
- Unbeatable Fresh Flavor: Nothing compares to the pure, rich taste of homemade vanilla. With real vanilla extract and simple, wholesome ingredients, you’ll achieve a flavor profile that store-bought just can’t match. It’s a true celebration of classic vanilla perfection!
- Effortlessly Elegant: Despite its luxurious taste and texture, this recipe is surprisingly simple to make. With straightforward steps and minimal fuss, you can create an impressive dessert that looks and tastes like it came straight from a gourmet creamery.
- Perfectly Customizable Base: While divine on its own, this Summery Vanilla Bean Dream Ice Cream serves as the ultimate canvas for your culinary creativity. Add your favorite mix-ins, swirl in sauces, or pair it with other desserts – the possibilities are endless!
- Cool & Refreshing Summer Staple: As the name suggests, this ice cream is the quintessential summer indulgence. It’s light enough to enjoy on a warm afternoon yet rich enough to satisfy any sweet craving. Beat the heat with every cool, velvety scoop!
Dive Into Your Summery Vanilla Bean Dream Ice Cream Adventure!
Imagine this: the sun is shining, a gentle breeze is blowing, and you’re about to embark on a journey to pure, unadulterated bliss. Forget the boring, icy cartons from the supermarket – today, you’re crafting your very own batch of Summery Vanilla Bean Dream Ice Cream! This isn’t just a recipe; it’s a ticket to a nostalgic summer memory, a creamy cloud of sweet vanilla goodness that dances on your tongue. It’s surprisingly simple to make, yet yields results so rich and luxurious, you’ll wonder why you ever bothered with anything else. Get ready to churn up some magic and transform a few humble ingredients into the most delightful, velvety smooth treat that perfectly captures the essence of summer. Your taste buds are about to thank you!
Ingredients for Your Summery Vanilla Bean Dream Ice Cream
Gather your simple yet mighty ingredients to create this magical frozen treat. Quality ingredients make all the difference in achieving that signature smooth, creamy texture and rich vanilla flavor.
- 🥛 1½ cups heavy cream
- 🥛 1½ cups whole milk
- 🍬 ⅔ cup cane sugar
- 🤎 2 teaspoons vanilla extract
- 🧂 ⅛ teaspoon sea salt
Churning Up Your Summery Vanilla Bean Dream Ice Cream: Step-by-Step Directions
Let’s get down to business and make some incredible Summery Vanilla Bean Dream Ice Cream! Follow these easy steps to ensure a perfectly creamy, dreamy outcome. Precision and patience are your best friends here!
- Prepare Your Chiller: This is a non-negotiable first step! At least 12 hours before you plan to make your ice cream, pop the bowl of your ice cream maker into the freezer. It needs to be thoroughly, absolutely frozen solid to work its magic and prevent icy crystals.
- Whip Up the Base: In a medium saucepan, combine the heavy cream, whole milk, cane sugar, vanilla extract, and sea salt. Place it over medium-low heat and gently warm this mixture for about 5 minutes, whisking frequently. Don’t let it boil! You’ll know it’s ready when the sugar has completely dissolved (give it a taste test if you’re unsure, just a tiny bit!) and the mixture feels pleasantly warm to the touch.
- Chill Out: Pour the warm, sweet ice cream base into a heatproof bowl. Cover it tightly (plastic wrap works great!) and place it directly into the refrigerator to chill for a minimum of 2 hours. For the absolute best, creamiest texture, an overnight chill is even better! This crucial step ensures the fat molecules firm up and results in a wonderfully smooth ice cream.
- Churn to Perfection: Once your base is perfectly chilled (it should be very cold!), give it a good whisk to re-incorporate everything. Now, transfer this liquid gold to your pre-frozen ice cream maker bowl. Churn according to your manufacturer’s instructions, typically for 20 to 30 minutes, until it reaches a delightful soft-serve consistency. It will look like thick milkshake!
- Firm Up (Optional): If you’re a fan of super firm, perfectly scoopable ice cream, transfer it from the ice cream maker into an airtight container. Pop it into the freezer for an additional 2 to 4 hours. This allows it to set up beautifully.
- Enjoy & Store: Serve your Summery Vanilla Bean Dream Ice Cream immediately for a luscious, soft-serve style treat, or wait for that firmer, classic scoop. Store any tempting leftovers in an airtight container in the freezer for up to one month. If it gets too hard, just let it sit at room temperature for a few minutes before scooping – patience is a virtue when deliciousness awaits!
Creative Ways to Present and Serve Your Summery Vanilla Bean Dream Ice Cream
Your homemade Summery Vanilla Bean Dream Ice Cream is a star on its own, but why not elevate the experience? This versatile treat can be presented in countless delightful ways, making every serving a special occasion. Here are some fun ideas:
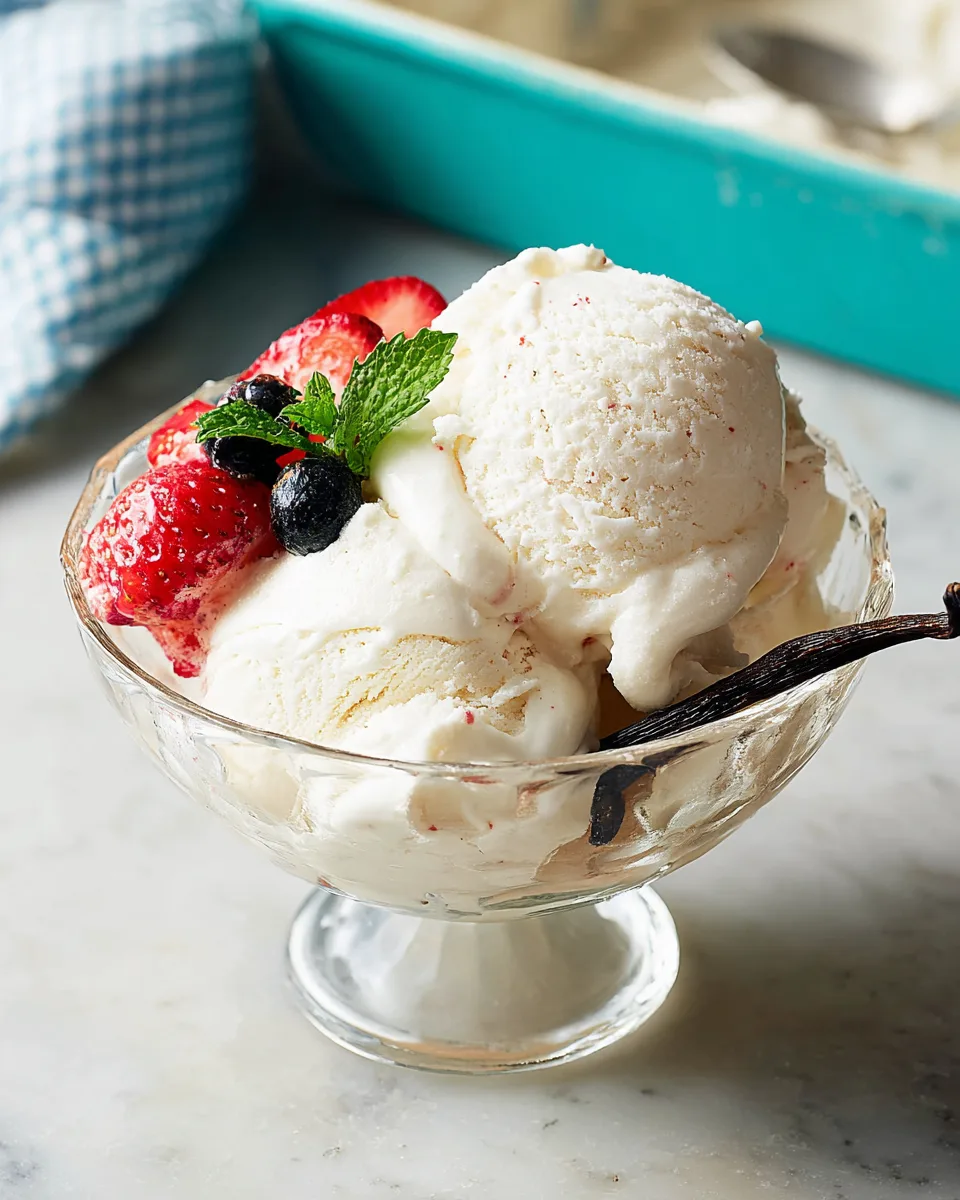
- Classic Cones & Scoops: The timeless choice! Serve generous scoops in crispy waffle cones, sugar cones, or even simple bowls. A sprig of fresh mint or a few berries adds a pop of color.
- Decadent Sundae Bar: Set up an ultimate sundae station! Offer bowls of your Summery Vanilla Bean Dream Ice Cream alongside a variety of toppings: hot fudge, caramel sauce, whipped cream, sprinkles, chopped nuts, fresh fruit (strawberries, blueberries, sliced bananas), cherry on top!
- Affogato Al Fresco: For coffee lovers, a scoop of this rich vanilla ice cream submerged in a shot of hot, freshly brewed espresso (an affogato) is an absolute dream. The contrast of hot and cold, bitter and sweet, is divine.
- Fruit & Ice Cream Parfaits: Layer scoops of ice cream with fresh seasonal fruits like peaches, raspberries, or grilled pineapple for a refreshing and elegant dessert. A sprinkle of granola adds a delightful crunch.
- Pie A La Mode: There’s no better accompaniment to a warm slice of apple pie, cherry pie, or peach cobbler than a melting scoop of this vanilla bean dream. The flavors are a match made in heaven.
- Ice Cream Sandwiches: Sandwich a scoop between two homemade cookies (chocolate chip, oatmeal, or snickerdoodle!) for a fun, customizable treat. Roll the edges in sprinkles or mini chocolate chips for extra flair.
- Root Beer Floats: Revisit a classic by dropping a few scoops into a tall glass of root beer or your favorite soda. The fizz and creaminess create a nostalgic delight perfect for a hot day.
Storing Your Summery Vanilla Bean Dream Ice Cream for Lasting Enjoyment
So you’ve made a batch of this divine Summery Vanilla Bean Dream Ice Cream, and you might (emphasis on *might*) have some left over! Proper storage is key to maintaining its luscious texture and incredible flavor. Here’s how to keep your frozen masterpiece fresh and delicious for as long as possible:
- Airtight is Right: Always transfer your ice cream to an airtight container immediately after churning or after you’ve served your initial scoops. This prevents freezer burn and keeps unwanted freezer odors from affecting your delicate vanilla flavor. Glass containers with tight-fitting lids or quality plastic freezer containers are ideal.
- Seal It Up: For an extra layer of protection against ice crystals, you can press a piece of parchment paper or plastic wrap directly onto the surface of the ice cream before sealing the container.
- Location, Location, Location: Store your ice cream in the coldest part of your freezer, typically towards the back, rather than in the door. The door experiences more temperature fluctuations, which can lead to iciness.
- How Long Does It Last?: When stored correctly in an airtight container, your homemade Summery Vanilla Bean Dream Ice Cream will maintain its peak quality for up to one month. While it might still be safe to eat after that, its texture and flavor may start to degrade.
- Softening Tip: If your ice cream gets too hard straight from the freezer (which often happens with homemade varieties due to fewer stabilizers), simply let it sit at room temperature for 5-10 minutes before scooping. This brief softening period will bring it back to that perfect, scoopable consistency.
Summery Vanilla Bean Dream Ice Cream: Your FAQs Answered!
Got questions about whipping up this delightful Summery Vanilla Bean Dream Ice Cream? We’ve got answers! Here are some common queries to help you master your homemade ice cream game.
- Q1: Why is chilling the base so important?
- A: Chilling the base for at least 2 hours (or overnight) is crucial for two main reasons: it helps the fat molecules firm up, which contributes to a smoother, creamier texture, and it ensures the base is cold enough for your ice cream maker to churn it efficiently without melting too quickly.
- Q2: Can I use a different type of sugar?
- A: Cane sugar is recommended for its fine texture and neutral flavor. While you could technically use granulated sugar, cane sugar often dissolves more easily and provides a cleaner sweetness for this Summery Vanilla Bean Dream Ice Cream.
- Q3: What if I don’t have an ice cream maker?
- A: This particular recipe is designed for an ice cream maker. Without one, achieving the same smooth, creamy texture would be challenging, as it prevents large ice crystals from forming. While there are “no-churn” recipes, they typically use different base ingredients like condensed milk.
- Q4: Can I add mix-ins to my Summery Vanilla Bean Dream Ice Cream?
- A: Absolutely! Vanilla is a fantastic base for customization. Add mix-ins like chocolate chips, chopped nuts, cookie pieces, or fruit swirls during the last 5 minutes of churning, or fold them in when you transfer the soft-serve to an airtight container for freezing.
- Q5: Why is my ice cream icy?
- A: Icy ice cream can be caused by a few factors: not chilling the base sufficiently, not freezing your ice cream maker bowl long enough, or too much water content in your base. Ensure your cream, milk, and sugar ratios are correct, and follow the chilling steps precisely.
- Q6: Can I substitute the heavy cream or whole milk with lower-fat options?
- A: While you can experiment, heavy cream and whole milk are essential for the rich, creamy texture of this Summery Vanilla Bean Dream Ice Cream. Lower-fat alternatives will likely result in a less rich and potentially icier product.
- Q7: What kind of vanilla extract is best?
- A: For the best flavor, use high-quality pure vanilla extract. If you want a more pronounced vanilla bean flavor and speckles, consider using vanilla bean paste or even scraping the seeds from a vanilla bean.
- Q8: My ice cream is too soft after churning. Is that normal?
- A: Yes, it’s completely normal! After churning, homemade ice cream will have a soft-serve consistency. The additional freezing time (Step 5) is for firming it up to a scoopable texture.
- Q9: Can I double the recipe?
- A: You can double the recipe, but ensure your ice cream maker has the capacity for the larger volume. It’s often better to make two separate batches if your machine’s bowl is smaller, to prevent overfilling and ensure efficient churning.
- Q10: Why add sea salt to a sweet recipe?
- A: A tiny pinch of sea salt doesn’t make the ice cream salty; instead, it acts as a flavor enhancer. It brightens the sweetness and deepens the vanilla notes, creating a more balanced and complex flavor profile for your Summery Vanilla Bean Dream Ice Cream.
Vanilla Bean Dream Ice Cream
Equipment
- Ice Cream Maker
- Medium Saucepan
- Heatproof Bowl
- Airtight Container
Ingredients
Ice Cream Base
- 1.5 cups heavy cream
- 1.5 cups whole milk
- 0.66 cup cane sugar
- 2 tsp vanilla extract
- 0.125 tsp sea salt
Instructions
- Prepare Your Chiller: At least 12 hours before you plan to make your ice cream, pop the bowl of your ice cream maker into the freezer. It needs to be thoroughly chilled to work its magic!
- Whip Up the Base: In a medium saucepan, combine the heavy cream, whole milk, cane sugar, vanilla extract, and sea salt. Gently warm this mixture over medium-low heat for about 5 minutes, whisking frequently. You'll know it's ready when the sugar has completely dissolved and the mixture feels warm to the touch.
- Chill Out: Pour the warm ice cream base into a heatproof bowl. Cover it and place it in the refrigerator to chill for at least 2 hours, or even better, overnight. This crucial step ensures a wonderfully creamy texture.
- Churn to Perfection: Once your base is perfectly chilled, give it a good whisk, then transfer it to your pre-frozen ice cream maker bowl. Churn according to your manufacturer's instructions, typically for 20 to 30 minutes, until it reaches a soft-serve consistency.
- Firm Up (Optional): If you prefer a firmer, scoopable ice cream, transfer it from the ice cream maker into an airtight container. Freeze for an additional 2 to 4 hours.
- Enjoy & Store: Serve immediately for a soft, delicious treat, or freeze for a firmer texture. Store any leftovers in an airtight container in the freezer for up to one month. If it gets too firm, just let it sit at room temperature for a few minutes before scooping!