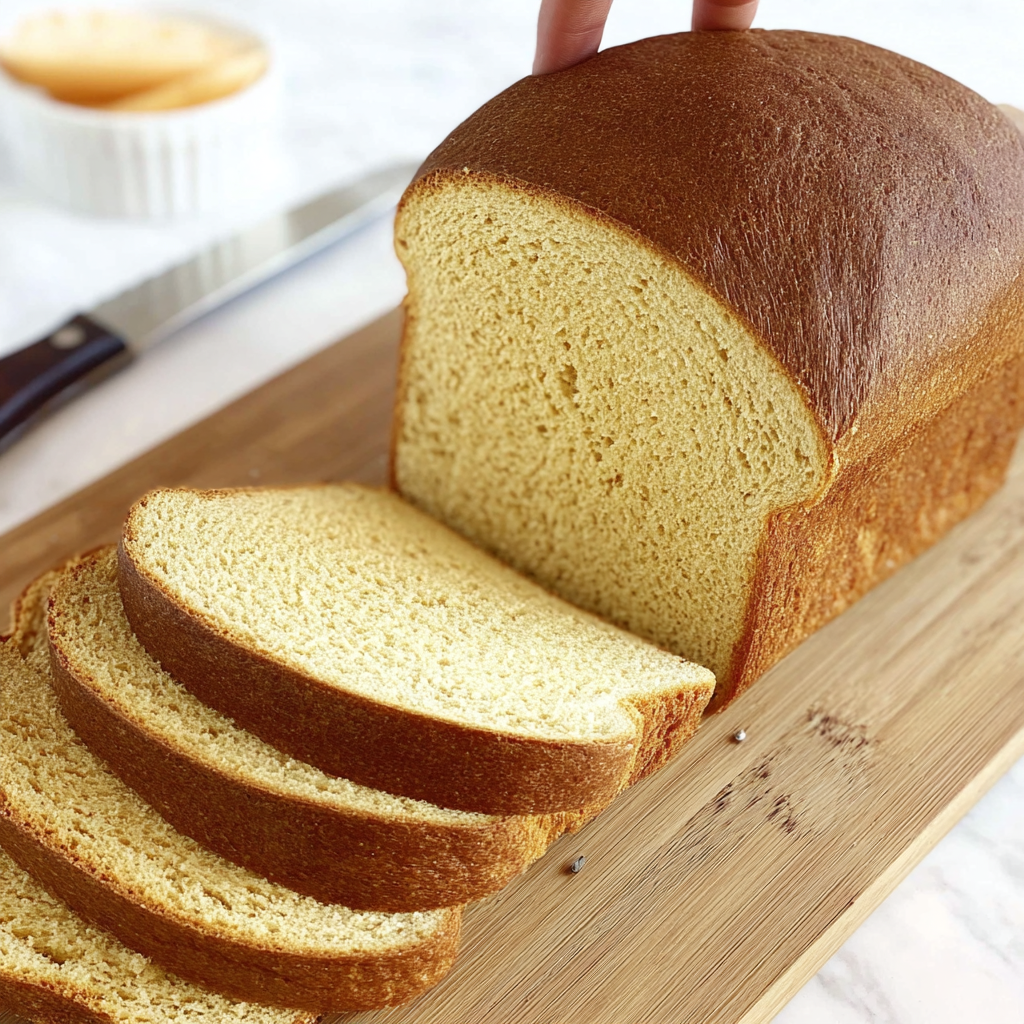
Easy & Healthy Keto Loaf!
Bake a delicious and healthy low-carb keto loaf with this easy-to-follow recipe, perfect for sandwiches or toast!
Equipment
- Stand Mixer
- Loaf Pan
Ingredients
- 1.25 cups Vital Wheat Gluten for that perfect bread texture!
- 0.67 cup Oat Fiber adds amazing fiber and lightness
- 0.33 cup Ground Golden Flaxseed plus 1-3 tablespoons extra, for a healthy boost and perfect consistency
- 0.33 cup Lupin Flour a fantastic low-carb alternative
- 1 cup Warm Water about 125°F – just right for yeast!
- 3 tablespoons Monk Fruit or Allulose your favorite sugar-free sweetener
- 2 Large Eggs beaten and at room temperature for best results
- 2 tablespoons Butter softened, for richness
- 1 tablespoon Sugar-Free Keto Honey for a hint of sweetness
- 1 tablespoon Active Dry Yeast the magic behind the rise!
- 2 teaspoons Baking Powder for extra lift
- 1 teaspoon Inulin Powder helps activate the yeast and adds a prebiotic touch
- 1 teaspoon Salt enhances all the flavors
Instructions
- Step 1: Activate Your Yeast. In a small mixing cup, combine the warm water and inulin powder. Sprinkle the active dry yeast over the top. Give it a gentle mix for a few seconds, then let it sit for about 5-7 minutes until it becomes beautifully foamy – this means your yeast is happy and ready!
- Step 2: Prepare Dry Ingredients. While your yeast is blooming, add the vital wheat gluten, oat fiber, lupin flour, golden flaxseed, sweetener, salt, and baking powder into the bowl of your stand mixer. Whisk everything briefly to combine, breaking up any lumps, making the mixture light and airy.
- Step 3: Combine Wet & Dry. Once your yeast mixture is bloomed and bubbly, with your mixer running on low speed, slowly pour it into the dry ingredients. Next, pour in the beaten eggs and sugar-free keto honey. Continue mixing just until the dough starts to come together.
- Step 4: Add Butter & Adjust Dough. Now, add the softened butter and keep mixing until it's fully incorporated. If the dough seems too wet or sticky, sprinkle in 1-3 extra tablespoons of golden flaxseed until it’s tacky but no longer heavily sticking to the sides of the bowl. This is a crucial step to prevent your bread from collapsing during baking, so trust your instincts here!
- Step 5: Knead & Rest. Scrape down the sides of the bowl, remove the paddle, and attach the dough hook. Knead the dough for a full 7 minutes. Then, let the dough rest right in the bowl for 10 minutes – a perfect time to clean up and get your pan ready.
- Step 6: Prepare Your Loaf Pan. Line a standard loaf pan with parchment paper, then lightly brush or spray the paper and the sides of the pan with olive oil.
- Step 7: Shape Your Loaf. Gently remove the dough from your mixer. It should feel tacky, but not overly wet. Briefly knead it by hand, then form it into a nice, even loaf shape and place it into your prepared loaf pan.
- Step 8: The Great Rise! Loosely cover the loaf pan with plastic wrap (you can spray the inside of the plastic wrap with nonstick spray to prevent sticking). Place it in a warm, dark place to rise for 1 ½ to 2 hours. If your oven has a "proof" setting, use it with a pan of boiling water on the bottom rack for extra warmth and moisture. Otherwise, a microwave with a glass of hot water can create a cozy, moist environment. For an even better rise, consider swapping out the hot water for fresh hot water every 30 minutes.
- Step 9: Bake to Perfection. Preheat your oven to 375°F (190°C). Place the risen loaf on the lower third rack of your oven and bake for 17-18 minutes. Be sure to rotate the pan halfway through baking for even browning. If the top starts to get too dark too quickly, loosely tent it with aluminum foil until it’s finished baking.
- Step 10: Cool Completely & Enjoy. Once baked, remove the bread from the oven. This is the hardest part: resist the urge to slice into it immediately! Allow the bread to cool completely before cutting. This ensures the perfect texture. Store leftovers at room temperature for 1-2 days, then transfer to an airtight container in the fridge for 3-4 days. It also freezes beautifully for longer storage!
Notes
Store leftovers at room temperature for 1-2 days, then transfer to an airtight container in the fridge for 3-4 days. It also freezes beautifully for longer storage!
Nutrition Information (per slice):
- Calories: 112 kcal
- Total Carbs: 9 g (2 g Net Carbs)
- Fats: 5 g
- Protein: 12 g
