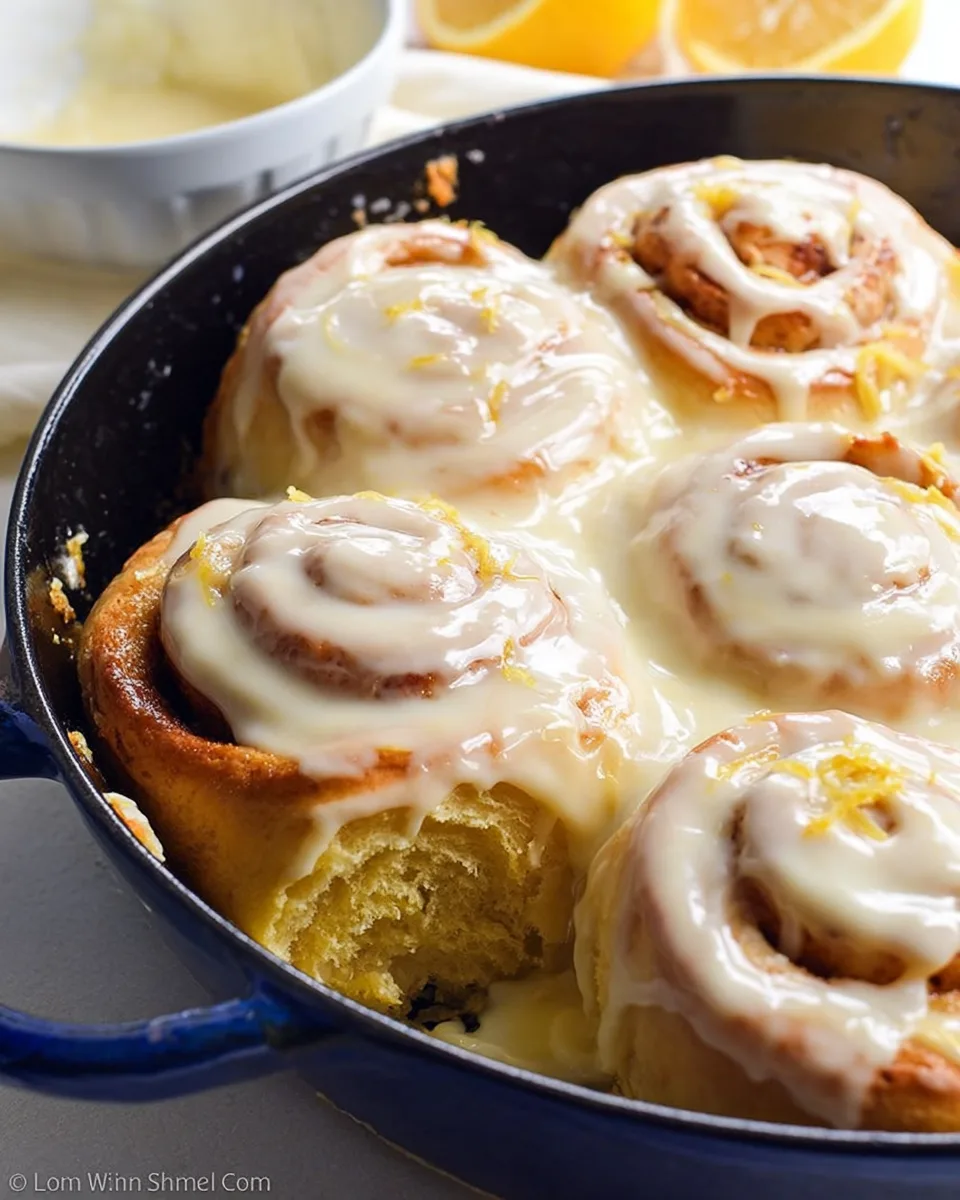
Gluten-Free Zesty Lemon Rolls 🍋
These Gluten-Free Zesty Lemon Rolls are a delightful treat, featuring a bright lemon curd filling nestled in a soft, fluffy gluten-free dough, all topped with a velvety lemon cream cheese icing. Perfect for a special breakfast or dessert!
Equipment
- Stand Mixer
- Saucepan
- Baking Pan
- Whisk
Ingredients
For the Bright Lemon Curd
- 0.5 cup granulated sugar
- 1 fresh lemon zest (organic, unwaxed recommended)
- 3 large egg yolks at room temperature
- 0.25 tsp salt
- 0.25 cup fresh lemon juice
- 0.25 cup unsalted butter cut into cubes
For the Soft Gluten-Free Dough
- 3 tbsp whole psyllium husk (or 2.5 tablespoons psyllium husk powder)
- 0.75 cup warm water
- 0.25 cup granulated sugar
- 1 fresh lemon zest (organic, unwaxed recommended)
- 1.4 cups tapioca starch (or arrowroot starch, cornstarch, or potato starch)
- 1 cup millet flour (or finely milled brown rice flour)
- 3 tbsp sorghum flour (or light buckwheat, white teff, or oat flour if no oat sensitivity)
- 2 tsp instant yeast (or 2.5 teaspoons active dry yeast)
- 1.5 tsp baking powder
- 2 tsp xanthan gum
- 1 tsp salt
- 0.42 cups warm whole milk
- 1 large egg at room temperature
- 2.5 tbsp unsalted butter melted
For the Tangy Filling
- 0.67 cup prepared lemon curd (about 170g)
- 1 tbsp cornstarch
For the Velvety Lemon Cream Cheese Icing
- 0.33 cup full-fat cream cheese softened
- 2.5 tbsp unsalted butter softened
- 0.5 cup powdered sugar
- 0.5 tsp vanilla bean paste (or 1-2 teaspoons vanilla extract)
- pinch of salt
- 0.25 cup prepared lemon curd (about 55g)
Instructions
- Step 1: Create the Luscious Lemon Curd (Best Made Ahead!)
- Prep Your Tools: To avoid a metallic taste, use a glass or ceramic bowl, a rubber spatula, and a non-metal saucepan.
- Infuse the Sugar: In a bowl, rub the lemon zest into the granulated sugar with your fingertips. This step really brings out the lemon flavor!
- Whip It Good: Add the egg yolks and salt to the lemon-sugar mixture. Whisk by hand until they're slightly fluffy and lighter in color.
- Heat the Juice: Gently heat the lemon juice in your saucepan until it just starts to boil.
- Temper the Eggs: Slowly drizzle the hot lemon juice into the egg yolk mixture, whisking constantly. This keeps your eggs from scrambling!
- Thicken It Up: Pour the mixture back into the saucepan. Cook over low heat, stirring continuously, for about 4-5 minutes until it thickens enough to coat the back of your spoon. Don't let it boil!
- Butter Up: Remove from heat and stir in the cubed butter until it's completely melted and smooth.
- Cool Down: Pour the curd into a heat-proof container. Cover it with plastic wrap, pressing it directly onto the surface to prevent a "skin" from forming. Let it cool to room temperature, then chill in the fridge until you're ready to use it (can be made a day or two in advance).
- Step 2: Mix the Light & Fluffy Gluten-Free Dough
- Psyllium Gel Magic: In a small bowl, mix the psyllium husk with warm water. Watch it transform into a gel in about 30-45 seconds.
- Zesty Sugar: In the bowl of a stand mixer (recommended, with dough hook), rub the lemon zest into ¼ cup granulated sugar.
- Combine Dry Goodies: Add tapioca starch, millet flour, sorghum flour, instant yeast, baking powder, xanthan gum, and salt to the mixer bowl. Whisk everything together. Quick Tip for Active Dry Yeast: If using active dry yeast, first mix it with 1-2 tablespoons of the sugar and the warm milk. Let it sit for 10-15 minutes until it gets foamy, then add it with the other wet ingredients.
- Wet Meets Dry: Make a little well in the center of your dry ingredients. Add the psyllium gel, warm milk, egg, and melted butter.
- Knead to Perfection: Knead with the dough hook for 4-5 minutes (or 6-8 minutes by hand) until the dough is smooth and all ingredients are well combined. Scrape the sides and bottom of the bowl occasionally. This extra kneading is key for soft rolls!
- Sticky is Okay! The dough will be a bit sticky, but that's perfectly normal for gluten-free dough. Resist adding more flour, which can make your rolls dry. If it's too sticky to handle, chill it in the fridge for about an hour to firm it up.
- Step 3: Assemble Your Swirly Lemon Rolls
- Prep Your Pan: Lightly butter a 10-inch round skillet or baking pan.
- Filling Time: In a small bowl, mix ⅔ cup of your prepared lemon curd with the cornstarch. This helps it set nicely inside the rolls.
- Roll it Out: Lightly flour your work surface and your hands. Gently knead the dough, then roll it into a rectangle, roughly 11x15 inches.
- Spread the Zest: Dollop the lemon curd filling evenly over the entire dough rectangle, spreading it all the way to the edges.
- Cut & Roll: Using a pizza cutter or a sharp knife, cut the dough lengthwise into seven 1½-inch wide strips (about 15 inches long). Carefully roll up each strip into a pretty swirl. Don't worry if it gets a little messy – lemon curd is softer than typical cinnamon roll filling!
- Arrange: Place the rolled lemon rolls into your buttered pan, so they are just touching each other.
- Step 4: Let Them Rise (Proofing)
- Warm Spot: Lightly cover the rolls with plastic wrap to prevent drying. Let them rise in a warm spot for about 1 hour 15 minutes to 1 hour 30 minutes, or until they've nearly doubled in size.
- Cozy Oven Tip: If your kitchen is cool, you can proof them in a lukewarm oven (around 79ºF/26ºC) with a cup of hot water inside for humidity.
- Step 5: Bake to Golden Perfection
- Preheat: While the rolls are proofing, preheat your oven to 350ºF (180ºC) and adjust the oven rack to the middle position.
- Cover & Bake (Initial): Once the rolls have doubled, cover the pan loosely with aluminum foil. Bake for 15 minutes. This traps steam and helps the rolls get extra soft!
- Uncover & Bake (Final): Remove the foil and continue baking for another 18-22 minutes, until the tops are beautifully golden brown.
- Cool Down: Let the baked rolls cool slightly while you whip up the icing.
- Step 6: Whip Up the Creamy Lemon Icing & Enjoy!
- Creamy Base: In a bowl, whisk together the softened cream cheese and butter until smooth. (A hand mixer works well here).
- Sweet & Smooth: Add the powdered sugar, vanilla, and a pinch of salt. Whisk until creamy and lump-free.
- Lemon Boost: Stir in the remaining ¼ cup of lemon curd until fully combined.
- Ice Away! Spread the delicious lemon cream cheese icing over the warm or lukewarm rolls. For extra gooeyness, ice them while they're still quite warm.
- Serve & Store: Enjoy these zesty rolls while they're warm! They're best on baking day but can be stored in an airtight container for 2-3 days. Reheat briefly in the microwave for that fresh-baked softness.
Notes
These zesty rolls are best enjoyed on baking day but can be stored in an airtight container for 2-3 days. Reheat briefly in the microwave for that fresh-baked softness.
Nutritional values are estimates and can vary based on specific ingredients and preparation. Per roll: Calories: ~410, Total Carbs: ~55g, Net Carbs: ~48g, Fats: ~22g, Protein: ~7g.
