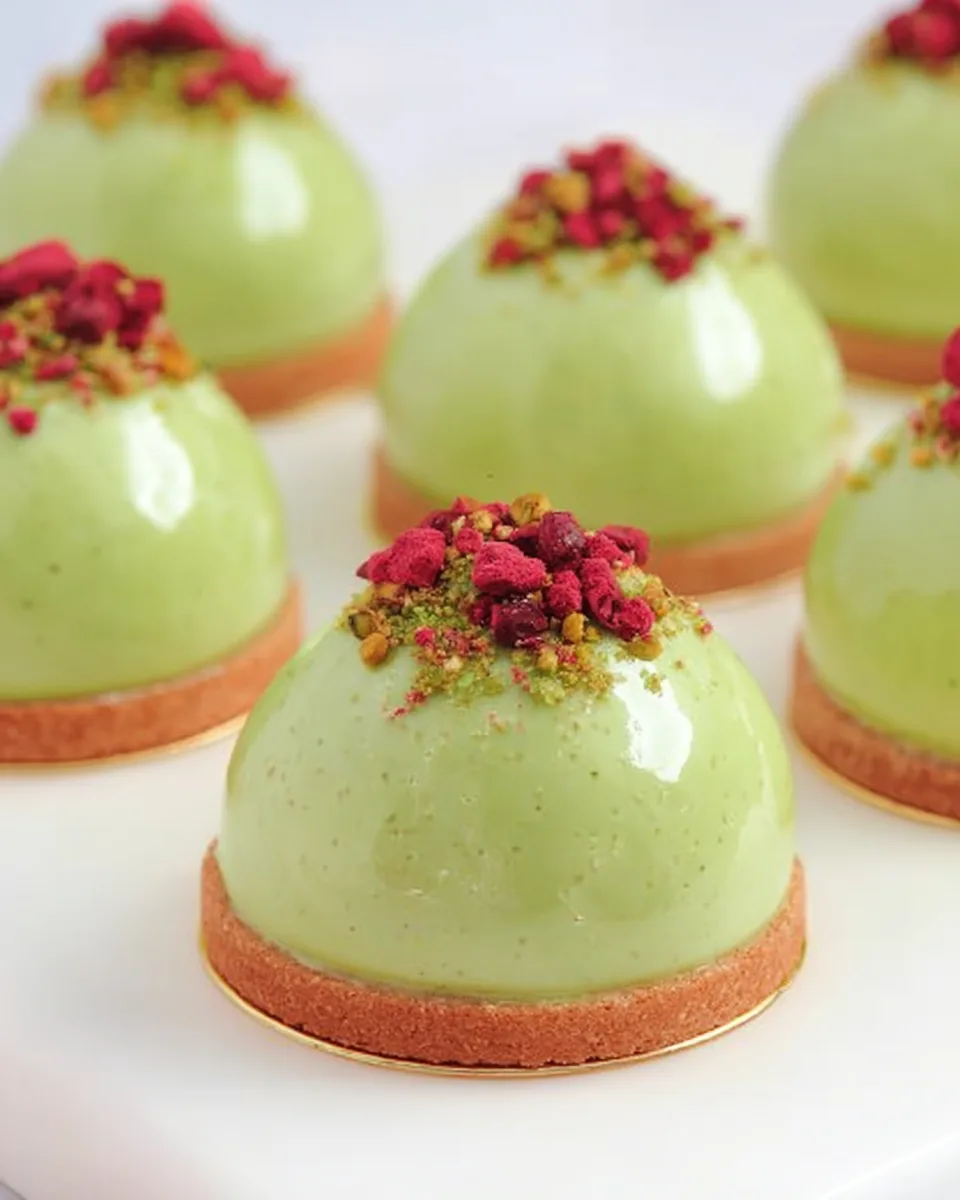
Pistachio & Raspberry Petit Gâteaux 🌸
Indulge in these exquisite Pistachio & Raspberry Petit Gâteaux, a sophisticated French dessert featuring layers of crisp sablée, light pistachio joconde sponge, tangy raspberry jelly, and creamy pistachio mousse, all elegantly glazed and garnished.
Equipment
- Small Silicone Dome Molds (4-cm)
- Small Saucepan
- 12-inch Square Baking Pan
- Electric Mixer
- Round Cookie Cutters (2.4-inch and 2.5-inch)
- Mixing Bowls
- Double Boiler Setup
- 6-Cavity Silicone Dome Mold
- Offset Spatula
- Baking Sheets
- Wire Rack
Ingredients
Crisp Sablée Cookie Base
- 4.5 tablespoons cold unsalted butter cubed
- 1/3 cup powdered sugar
- 1/4 teaspoon salt
- 3.5 tablespoons almond flour
- 9/16 cup all-purpose flour
- 13/24 cup cake flour
- 1.5 tablespoons cold beaten egg about 1/2 a large egg
Light Pistachio Joconde Sponge
- 1/2 cup powdered sugar
- 1/3 cup finely ground pistachios pistachio powder
- 1/4 cup almond flour
- 2 tablespoons all-purpose flour sifted
- 9/16 cup whole eggs about 2 large eggs
- 1 tablespoon melted unsalted butter
- 3.5 tablespoons egg whites about 1 1/2 large egg whites
- 1 tablespoon granulated sugar
Tangy Raspberry Jelly Inserts
- 1/2 cup raspberry puree homemade or store-bought
- 1.5 tablespoons water
- 1.5 tablespoons granulated sugar
- 1 sheet gelatin (3g) or 1 teaspoon unflavored gelatin powder
Creamy Pistachio Mousse
- 2 sheets gelatin (6g) or 2 teaspoons unflavored gelatin powder
- 7/8 cup heavy whipping cream 35% fat
- 2 tablespoons granulated sugar
- 1 large egg yolk approx. 18-20g
- 13/32 cup milk
- 13/32 cup pistachio paste homemade or store-bought
Shiny Glaze & Decoration
- 35/32 cup store-bought neutral glaze
- 2 tablespoons water
- green food coloring A few drops (optional)
- Freeze-dried raspberries or strawberries (for garnish)
- Crushed or whole pistachios (for garnish)
Instructions
- Step 1: Prepare the Tangy Raspberry Jelly1. Soak your gelatin sheets in a bowl of cold water until they are soft (if using powder, sprinkle it over 1 tablespoon of cold water and let it bloom for 5 minutes). Squeeze out any excess water from the softened sheets.
- 2. In a small saucepan, combine the raspberry puree, granulated sugar, and water. Bring this mixture to a gentle boil, stirring until the sugar has completely dissolved.
- 3. Remove the saucepan from the heat. Add the softened gelatin and stir continuously until it has fully melted into the warm puree.
- 4. Pour the raspberry jelly mixture into a small silicone mold (ideally 4-cm dome shapes). Place it in the freezer until it is completely firm, which usually takes a few hours.
- Step 2: Bake the Light Pistachio Joconde Sponge1. Preheat your oven to 400°F (200°C). Line a 12-inch square baking pan with parchment paper or a silicone mat.
- 2. In a large mixing bowl, gently whisk together the powdered sugar, finely ground pistachios, almond flour, and sifted all-purpose flour.
- 3. Add the whole eggs to the dry mixture. Using an electric mixer, beat on high speed for 10-12 minutes until the batter is light, thick, and forms a "ribbon" when you lift the beaters.
- 4. Gently fold in the melted butter until just combined.
- 5. In a separate, very clean bowl, beat the egg whites with the granulated sugar until firm, stiff peaks form (this is your meringue).
- 6. Carefully fold the meringue into the egg and flour mixture until just incorporated, being careful not to deflate the batter.
- 7. Spread the sponge batter evenly into your prepared baking pan. Bake for 12-15 minutes, or until the cake is golden brown and springs back when lightly touched.
- 8. Let the sponge cool completely in the pan. Once cool, use a 2.4-inch (6-cm) round cookie cutter to cut out 6 perfect circles.
- Step 3: Craft the Creamy Pistachio Mousse1. Soak your gelatin sheets in cold water for 5-10 minutes until they are soft (if using powder, sprinkle it over 2 tablespoons of cold water and let it bloom). Squeeze out excess water from the softened sheets.
- 2. In a chilled bowl, whisk the heavy whipping cream until it thickens to the consistency of thick yogurt. Place this whipped cream back in the fridge.
- 3. In another mixing bowl, whisk the egg yolk and granulated sugar until the mixture becomes light in color. Stir in the milk.
- 4. Place this bowl over a saucepan of simmering water (creating a double boiler setup). Stir the mixture constantly until it reaches approximately 165°F (74°C) and thickens slightly, similar to evaporated milk.
- 5. Remove the bowl from the heat. Add the softened gelatin and stir until it has completely melted into the warm mixture.
- 6. Stir in the pistachio paste until the mixture is smooth and evenly colored.
- 7. Allow the pistachio mixture to cool slightly (it should still be fluid). Then, gently fold in the chilled whipped cream until everything is well combined and uniform.
- Step 4: Assemble the Petit Gâteaux Mousse Cakes1. Grab your 6-cavity silicone dome mold. Fill each cavity about three-quarters full with the prepared pistachio mousse.
- 2. Gently press one of the frozen raspberry jelly inserts into the center of the mousse in each cavity.
- 3. Add a little more mousse on top to fully cover the jelly layer.
- 4. Carefully place one of your pistachio joconde sponge circles on top of the mousse, pressing down gently. Fill any small gaps around the edges of the sponge with a bit more mousse.
- 5. Use an offset spatula to smooth the top surface (this will become the bottom of your finished cake).
- 6. Freeze these assembled mousse cakes for at least 8 hours, or ideally overnight, until they are completely solid.
- Step 5: Prepare and Bake the Crisp Sablée Cookie Bases1. Preheat your oven to 340°F (170°C). Line a baking sheet with a silicone mat or parchment paper.
- 2. In a large bowl, combine the cold butter cubes, powdered sugar, salt, almond flour, all-purpose flour, and cake flour.
- 3. Using your fingertips, rub the butter into the dry ingredients until the mixture resembles coarse breadcrumbs.
- 4. Add the cold beaten egg and mix until a shaggy dough begins to form. Gently knead the dough 4-6 times on a clean surface until it becomes smooth.
- 5. Pat the dough into a 6-inch square, wrap it tightly in plastic wrap, and chill it in the refrigerator for at least 2 hours or even overnight.
- 6. Once chilled, roll the dough between two sheets of parchment paper to about 1/8-inch (3-mm) thick. If the dough gets too soft, chill it again for 20 minutes.
- 7. Use a 2.5-inch (6.3-cm) fluted or plain round cutter to cut out 6 cookie bases.
- 8. Place the cut cookie dough onto your prepared baking sheet and freeze for 1 hour before baking.
- 9. Bake for 14-20 minutes, or until the cookie bases are lightly golden brown.
- 10. Allow them to cool completely on the baking sheet before handling.
- Step 6: Glaze and Garnish Your Petit Gâteaux1. In a small saucepan, combine the store-bought neutral glaze and water. Bring this mixture to a boil, then transfer it to a heat-proof cup. If desired, stir in a few drops of green food coloring until you achieve your preferred shade. Let the glaze cool to approximately 100°F (38°C) before using.
- 2. Carefully unmold the completely frozen pistachio mousse cakes. Place them on a wire rack, and position the rack over a baking sheet lined with plastic wrap for easy cleanup.
- 3. Return the unmolded cakes to the freezer for another 30 minutes. This extra chill helps the glaze set beautifully and smoothly.
- 4. Pour the slightly warm glaze evenly over each frozen cake, ensuring every side is coated.
- 5. Transfer the glazed cakes to the refrigerator for about 20 minutes to allow the glaze to fully set.
- 6. Once the glaze is set, carefully lift each glazed cake and place it onto a cooled sablée cookie base.
- 7. Return the assembled petit gâteaux to the fridge to defrost for about 2 hours before serving.
- 8. Just before serving, decorate your elegant cakes with freeze-dried raspberries or strawberries and a sprinkle of crushed pistachios. Enjoy this delightful and beautifully layered treat!
Notes
These elegant Pistachio & Raspberry Petit Gâteaux are a multi-layered French pastry, featuring a crisp sablée cookie base, a light pistachio joconde sponge, tangy raspberry jelly, and creamy pistachio mousse, all finished with a shiny glaze. It's a delightful treat perfect for special occasions! Estimated nutrition per serving: approximately 730 kcal, 90g carbohydrates (50g net carbs), 37g fat, and 15g protein.
