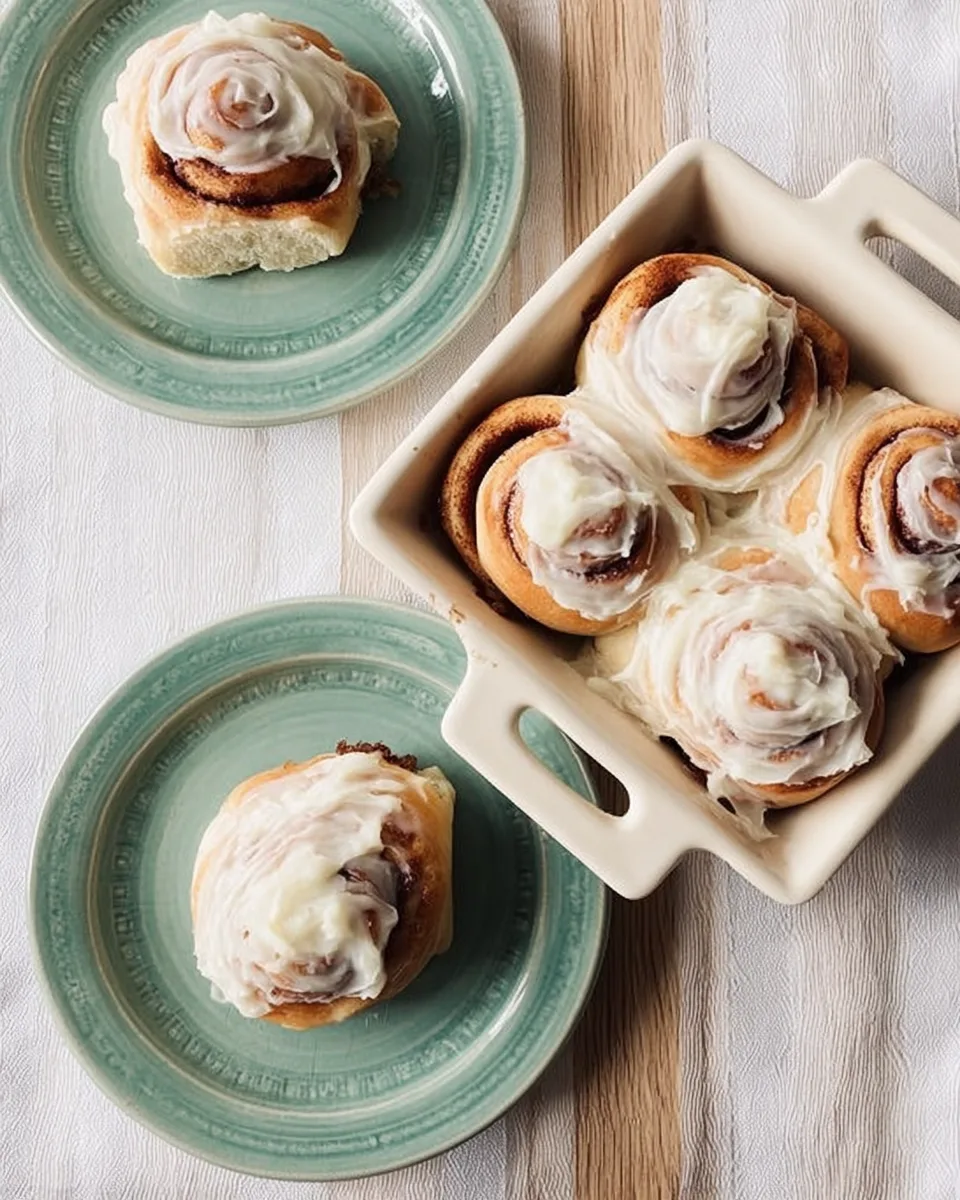
Sweetheart Cinnamon Swirls with Maple Kiss Frosting! 🥰
These delightful Sweetheart Cinnamon Swirls, topped with a luscious Maple Kiss Frosting, are perfect for a special breakfast or romantic treat!
Equipment
- Stand Mixer
- Large mixing bowl
- Whisk
- Rolling Pin
- 9x13 inch Baking Dish
- Sharp, Serrated Knife
- Wire Rack
Ingredients
For the Dough
- 4.5 cups all-purpose flour
- 0.33 cup granulated sugar
- 2 teaspoons kosher salt
- 2.25 teaspoons instant yeast
- 3 large eggs
- 1 cup milk warmed to about 100°F (lukewarm is perfect)
- 12 tablespoons unsalted butter softened to room temperature and cut into 1-inch pieces
For the Filling
- 4 tablespoons unsalted butter melted (plus extra for greasing your pan)
- 0.75 cup brown sugar packed
- 3 tablespoons ground cinnamon
For the Maple Kiss Cream Cheese Frosting
- 4 tablespoons unsalted butter softened to room temperature
- 8 ounces cream cheese softened to room temperature
- 2 tablespoons pure maple syrup
- 1 cup powdered sugar
- 1-3 tablespoons milk (optional, for thinning if needed)
Instructions
- 1. Get Your Dough Started: In your stand mixer bowl (or a large mixing bowl), gently combine the flour, sugar, salt, and instant yeast. Give it a quick whisk to mix everything well. In a separate bowl, lightly whisk together the eggs and the warm milk. Now, pour this liquid mixture into your dry ingredients.
- 2. Mix and Knead to Perfection: Attach the dough hook to your stand mixer and mix on medium speed until the ingredients come together into a soft, cohesive dough. If you notice any dry flour patches, simply add an extra tablespoon of milk at a time until the dough forms a ball. Next, add the softened butter, one piece at a time, mixing for about 20 seconds between additions. Continue mixing for another minute or two after all the butter is incorporated. Don't worry if the dough feels a bit sticky – that's just right!
- 3. Let it Rise with Love: Lightly dust your work surface with flour and turn out the dough. Knead it gently by hand a few times to form a smooth ball. Place it into a lightly greased bowl, cover loosely with plastic wrap, and let it rest in a cozy, warm spot for about an hour, or until it has delightfully doubled in size.
- 4. Shape Your Sweet Swirls: Once your dough is wonderfully puffy, gently press out the air ("punch it down") a few times on a lightly floured work surface. Then, use a rolling pin to shape it into a large, even rectangle, roughly 18 by 10 inches.
- 5. Fill with Warmth: Brush the entire surface of the dough with the melted butter, extending it all the way to the edges. Now, evenly sprinkle the brown sugar and cinnamon mixture over the butter, leaving a small ½-inch border on one of the long edges.
- 6. Roll Them Up Tight: Starting from the long edge opposite the sugar-free border, carefully and slowly roll the rectangle into a snug log. Gently pinch and seal the dough along the buttered edge to close it securely.
- 7. Slice and Arrange with Care: Place the log seam-side down. Using a sharp, serrated knife, slice the log into pieces approximately 1 ½-inches wide. Arrange these lovely rolls into your buttered 9x13-inch baking dish. For best results, tuck any loose ends against the sides of the pan or other rolls to prevent them from unrolling.
- 8. Overnight Beauty Sleep (or Quick Boost): Cover the dish tightly with plastic wrap and pop it into the refrigerator overnight. This slow rise is perfect for fresh rolls in the morning! If you're short on time, let them rise for another hour in a warm spot in your kitchen instead.
- 9. Morning Bake-Off: The next morning, take your rolls out of the fridge about an hour before baking to let them come closer to room temperature. Preheat your oven to 350°F (175°C) during this time. Also, remember to take your frosting ingredients out of the fridge to soften!
- 10. Bake to Golden Perfection: Bake the rolls on a rack in the middle of your oven for 25 to 30 minutes, or until they're beautifully golden brown and set. Let them cool in the pan on a wire rack for about 10 minutes before adding the frosting.
- 11. Whip Up the Maple Kiss Frosting: While your rolls are baking, it's time for the delicious frosting! In a stand mixer with a paddle attachment (or a large bowl with an electric mixer), cream together the softened butter and cream cheese until they're smooth and fluffy. Mix in the pure maple syrup, then gradually add the powdered sugar in two parts, mixing until the frosting is wonderfully smooth. If it's a bit too stiff, you can thin it out with a tablespoon or two of milk until it's just the right consistency for spreading.
- 12. Share the Love: Generously spread that dreamy Maple Kiss Cream Cheese Frosting over the tops of your warm, fresh-baked cinnamon rolls. Serve them immediately and enjoy this truly sweet Valentine's Day treat!
Notes
These cinnamon swirls are a truly sweet Valentine's Day treat! The overnight rise option allows for fresh rolls in the morning.
Nutrition Information (estimated per roll):
Calories: 350
Total Carbs: 55g
Net Carbs: 52g
Fats: 15g
Protein: 6g
Calories: 350
Total Carbs: 55g
Net Carbs: 52g
Fats: 15g
Protein: 6g
