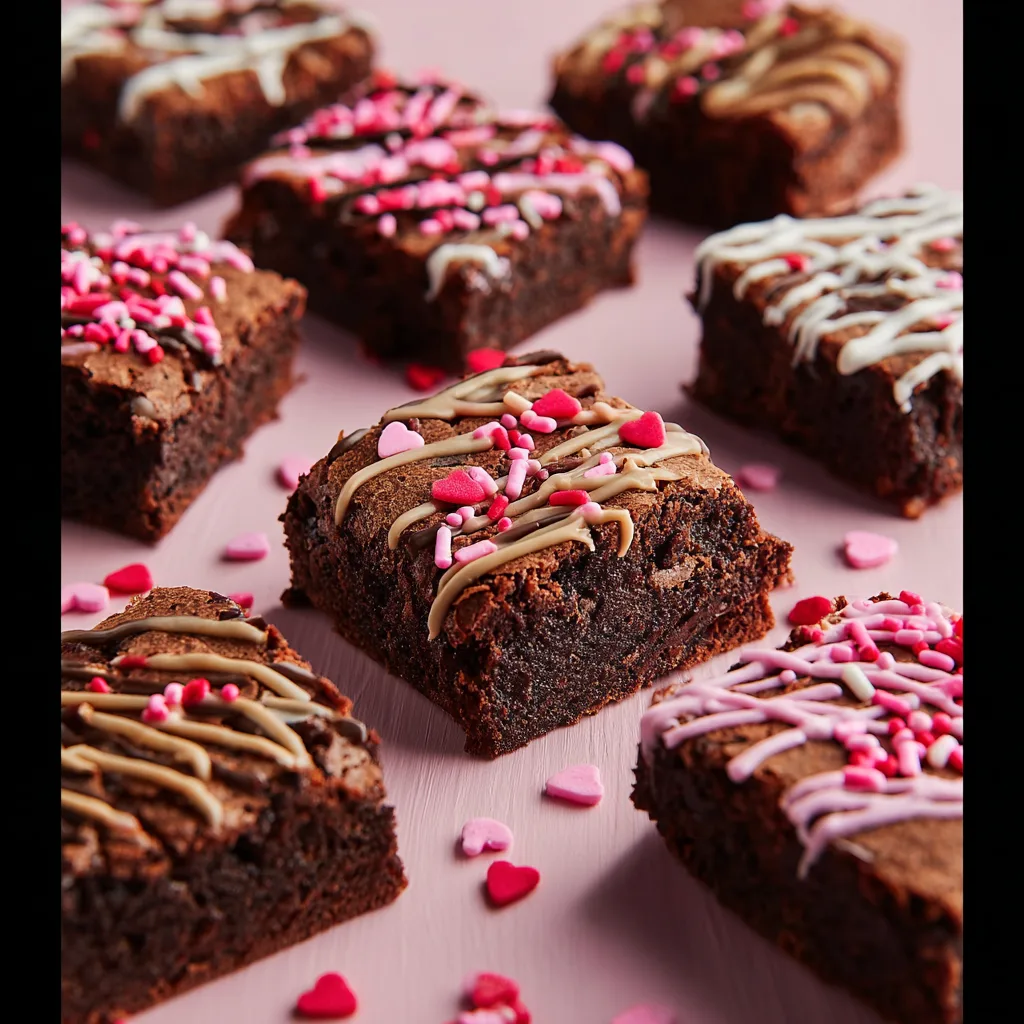
Sweetheart Fudgy Brownies ❤️
These Sweetheart Fudgy Brownies are the perfect indulgent treat for Valentine's Day or any special occasion. Rich, fudgy, and topped with festive sprinkles, they're sure to spread love with every bite.
Equipment
- 13x9-inch baking dish
- Parchment Paper
- Medium Saucepan
- Sharp Knife
- Cookie Sheet
Ingredients
Brownie Base
- 1 cup unsalted butter
- 0.5 cup semi-sweet chocolate morsels
- 2 cups granulated sugar
- 4 large eggs
- 1 teaspoon vanilla extract
- 0.75 cup unsweetened cocoa powder
- 1 cup all-purpose flour
- 0.5 teaspoon kosher salt
- 0.5 teaspoon baking powder
Topping & Decoration
- 5 oz Ghirardelli dark or milk chocolate melting wafers about ½ package
- Red, pink, or white melting wafers optional, for colorful drizzles
- Valentine's sprinkles heart shapes, pink and red jimmies
Instructions
- 1. Get Ready to Bake: Preheat your oven to 350°F (175°C). Line a 13x9-inch baking dish with parchment paper, leaving some overhang on the sides to easily lift the brownies out later. Set it aside.
- 2. Make the Chocolate Base: In a medium saucepan, gently melt the butter over medium heat until it's fully liquid. Take the pan off the heat right away and stir in the semi-sweet chocolate morsels and granulated sugar. Keep stirring until the chocolate is completely melted and everything is smooth and glossy – this usually takes a couple of minutes with the residual heat.
- 3. Whip in Wet Ingredients: Add the eggs one at a time to the chocolate mixture, stirring well after each addition until fully combined. Once all eggs are in, stir in the vanilla extract until it's evenly mixed.
- 4. Fold in Dry Ingredients Gently: Now, add the cocoa powder, all-purpose flour, salt, and baking powder directly into the saucepan. Using a wooden spoon or spatula, carefully fold the dry ingredients into the wet mixture. Stop stirring as soon as you no longer see any dry streaks. It's super important not to overmix, as this keeps your brownies wonderfully fudgy, not cakey!
- 5. Bake to Perfection: Pour the brownie batter into your prepared pan and spread it evenly into the corners with a spatula. Bake for about 22-24 minutes. The brownies are ready when the edges look set and the center still appears a little soft with moist crumbs on a toothpick – avoid overbaking to keep them delightfully gooey. Remove from the oven and let them cool completely in the pan for at least 15 minutes, or even a few hours for the best cutting results.
- 6. Slice and Prepare for Decorating: Once thoroughly cooled, use the parchment paper overhang to lift the entire brownie slab onto a cutting board. With a sharp knife, cut into 24 even squares (6 rows by 4 rows). For super clean cuts, wipe your knife between each slice.
- 7. Add a Chocolate Drizzle: Melt the chocolate wafers according to their package directions (usually short bursts in the microwave, stirring often, until smooth). Transfer the melted chocolate to a ziplock bag and snip off a tiny corner. Line a clean cookie sheet with fresh parchment paper. Drizzle the chocolate artfully over each brownie square in zigzags, lines, or swirls. If using colored wafers, repeat for an extra festive touch!
- 8. Sprinkle and Set: Immediately after drizzling, scatter your Valentine's sprinkles over the wet chocolate so they stick perfectly. Move the decorated brownies to a fresh piece of parchment paper and let them sit at room temperature for about 30 minutes until the chocolate hardens, or pop them in the fridge for 10-15 minutes to speed things up.
Notes
Nutrition Information (per serving):
Calories: 185
Total Carbs: 26g
Net Carbs: 24.5g
Fats: 9g
Protein: 2.5g
Calories: 185
Total Carbs: 26g
Net Carbs: 24.5g
Fats: 9g
Protein: 2.5g
