Why You’ll Love These Sweet Summer Honey Marshmallows ☀️
Prepare to fall head over heels for these delightful homemade marshmallows! Forget everything you thought you knew about those bland, store-bought cubes. Our Sweet Summer Honey Marshmallows are a game-changer, and here are four irresistible reasons why you’ll want to whip up a batch (or two!) today:
- Pure, Unadulterated Flavor: Unlike commercial marshmallows often loaded with corn syrup and artificial flavors, ours sing with the natural sweetness of honey and a hint of vanilla. Each bite is a delicate cloud of natural goodness, tasting exactly like summer.
- Wholesome & Simple Ingredients: You’ll appreciate the short and sweet ingredient list – just water, quality gelatin, honey (or maple syrup!), vanilla, and a pinch of salt. No obscure chemicals or high-fructose corn syrup here, just honest-to-goodness ingredients you can feel good about.
- Incredibly Versatile & Fun: These aren’t just for s’mores (though they make the *best* s’mores!). Imagine them floating on a mug of iced coffee, adorning a summer dessert platter, or simply enjoyed as a light, sweet snack. They bring a touch of gourmet fun to any occasion.
- Surprisingly Easy to Make: Don’t be intimidated! While they look fancy, the process for creating these pillowy soft treats is straightforward and incredibly rewarding. With a stand mixer and a few simple steps, you’ll be a marshmallow maestro in no time, impressing everyone with your homemade prowess.
Summer days are meant for sunshine, bare feet, and treats that taste like pure joy. But let’s be real, the usual grocery store marshmallows? They’re often just a sugary, sticky disappointment. They melt too fast, taste artificial, and leave you wishing for more. Well, dear dessert-lover, prepare for a revelation! We’re about to whisk you away to a cloud-nine experience with our incredible Sweet Summer Honey Marshmallows. Imagine biting into a fluffy, airy confection, naturally sweetened with golden honey and kissed with vanilla – a true taste of summer bliss without any of the nasties. These aren’t just marshmallows; they’re tiny, edible pockets of sunshine, ready to elevate your s’mores, your hot cocoa (or iced coffee!), or just your plain old snack time. Get ready to create some magic in your kitchen!
Gather Your Sweet Summer Honey Marshmallow Ingredients
Creating these delightful clouds is simpler than you think! Here’s what you’ll need to make your very own batch of Sweet Summer Honey Marshmallows. We’re talking natural goodness, pure and simple.
- 💧 ⅔ cup cold water
- 🌡️ ⅔ cup hot water, brought to a boil
- ✨ 3 tablespoons unflavored gelatin (grass-fed recommended for best quality)
- 🍯 1 cup honey (or pure maple syrup if you prefer that flavor!)
- 🍦 1 teaspoon vanilla extract
- 🧂 Pinch of sea salt
- 🌾 Arrowroot starch or powdered sugar, for dusting
Step-by-Step Guide: Crafting Your Sweet Summer Honey Marshmallows
Ready to transform simple ingredients into pillowy perfection? Follow these detailed instructions to create your irresistible Sweet Summer Honey Marshmallows. Patience is a virtue, especially during the setting phase!
- Pan Prep is Key: First things first, grab a 9″ x 11″ rectangular baking dish. Give it a light spritz with cooking spray, then carefully line it with parchment paper. Make sure to leave extra length on the sides – these “handles” will be your best friend later for easy lifting!
- Bloom the Gelatin: Into the bowl of your trusty stand mixer (make sure it’s fitted with the whisk attachment!), pour the 3 tablespoons of unflavored gelatin. Now, add the cold ⅔ cup of water. Give it a gentle stir to moisten all the gelatin, then let it sit undisturbed for a good 5-10 minutes. This crucial step, known as “blooming,” allows the gelatin to fully hydrate and get ready for action.
- Whip Up the Sweet Syrup: While your gelatin is blooming, grab a medium saucepan. Bring the remaining ⅔ cup of water to a rolling boil. Once boiling, remove it from the heat. Stir in your lovely honey (or maple syrup!), vanilla extract, and that tiny but mighty pinch of sea salt. Return the saucepan to low heat and let it gently boil for just 1 minute, stirring occasionally, until everything is beautifully combined and warm.
- The Magical Whip: With the stand mixer on low speed, carefully and slowly pour the hot honey mixture directly into the bowl with your bloomed gelatin. Mix on low for about a minute, just until everything is combined. Now for the magic! Increase the mixer speed to high and beat continuously for a solid 8-10 minutes. Don’t rush this! You’ll witness a transformation: the mixture will become incredibly thick, gain significant volume, and develop a beautiful, glossy sheen, resembling stiff, soft peaks of whipped egg whites.
- Set and Chill (Naturally!): As soon as your marshmallow mixture reaches that perfect fluffy consistency, quickly transfer it into your prepared pan. Use a rubber spatula to spread it evenly into all corners. This setting process is where the patience comes in! Let your marshmallow slab set at room temperature for a minimum of 2 hours, but ideally, 4-5 hours, or even overnight for the best results. Important: resist the urge to refrigerate them! Chilling in the fridge can lead to a less desirable, rubbery texture.
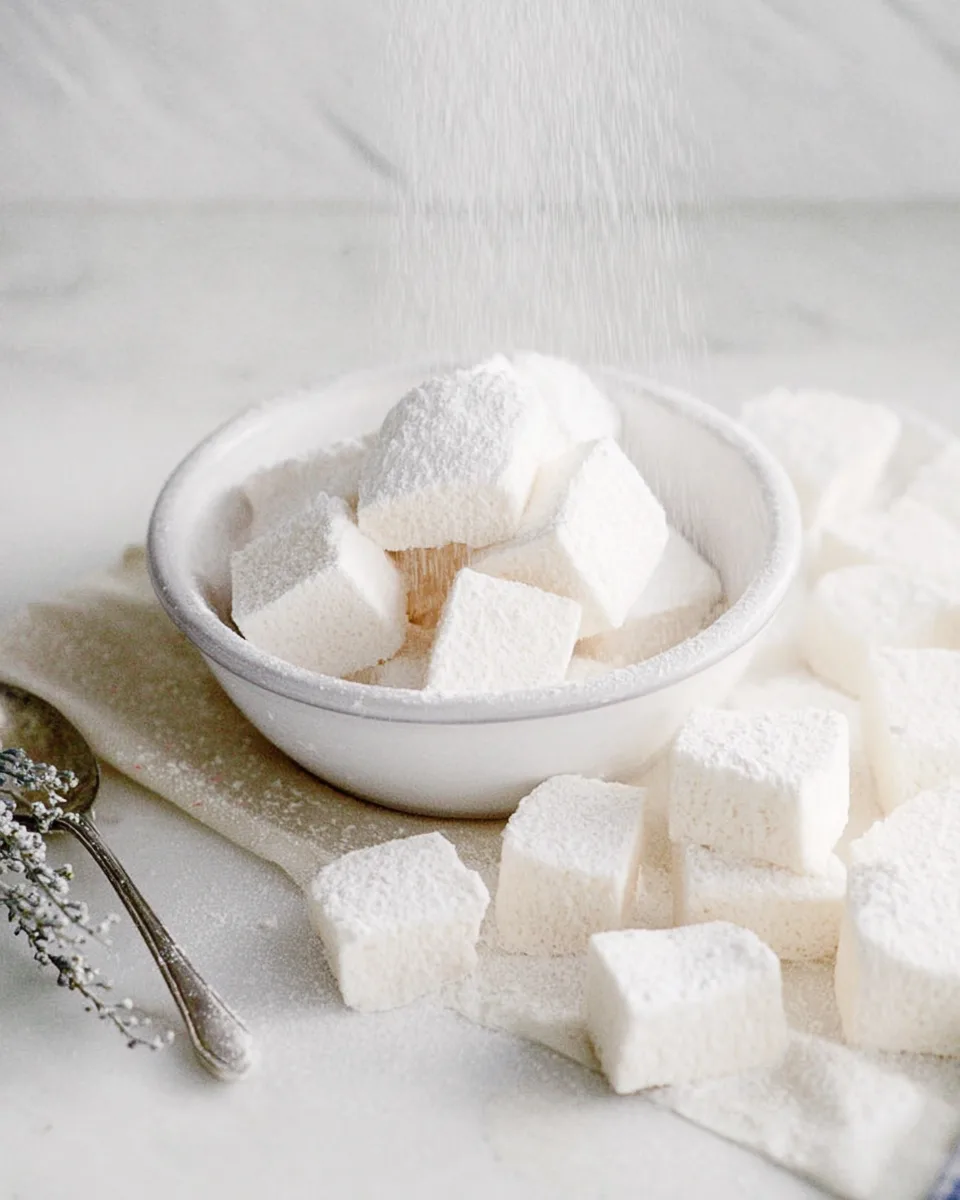
- Cut and Delight: Once your marshmallow slab is wonderfully firm and no longer sticky to the touch, it’s time to cut! Generously dust your countertop or a large cutting board with arrowroot starch or powdered sugar. Using the parchment paper handles, invert the marshmallow slab onto your dusted surface. Now, grab a sharp knife and lightly grease it (a little cooking spray or oil works wonders to prevent sticking). Cut the slab into approximately 30 delightful pieces. For that extra irresistible touch, dust all sides of your freshly cut Sweet Summer Honey Marshmallows with more arrowroot starch or powdered sugar. Enjoy!
Presenting and Serving Your Sweet Summer Honey Marshmallows
Now that you’ve crafted these magnificent Sweet Summer Honey Marshmallows, it’s time to show them off! Their natural sweetness and tender texture make them incredibly versatile. Here are some delightful ways to present and serve your homemade treats:
- The Ultimate S’mores Upgrade: Ditch the bland store-bought kind! These honey marshmallows toast beautifully, creating a golden, gooey exterior and a melty, ethereal interior. Sandwich them between graham crackers with good quality chocolate for a truly gourmet s’mores experience.
- Hot (or Iced!) Beverage Bliss: Drop a few into a mug of hot cocoa, coffee, or even a refreshing iced coffee for a luxurious, melting sweetness. They slowly dissolve, creating a creamy, sweet top layer that’s absolutely divine.
- Elegant Dessert Platter: Arrange your dusted marshmallows on a platter alongside fresh summer berries (strawberries, raspberries!), chocolate dipping sauce, or even a light fruit coulis. They add a sophisticated touch to any dessert spread.
- Creative Cake & Cupcake Toppers: Cut them into smaller shapes or simply place a whole one on top of a cupcake or brownie for an instant upgrade. A quick blowtorch can lightly toast the top for a beautiful finish!
- Gift of Sweetness: Package them in pretty bags or small boxes tied with a ribbon. These homemade Sweet Summer Honey Marshmallows make thoughtful, delicious gifts for friends, neighbors, or as party favors.
- Simple Snacking: Honestly, sometimes the best way to enjoy these is simply on their own. Pop one in your mouth for a light, airy, and perfectly sweet treat anytime you need a little pick-me-up.
Storing Your Sweet Summer Honey Marshmallows and Shelf Life
Once you’ve made a batch of these exquisite Sweet Summer Honey Marshmallows, you’ll want to ensure they stay fresh and delicious for as long as possible. Proper storage is key to maintaining their delightful texture.
After cutting and thoroughly dusting your marshmallows with arrowroot starch or powdered sugar (this helps prevent sticking!), transfer them to an airtight container. Layer them gently, with additional dusting between layers if you have a lot, to prevent them from fusing together.
Store the container at cool room temperature, away from direct sunlight or excessive humidity. It’s important to avoid refrigerating them, as the cold can alter their delicate texture, making them a bit firmer and chewier than desired. When stored correctly, your homemade Sweet Summer Honey Marshmallows will retain their wonderful freshness and airy consistency for 1 to 2 weeks. Enjoy them while they’re at their best!
FAQs About Sweet Summer Honey Marshmallows
- Can I use a different sweetener instead of honey?
Yes! The recipe specifically mentions pure maple syrup as an excellent alternative. Both honey and maple syrup provide a wonderful natural sweetness and unique flavor profile. Other liquid sweeteners like agave might work, but the final texture and sweetness level could vary slightly. - Why shouldn’t I refrigerate my marshmallows?
Refrigerating homemade marshmallows can make them dense and rubbery. The cold temperature causes the gelatin to set too firmly, losing that characteristic soft, airy chewiness. Room temperature is ideal for maintaining their perfect texture. - My marshmallows didn’t get fluffy. What went wrong?
This usually comes down to one of two things: either your gelatin didn’t bloom properly (make sure it sat for 5-10 minutes in cold water), or you didn’t whip the mixture for long enough or at a high enough speed. The 8-10 minutes on high speed is crucial for incorporating enough air and developing the thick, voluminous texture. - How do I prevent the marshmallows from sticking to my knife when cutting?
Lightly greasing your sharp knife with a little cooking spray or neutral oil before each few cuts works wonders. Also, generously dusting your cutting surface and the cut marshmallows with arrowroot starch or powdered sugar is essential. - Can I add other flavors to my Sweet Summer Honey Marshmallows?
Absolutely! Get creative. You can add a different extract (like almond or peppermint), a pinch of cinnamon, or even some citrus zest (lemon or orange) along with the vanilla. Add them when you add the vanilla extract for the best results. - Is grass-fed gelatin really necessary?
While not strictly “necessary” for the recipe to work, grass-fed gelatin is often preferred for its higher quality and potential nutritional benefits. It typically comes from pasture-raised animals and is considered a more wholesome ingredient. Any unflavored gelatin will work, though. - Can I make these without a stand mixer?
A stand mixer with a whisk attachment is highly recommended as it provides the consistent high speed and power needed for 8-10 minutes. A powerful hand mixer might work, but it will be more strenuous and may take longer to achieve the desired fluffiness. - What if I don’t have arrowroot starch?
No problem! Powdered sugar (confectioners’ sugar) works perfectly as a substitute for dusting. A mix of powdered sugar and a little cornstarch is also a common choice. - Are these Sweet Summer Honey Marshmallows gluten-free?
Yes, as long as all your ingredients are naturally gluten-free (which honey, gelatin, water, vanilla, and salt typically are), these marshmallows are a wonderful gluten-free treat! - Can I double the recipe?
You can! Just be sure to use a larger pan (e.g., a 9″ x 13″ or even two 9″ x 11″ pans) and ensure your stand mixer has enough capacity for the increased volume. The whipping time might also need to be extended slightly.
Sweet Summer Honey Marshmallows ☀️
Equipment
- 9" x 11" Rectangular Baking Dish
- Parchment Paper
- Stand mixer with whisk attachment
- Medium Saucepan
- Rubber Spatula
- Sharp Knife
Ingredients
- ⅔ cup cold water
- ⅔ cup hot water brought to a boil
- 3 tablespoons unflavored gelatin grass-fed recommended
- 1 cup honey or pure maple syrup
- 1 teaspoon vanilla extract
- sea salt Pinch of
- arrowroot starch or powdered sugar for dusting
Instructions
- 1. Prepare Your Pan: Lightly spray a 9" x 11" rectangular baking dish and line it with parchment paper, leaving extra length on the sides for easy lifting later.
- 2. Bloom the Gelatin: In the bowl of a stand mixer (fitted with the whisk attachment), combine the gelatin and the cold ⅔ cup of water. Let this mixture sit undisturbed for about 5-10 minutes to allow the gelatin to "bloom."
- 3. Craft the Sweet Syrup: In a medium saucepan, bring the remaining ⅔ cup of water to a boil. Remove it from the heat, then stir in the honey, vanilla extract, and sea salt. Let it boil gently for just 1 minute.
- 4. Whip to Perfection: Carefully pour the hot honey mixture into the stand mixer bowl with the bloomed gelatin. Begin mixing on low speed for about a minute to combine. Then, increase the mixer speed to high and beat continuously for 8-10 minutes. The mixture should become very thick, voluminous, and shiny, resembling soft peaks of whipped egg whites.
- 5. Set and Chill (Naturally): Quickly transfer the fluffy marshmallow mixture into your prepared pan, using a rubber spatula to spread it evenly. Let it set at room temperature for a minimum of 2 hours, or ideally 4-5 hours, or even overnight. Avoid refrigerating.
- 6. Cut and Enjoy: Once the marshmallow slab is firm, generously dust your countertop or a large cutting board with arrowroot starch or powdered sugar. Invert the marshmallow slab onto the dusted surface. Use a sharp, lightly greased knife to cut it into approximately 30 pieces. For an extra touch of sweetness, dust the cut marshmallows with more arrowroot starch or powdered sugar.
Notes
Calories: 56kcal
Total Carbs: 14g
Net Carbs: 14g
Fats: 0g
Protein: 1g #SummerSweetTreats #HealthyMarshmallows #HomemadeGoodness #EasySummerDessert