The sun is shining, the birds are singing, and your oven? It’s taking a well-deserved break! Say hello to the ultimate summer savior: our Refreshing No-Bake Oreo Cream Bites. Forget slaving over a hot stove when the mercury rises. We’re talking about a dessert so delightfully simple, so gloriously creamy, and so unbelievably packed with everyone’s favorite cookie, it’ll make you wonder why you ever baked anything at all. Get ready to whip up a batch of pure joy that’s cool, crisp, and utterly irresistible. These bites are your new go-to for picnics, potlucks, or just a quiet evening on the porch. Let’s dive into a world where deliciousness doesn’t require heat!
Why You’ll Love This Recipe
There are countless reasons to fall head over heels for these Refreshing No-Bake Oreo Cream Bites, but here are our top four picks:
- Effortlessly Easy & No Oven Required: Seriously, if you can melt butter and stir, you can make this! There’s no baking involved, making it a perfect activity for little helpers or a stress-free treat for busy adults. Keep your kitchen cool and your energy levels high!
- Irresistibly Delicious Flavor: Imagine the creamy, dreamy texture of fudge combined with the iconic crunch and chocolatey goodness of Oreo cookies. Each bite is a symphony of sweet, rich, and textural delight that will have everyone asking for more.
- Perfect for Summer & Warm Weather: When temperatures soar, the last thing you want is a heavy, hot dessert. These cool and creamy bites are incredibly refreshing, making them an ideal choice for backyard BBQs, poolside parties, or simply a light sweet ending to a warm day.
- Quick to Prepare: With a prep time of just 10 minutes and a cook time of 5, you’ll have this mixture ready for the fridge in under 15 minutes! The hardest part is waiting for them to set, but trust us, it’s worth every second.
Ingredients with Measurements
Gather your simple ingredients to create these delightful Refreshing No-Bake Oreo Cream Bites:
- 3 tablespoons salted butter
- 1 (14-ounce) can sweetened condensed milk
- 3 cups white chocolate chips
- 1 teaspoon pure vanilla extract
- 24 Oreo cookies, divided
Detailed Step-by-Step on Direction How to Make the Recipe
Get ready for a fun, easy, and rewarding journey to deliciousness with these Refreshing No-Bake Oreo Cream Bites!
- Prep Your Pan Like a Pro: Grab an 8×8-inch baking dish. Line it generously with parchment paper, making sure the paper extends over the sides. This handy trick will be your best friend when it’s time to lift out your set fudge without a fuss!
- Crush Those Oreos with Enthusiasm: Take 20 of your beloved Oreo cookies. You can chop them into small pieces with a knife, or for a more satisfying (and less messy) method, pop them into a sealed plastic bag and gently crush them with a rolling pin. Aim for varied textures – some fine crumbs, some chunkier bits for extra crunch! Set aside the remaining 4 whole Oreos for the grand finale.
- Melt & Mix to Perfection: In a medium-sized saucepan, melt the 3 tablespoons of salted butter over a low heat. Once melted, add the 3 cups of white chocolate chips. Stir constantly with a spatula until they’ve completely melted into a gloriously smooth, velvety pool. Now, pour in the entire can of sweetened condensed milk, making sure to keep the heat low to prevent any scorching. Continue stirring until everything is beautifully combined and lusciously creamy.
- Add Flavor & Aroma: Take your saucepan off the heat. Stir in the 1 teaspoon of pure vanilla extract. The vanilla will magically blend into the creamy mixture, adding that wonderful depth of flavor.
- Fold in the Crunch: Gently but thoroughly, fold your chopped Oreo pieces into the warm, creamy fudge mixture. Make sure they are evenly distributed so that every single bite of your Refreshing No-Bake Oreo Cream Bites has that irresistible Oreo crunch and flavor.
- Chill Out in Style: Pour the entire mixture into your prepared baking dish. Use a spatula to smooth the top, ensuring an even layer. Now, remember those 4 reserved Oreos? Break them into inviting pieces and sprinkle them generously over the top of the fudge, gently pressing them in to secure them and add a gorgeous, decorative finish.
- Set & Serve the Dream: Pop your dish into the refrigerator for at least 1 hour. This crucial step allows your fudge to firm up beautifully. You’re looking for a nice, solid consistency that’s easy to cut.
- Slice & Enjoy Your Masterpiece: Once perfectly set, use those parchment paper overhangs to easily lift the entire slab of fudge out of the pan. Place it on a cutting board and cut into 20 delightful squares. Now, gather your loved ones and enjoy your cool, refreshing, and incredibly delicious treat!
Detailed Different Ways You Can Present the Recipe and How to Serve It
These Refreshing No-Bake Oreo Cream Bites are not only delicious but also incredibly versatile when it comes to presentation and serving. Here are some ideas to elevate your dessert game:
- Classic Squares with Flair: The standard 20 squares are perfect, but you can arrange them artfully on a serving platter. Consider placing them on a bed of fresh mint leaves for a pop of color and extra freshness, or intersperse them with fresh berries like raspberries or blueberries.
- Mini Bite-Sized Delights: For parties or a dessert bar, cut the fudge into smaller, bite-sized squares (e.g., 1-inch pieces) to yield more servings and make them easy to grab and enjoy. You can even use mini paper liners for individual presentation.
- Crumbled Topping Extravaganza: Crumble some extra Oreo cookies (or even the bites themselves!) over ice cream, yogurt, or a fruit salad for an instant upgrade. The creamy texture and crunch will be a hit!
- Drizzle & Dip: For an extra touch of decadence, melt a small amount of dark or milk chocolate and drizzle it artfully over the set bites before serving. A dusting of cocoa powder or a tiny dollop of whipped cream on top of each bite also works wonders.
- Layered Parfaits: Break some of the chilled fudge into chunks and layer them in small glasses with whipped cream, chocolate sauce, and additional Oreo crumbles for an elegant parfait.
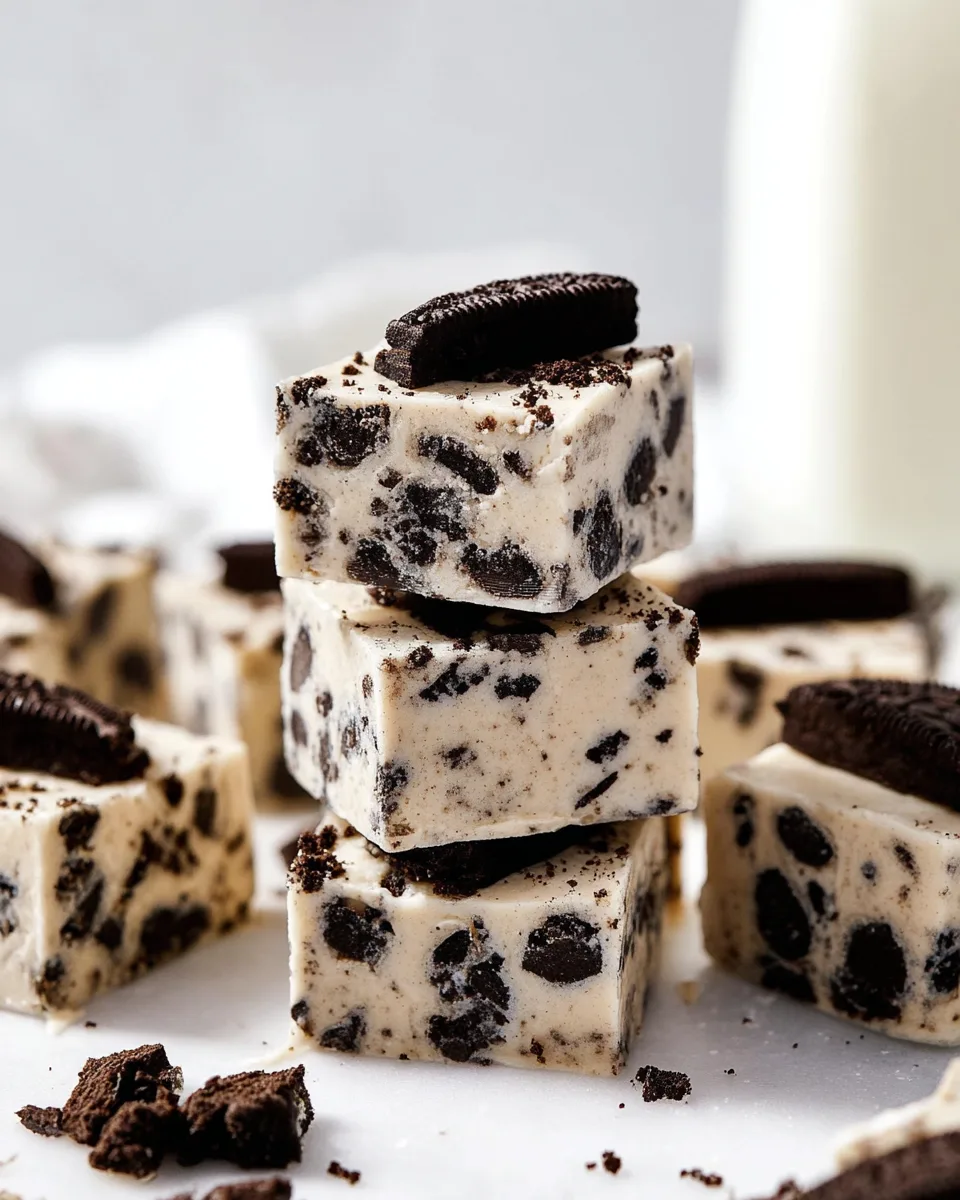
- Serving Suggestion: Serve these bites directly from the refrigerator for the best cool and firm texture. They pair wonderfully with a glass of cold milk, a hot cup of coffee, or even a scoop of vanilla bean ice cream on the side. They’re fantastic for school lunches, office treats, or a light dessert after dinner.
How You Can Store It and How Long Does It Last
One of the best things about these Refreshing No-Bake Oreo Cream Bites is how well they store, allowing you to enjoy them for days!
- Refrigerator Storage: Once the bites are cut, transfer them to an airtight container. Layer them with a piece of parchment paper between layers to prevent sticking. Store them in the refrigerator. They will remain wonderfully fresh, firm, and delicious for up to 5-7 days. The cold temperature helps maintain their creamy texture and prevents them from becoming too soft.
- Freezer Storage (Optional): For longer storage, you can freeze these delicious bites! Arrange the cut squares in a single layer on a baking sheet and freeze until solid (about 1-2 hours). Once firm, transfer them to a freezer-safe airtight container or a heavy-duty freezer bag, again, with parchment paper between layers. They will keep well in the freezer for up to 1-2 months.
- Thawing Frozen Bites: When you’re ready to enjoy them from the freezer, simply transfer them to the refrigerator for a few hours to thaw, or let them sit at room temperature for about 15-30 minutes until they reach your desired consistency. They taste fantastic slightly chilled!
FAQs Sections
- Can I use different types of chocolate chips?
Yes! While white chocolate gives it that classic creamy base, you can experiment with milk chocolate or dark chocolate chips for different flavor profiles. - What if my white chocolate seizes?
This often happens if the heat is too high or if water gets into the mixture. Always melt white chocolate slowly over low heat or using a double boiler, and ensure no moisture gets in. - Can I make this recipe ahead of time for a party?
Absolutely! These Refreshing No-Bake Oreo Cream Bites are perfect for making 1-2 days in advance. Just store them in an airtight container in the refrigerator until ready to serve. - Can I use gluten-free Oreos?
Yes, you can easily substitute regular Oreos with gluten-free Oreos to make this a gluten-friendly treat. - How do I prevent the fudge from sticking to the parchment paper?
Ensuring the parchment paper overhangs the pan sides helps lift it out easily. If any small pieces stick, a thin metal spatula can help detach them. - Can I add other mix-ins besides Oreos?
Certainly! Feel free to fold in other crushed cookies, chopped nuts, mini marshmallows, or sprinkles for added variety and fun. - Why did my fudge not set properly?
This usually happens if the mixture wasn’t chilled long enough. Ensure it stays in the refrigerator for at least 1 hour, or longer if needed, until firm. - Is salted or unsalted butter better?
Salted butter adds a nice subtle contrast to the sweetness, but unsalted butter can also be used. If using unsalted, you might add a tiny pinch of salt to the mixture. - What’s the best way to crush Oreos without a rolling pin?
You can use a food processor for a fine crumb, or even just your hands to break them into chunks in a sealed bag. - Are these bites suitable for kids?
Yes, they are a fantastic kid-friendly treat! The simple ingredients and fun Oreo flavor make them a huge hit with children of all ages.
Refreshing No-Bake Oreo Cream Bites
Equipment
- 8x8-inch baking dish
- Parchment Paper
- Medium Saucepan
- Spatula
Ingredients
- 3 tbsp salted butter
- 1 can sweetened condensed milk (14-ounce)
- 3 cups white chocolate chips
- 1 tsp vanilla extract pure
- 24 Oreo cookies divided
Instructions
- Get an 8x8-inch baking dish and line it with parchment paper, making sure the paper hangs over the sides. This makes lifting out your fudge super simple!
- Take 20 of your Oreo cookies and chop them into small pieces. You can also put them in a sealed bag and gently crush them with a rolling pin for easy cleanup. Set aside the remaining 4 Oreos for later.
- In a medium saucepan, gently melt the butter over low heat. Add the white chocolate chips and stir constantly until they're fully melted and smooth. Then, pour in the sweetened condensed milk, keeping the heat low to avoid burning. Stir until everything is well combined and creamy.
- Take the saucepan off the heat. Stir in the vanilla extract until it's perfectly blended into the creamy mixture.
- Carefully fold in the chopped Oreo pieces. Make sure they're spread evenly throughout the fudge mixture so every bite has that delicious crunch!
- Pour the mixture into your prepared baking dish and smooth the top with a spatula. Break the remaining 4 Oreos and sprinkle them over the top, gently pressing them into the fudge for a pretty finish.
- Pop the dish into the refrigerator for at least 1 hour, or until your fudge is nice and firm.
- Once set, use the parchment paper overhang to easily lift the fudge out of the pan. Cut into 20 delicious squares and enjoy this cool, refreshing treat!