The air is crisp, the leaves are turning vibrant shades of orange and red, and the scent of pumpkin spice is starting to waft through every cozy corner. It can only mean one thing: spooky season is upon us! And what better way to celebrate the magic of autumn and the fun of Halloween than with a treat that’s both delightfully delicious and utterly adorable? Get ready to enchant your taste buds and impress your ghoulish guests with our Spooky Ghost Brown Butter Pumpkin Cookies! These aren’t just any pumpkin cookies; they’re chewy, rich, packed with that irresistible brown butter aroma, and topped with the cutest, friendliest little ghost faces you ever did see. Forget basic treats – it’s time to bake up some spectral sweetness that will have everyone saying, “Boo-tiful!”
Why You’ll Love This Recipe
There are countless reasons to fall head over heels for these Spooky Ghost Brown Butter Pumpkin Cookies, but here are four compelling ones that will have you preheating your oven in no time:
- Unforgettable Flavor Fusion: The base cookie, inspired by Butternut Bakery’s masterpiece, combines the nutty depth of brown butter with the comforting warmth of pumpkin and a hint of maple. It’s a symphony of fall flavors that will make your palate sing.
- Irresistibly Chewy Texture: If you’re a fan of a soft, chewy cookie, you’re in for a real treat! These cookies have the perfect bite, making them incredibly satisfying with every mouthful.
- Kid-Friendly & Adorably Festive: The simple ghost decorations are incredibly fun to make and result in a treat that’s instantly recognizable and perfect for Halloween parties, school lunches, or just a festive afternoon snack. Kids (and adults!) will adore their charming appearance.
- Simple Yet Stunning: While they look impressively professional, the decorating technique for these Spooky Ghost Brown Butter Pumpkin Cookies is surprisingly easy! Even novice bakers can create these delightful ghosts, making them a low-stress, high-reward project.
Ingredients with Measurements
Gather your spectral supplies! Here’s what you’ll need to conjure up these delightful Spooky Ghost Brown Butter Pumpkin Cookies:
- 1 batch Brown Butter and Maple Chewy Pumpkin Cookies by Butternut Bakery (prepare according to their recipe, or use your favorite chewy pumpkin cookie base!)
- White chocolate: about 1 cup, melted
- Black candy melts: about 1/2 cup, melted
- Piping bag: 1 (or a small resealable plastic bag)
- Medium cookie scoop: 1
- Light-colored baking pans: 2-3 (these help prevent over-browning)
Detailed Step-by-Step Directions How to Make the Recipe
Let’s get baking and decorating these Spooky Ghost Brown Butter Pumpkin Cookies! Follow these steps for a hauntingly good time:
- Bake the Pumpkin Cookies: First things first, prepare your base. Follow the instructions for your chosen Brown Butter and Maple Chewy Pumpkin Cookies recipe (like the one from Butternut Bakery). Ensure they are baked to perfection – golden brown at the edges but still soft in the center. Once baked, transfer them to a wire rack and let them cool completely. This is crucial for the chocolate to set properly.
- Melt the White Chocolate: In a microwave-safe bowl, melt the white chocolate in 30-second intervals, stirring well after each, until it’s smooth and free of lumps. Alternatively, use a double boiler over simmering water for a gentler melt.
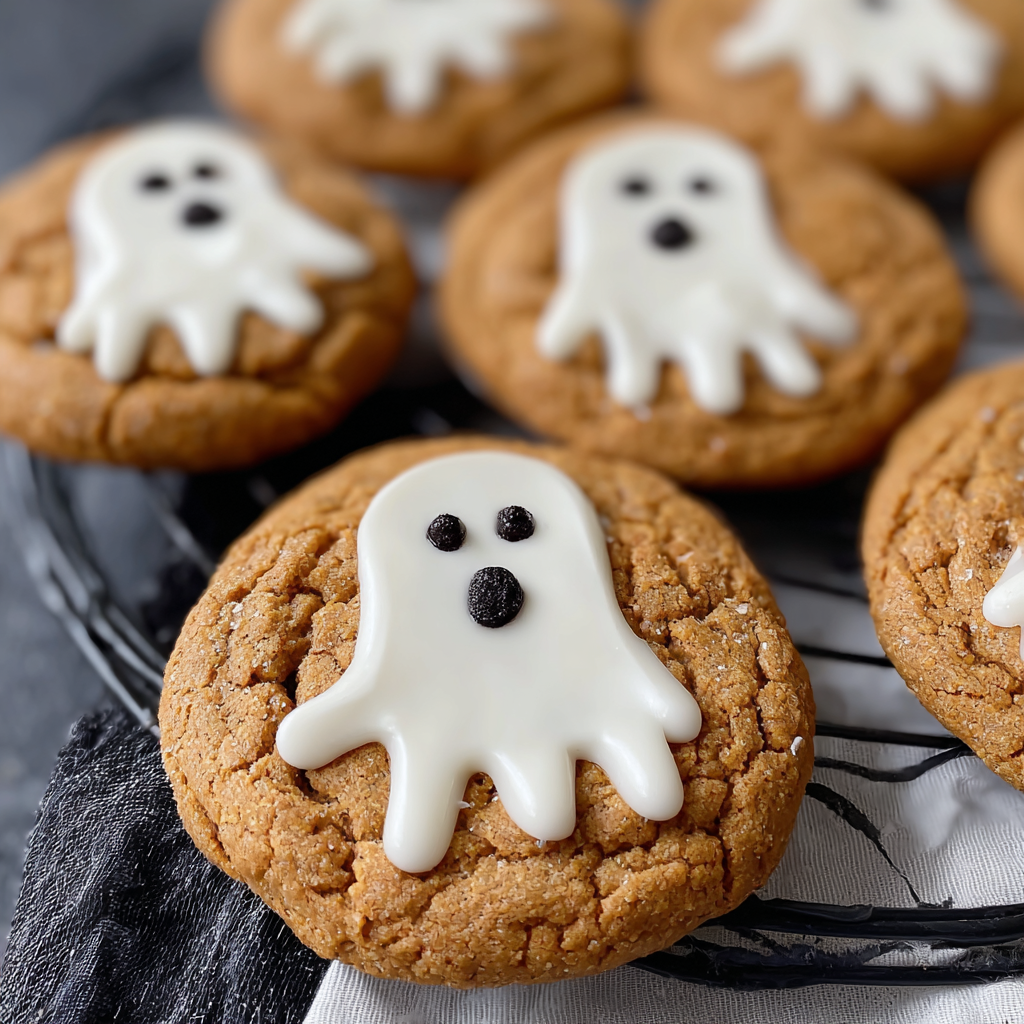
- Form the Ghost Shapes: Take a cooled pumpkin cookie. Place a small dollop (about a tablespoon) of the melted white chocolate onto the center-top portion of the cookie. Use the back of a small spoon or an offset spatula to gently drag the chocolate downward, creating a tapering, ghostly tail. You can make slight wiggles or uneven edges to enhance the “ghostly” effect.
- Let the Ghosts Set: Allow the white chocolate to set and harden completely. This might take 15-30 minutes at room temperature, or you can pop them into the refrigerator for 5-10 minutes to speed up the process. The surface should be firm to the touch before moving to the next step.
- Melt the Black Candy Melts: While the white chocolate sets, melt your black candy melts using the same microwave or double boiler method until smooth.
- Prepare for Piping: Pour the melted black candy melts into a piping bag. If you don’t have a piping bag, a small resealable plastic bag with a tiny corner snipped off will work perfectly. The smaller the snip, the finer your details will be.
- Pipe the Faces: Once the white chocolate ghosts are firm, carefully pipe two small dots for eyes and a slightly larger dot or a small oval for a mouth on each ghost. You can vary the expressions for extra character – some happy, some surprised, some slightly spooky!
- Final Set: Allow the black candy melts to dry and harden completely before handling or serving your adorable Spooky Ghost Brown Butter Pumpkin Cookies.
Detailed Different Ways You Can Present the Recipe and How to Serve It
These Spooky Ghost Brown Butter Pumpkin Cookies are already showstoppers, but a little extra flair can make them even more irresistible!
- Halloween Dessert Platter: Arrange them alongside other festive treats like spiderweb cupcakes, monster eyeball cake pops, or candy corn. A dark-colored platter will make the white ghosts truly pop!
- Milk and Cookies Party: Serve them with a tall glass of cold milk (or even a warm mug of spiced cider) for a classic, comforting pairing.
- Individual Treats: For party favors, wrap each cookie individually in a clear treat bag tied with orange or black ribbon. They make charming take-home gifts!
- Ghostly Display: Stack them artfully on a tiered cake stand for an impressive dessert table centerpiece. You can even sprinkle some edible glitter around them for a magical, ethereal glow.
- Coffee/Tea Companion: The rich flavors of brown butter and pumpkin make these cookies an excellent companion to a hot cup of coffee, a pumpkin spice latte, or your favorite herbal tea.
- Interactive Fun: If serving at a casual gathering, you could even set up a “decorate your own ghost cookie” station with pre-baked cookies, melted white chocolate, and piping bags for guests to create their own unique spooky expressions!
How You Can Store It and How Long Does It Last
To keep your Spooky Ghost Brown Butter Pumpkin Cookies fresh and delicious for as long as possible, proper storage is key!
- At Room Temperature: Once the chocolate decorations are fully set, store the cookies in an airtight container at room temperature. They will stay fresh and soft for up to 3-5 days. To prevent the decorations from sticking or smudging, you can place parchment paper between layers of cookies.
- In the Refrigerator: While not strictly necessary for freshness, chilling can help the chocolate set even firmer, which might be helpful in warmer climates. Store in an airtight container in the refrigerator for up to 5-7 days. Allow them to come to room temperature for the best texture and flavor before serving.
- Freezing: If you want to make a big batch or save some for later, these cookies freeze well! Once the chocolate is completely set, place the cookies in a single layer on a baking sheet and freeze until solid (about 1-2 hours). Then, transfer them to a freezer-safe airtight container or heavy-duty freezer bag, again using parchment paper between layers to prevent sticking. They will last for up to 1-2 months in the freezer. Thaw them at room temperature before serving.
Always ensure your storage container is truly airtight to prevent the cookies from drying out and absorbing other odors.
FAQs Sections
Here are some frequently asked questions about making and enjoying your Spooky Ghost Brown Butter Pumpkin Cookies:
- Can I use regular butter instead of brown butter for the base cookies? Yes, you can, but browning the butter adds a wonderfully nutty, complex flavor that truly elevates these pumpkin cookies. It’s highly recommended for the best taste!
- What if I don’t have black candy melts? You can use dark chocolate melted with a tiny bit of coconut oil or shortening (to make it more fluid for piping) or even black icing gel from a tube.
- How do I get perfect ghost shapes? Don’t aim for perfection! The charm of these ghosts comes from their slightly irregular, whimsical shapes. Just dollop and gently drag downward, allowing for natural variations.
- Can kids help with this recipe? Absolutely! Decorating the ghosts is a fantastic activity for children. They’ll love creating unique faces and shapes.
- Are these cookies gluten-free? The base cookie recipe would need to be specifically adapted to be gluten-free. Check the ingredients of your chosen pumpkin cookie recipe for flour type.
- Can I make the cookies ahead of time and decorate later? Yes, you can bake the pumpkin cookies a day or two in advance and store them in an airtight container. Decorate them on the day you plan to serve for the freshest look.
- What is brown butter and why is it special? Brown butter (beurre noisette) is butter that has been cooked past its melting point until the milk solids separate and toast, turning a rich golden-brown color and developing a deep, nutty, caramel-like flavor.
- Why do you recommend light-colored baking pans? Light-colored pans reflect heat, which helps cookies bake more evenly and prevents the bottoms from browning too quickly or burning. Darker pans absorb more heat and can lead to over-baked bottoms.
- Can I use milk chocolate for the ghosts? White chocolate provides the best contrast for a ghost effect. Milk chocolate would blend too much with the cookie color, but you could use it for fun variations if desired!
- How can I make the white chocolate set faster? After forming the ghost shapes, you can place the baking sheet of cookies into the refrigerator or freezer for 5-10 minutes. This will firm up the chocolate much quicker than at room temperature.
Spooky Ghost Brown Butter Pumpkin Cookies 🎃
Equipment
- Piping bag
- Medium cookie scoop
- Light-colored baking pans
Ingredients
- 1 batch Brown Butter and Maple Chewy Pumpkin Cookies by Butternut Bakery
- 1 cup white chocolate melted
- 0.5 cup black candy melts melted
Instructions
- Bake the pumpkin cookies and let them cool completely.
- Melt the white chocolate until smooth.
- Place a small dollop of white chocolate on each cooled cookie.
- Use the back of a spoon to gently drag the chocolate downward, forming a ghost shape.
- Let the white chocolate set and harden.
- Melt the black candy melts and pour into a piping bag or ziplock.
- Cut a tiny tip and pipe small dots for eyes and a mouth on each ghost.
- Allow the candy melts to dry before serving.
Notes
Nutrition Information: Prep Time: 15 minutes, Cook Time: 45 minutes, Total Time: 1 hour, Servings: 12, Calories: 150, Total Carbs: 20g, Net Carbs: 15g, Fats: 8g, Protein: 2g