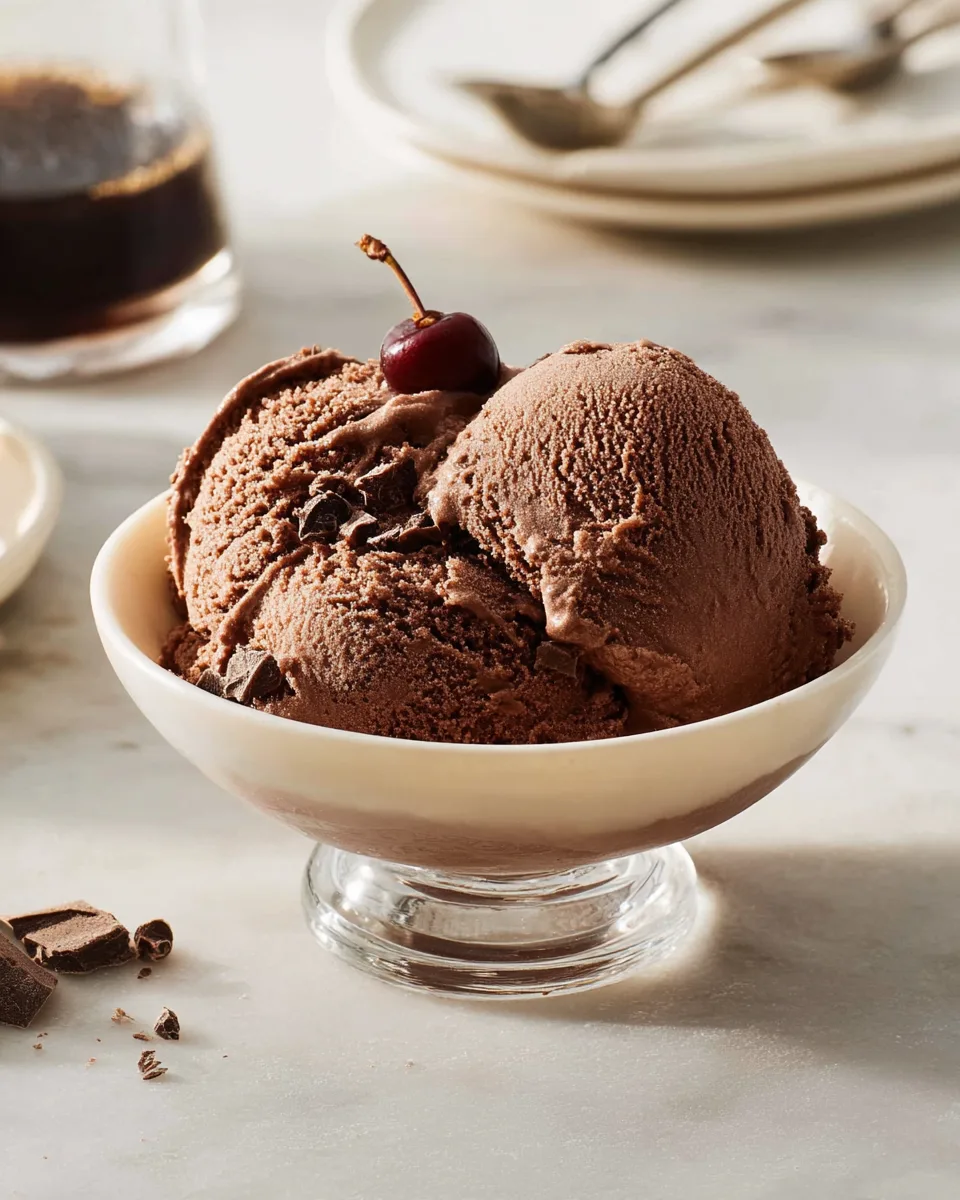
The sun is high, the days are long, and that familiar summer craving hits: something cool, something creamy, something utterly decadent. Forget store-bought tubs and complicated recipes. This summer, you’re about to unlock the secret to the most luxurious, homemade chocolate experience that will make your taste buds sing. Get ready to dive spoon-first into a world of pure bliss with our Velvety Summer Chocolate Dream Ice Cream!
Imagine a rich, dark chocolate embrace, so smooth it glides on your tongue, melting into a symphony of deep cocoa notes. It’s not just ice cream; it’s an escape, a moment of pure joy in every scoop. This isn’t just a recipe; it’s your new summer obsession. Let’s make some magic!
Why You’ll Love This Velvety Summer Chocolate Dream Ice Cream Recipe
- Unbelievably Velvety Texture: True to its name, this ice cream boasts an incredibly smooth, almost silken texture that sets it apart from ordinary chocolate ice creams. It’s rich without being heavy, melting beautifully in your mouth.
- Deep, Intense Chocolate Flavor: Combining unsweetened cocoa powder with dark chocolate (70-85% cacao) creates a multi-layered chocolate profile. It’s robust, sophisticated, and deeply satisfying for true chocolate lovers.
- The Perfect Summer Indulgence: What better way to beat the heat than with a frosty, intensely flavorful scoop of chocolate heaven? It’s refreshing, delightful, and just what you need on a warm day.
- Surprisingly Simple to Master: Don’t be intimidated by homemade ice cream! This recipe breaks it down into easy, straightforward steps. With a little prep and chilling time, you’ll be churning your way to gourmet dessert success in no time.
Ingredients for Your Velvety Summer Chocolate Dream Ice Cream
Gather your simple yet mighty ingredients to create this chocolate masterpiece:
- 🥛 1½ cups heavy cream
- 🍫 ¼ cup unsweetened cocoa powder
- 🍚 ⅔ cup cane sugar (or fine granulated sugar)
- 🧂 ⅛ teaspoon sea salt
- 🔪 3 ounces dark chocolate, 70-85% cacao, finely chopped (about ½ cup)
- 🥛 1½ cups whole milk
- ✨ 2 teaspoons vanilla extract
Detailed Directions: Crafting Your Velvety Summer Chocolate Dream Ice Cream
Follow these easy steps to bring your chocolate dream to life:
Step 1: Prep Your Churner! This is non-negotiable for perfectly frozen ice cream! Place your ice cream maker bowl in the freezer for at least 12 hours. Ideally, pop it in the day before you plan to churn, ensuring it’s absolutely rock solid.
Step 2: Create the Rich Chocolate Base. In a medium saucepan, combine the heavy cream, unsweetened cocoa powder, cane sugar, and sea salt. Give it a good whisk to break up any cocoa lumps. Heat this mixture over medium-low heat, stirring occasionally, until it reaches a gentle boil. Let it simmer for just 30 seconds to fully dissolve the sugar and cocoa, creating a wonderfully smooth foundation.
Step 3: Melt and Blend. Immediately remove the saucepan from the heat. Stir in your finely chopped dark chocolate, whisking continuously and with enthusiasm! Watch as the chocolate melts into the warm cream mixture, transforming it into a wonderfully smooth, glossy, and intensely chocolatey liquid. Next, whisk in the whole milk and vanilla extract until everything is beautifully combined and uniform.
Step 4: Chill to Perfection. Pour your luxurious chocolate base into a clean, heatproof bowl. Allow it to cool down naturally to room temperature on your counter. Once cooled, cover the bowl tightly with plastic wrap and refrigerate for at least 2 hours, or for the very best results, ideally overnight. A thoroughly chilled base is absolutely crucial for achieving that signature velvety texture.
Step 5: Churn Your Dream Ice Cream. When your chocolate mixture is perfectly chilled (and your ice cream maker bowl is frozen solid!), give the base a final good whisk to ensure everything is uniform and ready to go. Pour it into your ice cream maker and churn according to the manufacturer’s instructions. This typically takes 20 to 30 minutes, and you’ll know it’s ready when it reaches a soft, creamy consistency, much like soft-serve ice cream.
Step 6: Freeze for Scoopable Bliss. For that satisfying, firm scoop of ice cream, transfer the freshly churned treat to an airtight container. Pop it into the freezer for an additional 2 to 4 hours. This firming time allows it to reach the ideal scoopable consistency.
Step 7: Enjoy and Store. Now for the best part – serving! Spoon out your delicious Velvety Summer Chocolate Dream Ice Cream. This delightful homemade chocolate ice cream will keep well in an airtight container in your freezer for up to one month. If it’s too hard straight from the freezer, simply let it soften at room temperature for a few minutes before scooping and savoring every single bite!
Creative Ways to Present and Serve Your Velvety Summer Chocolate Dream Ice Cream
While a simple scoop of this Velvety Summer Chocolate Dream Ice Cream is a masterpiece on its own, there are countless ways to elevate your serving experience and impress your guests (or just yourself!):
- The Classic Scoop: Serve it simply in a chilled bowl or a crisp waffle cone. Sometimes, less is more when the flavor is this good.
- Ultimate Chocolate Sundae: Top a few scoops with whipped cream, a drizzle of hot fudge or caramel, a sprinkle of chocolate shavings, chopped nuts, and a bright red cherry.
- Affogato Dream: Place a scoop or two in a small mug or glass and pour a hot shot of freshly brewed espresso over it. The warm coffee slowly melts the cold ice cream, creating a delightful bitter-sweet symphony.
- Cookie Sandwich Extravaganza: Sandwich a generous scoop between two warm, chewy chocolate chip cookies or a pair of your favorite fudgy brownies for an unforgettable dessert experience.
- Milkshake Magic: Blend a few scoops with a splash of milk and perhaps an extra dash of vanilla for an unbelievably rich and thick chocolate milkshake.
- Berry Bliss: Pair it with fresh raspberries, strawberries, or cherries. The tartness of the fruit beautifully complements the rich sweetness of the chocolate.
Storage Tips: Keeping Your Velvety Summer Chocolate Dream Ice Cream Fresh
Your homemade Velvety Summer Chocolate Dream Ice Cream is a labor of love, and you want it to stay perfect for as long as possible! Here’s how to store it:
- Airtight is Key: Always transfer your churned ice cream to an airtight container before freezing. This prevents freezer burn and helps maintain that desirable velvety texture by keeping out moisture and odors from the freezer. Plastic deli containers, glass containers with tight-fitting lids, or specialized ice cream tubs work wonderfully.
- Location, Location, Location: Store the container in the coldest part of your freezer, usually at the back, rather than in the door, where temperatures can fluctuate more.
- How Long It Lasts: When stored correctly in an airtight container, your delightful homemade chocolate ice cream will keep well in your freezer for up to one month. After that, while still safe to eat, the texture and flavor might start to degrade slightly.
- Softening for Scooping: If your ice cream becomes too hard straight from the freezer (which can happen with homemade ice cream that lacks stabilizers), simply let it sit at room temperature for 5-10 minutes before attempting to scoop. This brief softening period will make it much easier to serve and restore its creamy consistency.
FAQs About Your Velvety Summer Chocolate Dream Ice Cream
Got questions? We’ve got answers to help you perfect your ice cream-making skills!
1. Can I make this ice cream without an ice cream maker?
While an ice cream maker is highly recommended for the best “velvety” texture, you can try a no-churn method. Pour the chilled base into a shallow pan, freeze for 30-45 minutes, then remove and whisk vigorously. Repeat this process 3-4 times every 30 minutes until it’s thick and creamy. The texture won’t be identical to churned, but it will still be delicious.
2. What kind of cocoa powder should I use?
Unsweetened cocoa powder is essential. You can use natural unsweetened cocoa for a more intense, slightly acidic chocolate flavor, or Dutch-processed cocoa for a darker color and milder, less bitter taste. Both work well; choose based on your preference for chocolate intensity.
3. Why is chilling the ice cream base so important?
Chilling the base thoroughly before churning is crucial for several reasons: it helps the ice cream freeze faster, resulting in smaller ice crystals and a smoother, creamier texture. A warm base will take longer to freeze and will likely produce a grainier, icier final product.
4. My ice cream turned out too hard. What went wrong?
Homemade ice cream often freezes harder than commercial versions due to the lack of artificial stabilizers and lower air content. Ensure you’re using full-fat dairy (heavy cream, whole milk) and that your sugar measurements are accurate, as sugar helps keep ice cream soft. If it’s too hard, simply let it soften at room temperature for a few minutes before scooping.
5. Can I adjust the sweetness of this recipe?
You can slightly adjust the sugar content, but be mindful that sugar isn’t just for sweetness; it also contributes to the ice cream’s texture and prevents it from freezing rock hard. If you prefer it less sweet, try reducing the sugar by 1-2 tablespoons, but don’t cut it too drastically.
6. Can I use a different percentage of dark chocolate?
Yes, you can. A higher cacao percentage (like 85-90%) will yield a more intense, less sweet chocolate flavor, while a lower percentage (like 60-70%) will be slightly sweeter and milder. Adjust to your personal preference for chocolate intensity.
7. How can I prevent ice crystals in my homemade ice cream?
Thorough chilling of the base, churning in a very cold ice cream maker bowl, and storing the finished ice cream in an airtight container are your best defenses. Adding a tablespoon of alcohol (like vodka or Kahlua) or a spoonful of corn syrup can also help inhibit crystal formation, though this recipe is designed to minimize them already.
8. When should I add mix-ins to the ice cream?
If you want to add chocolate chips, nuts, cookie pieces, or other delicious mix-ins, do so during the last 5 minutes of churning. This ensures they are evenly distributed throughout the ice cream without getting crushed too much.
9. Is this recipe suitable for dietary restrictions?
As written, this recipe contains dairy. For a dairy-free alternative, you would need to substitute the heavy cream and whole milk with full-fat coconut cream/milk or other plant-based heavy cream alternatives, and ensure your dark chocolate is dairy-free. Adjustments to sweetness and texture may be needed.
10. How do I know when the ice cream is done churning?
The ice cream is ready when it has significantly thickened to the consistency of soft-serve ice cream. It should be light, airy, and hold its shape somewhat, but still be soft enough to easily scoop from the churner. Over-churning can sometimes cause the fat to separate, so stop when it reaches the desired soft-serve consistency.
Velvety Summer Chocolate Dream Ice Cream
Equipment
- Ice Cream Maker
- Medium Saucepan
- Whisk
- Heatproof Bowl
- Airtight Container
Ingredients
- 1.5 cups heavy cream
- 0.25 cup unsweetened cocoa powder
- 0.67 cup cane sugar (or fine granulated sugar)
- 0.125 tsp sea salt
- 3 ounces dark chocolate 70-85% cacao, finely chopped (about ½ cup)
- 1.5 cups whole milk
- 2 tsp vanilla extract
Instructions
- Step 1: Prep Your Churner! Before you begin, make sure to place your ice cream maker bowl in the freezer for at least 12 hours. This essential step ensures your ice cream will freeze perfectly as it churns!
- Step 2: Create the Rich Chocolate Base. In a medium saucepan, whisk together the heavy cream, unsweetened cocoa powder, cane sugar, and sea salt. Heat this mixture over medium-low heat, stirring occasionally, until it reaches a gentle boil. Let it simmer for just 30 seconds to fully dissolve the sugar and cocoa.
- Step 3: Melt and Blend. Remove the saucepan from the heat immediately. Stir in the finely chopped dark chocolate, whisking continuously until it's completely melted and the mixture is wonderfully smooth and glossy. Next, whisk in the whole milk and vanilla extract until everything is well combined.
- Step 4: Chill to Perfection. Pour your luxurious chocolate base into a heatproof bowl. Allow it to cool down to room temperature, then cover the bowl and refrigerate for at least 2 hours, or ideally, overnight. Chilling it thoroughly is key for the best texture and flavor.
- Step 5: Churn Your Dream Ice Cream. Once the chocolate mixture is perfectly chilled (and your ice cream maker bowl is frozen solid!), give the base a good whisk to ensure everything is uniform. Pour it into your ice cream maker and churn according to the manufacturer's instructions, typically for 20 to 30 minutes, until it reaches a soft, creamy consistency similar to soft-serve.
- Step 6: Freeze for Scoopable Bliss. For a firmer, more scoopable ice cream, transfer the freshly churned treat to an airtight container. Freeze for an additional 2 to 4 hours before serving.
- Step 7: Enjoy and Store. This delightful homemade chocolate ice cream will keep well in an airtight container in your freezer for up to one month. If it's too hard straight from the freezer, simply let it soften at room temperature for a few minutes before scooping and savoring!
Notes
Calories: 304 kcal
Total Carbs: 34g
Net Carbs: 31.5g
Fats: 17g
Protein: 5g