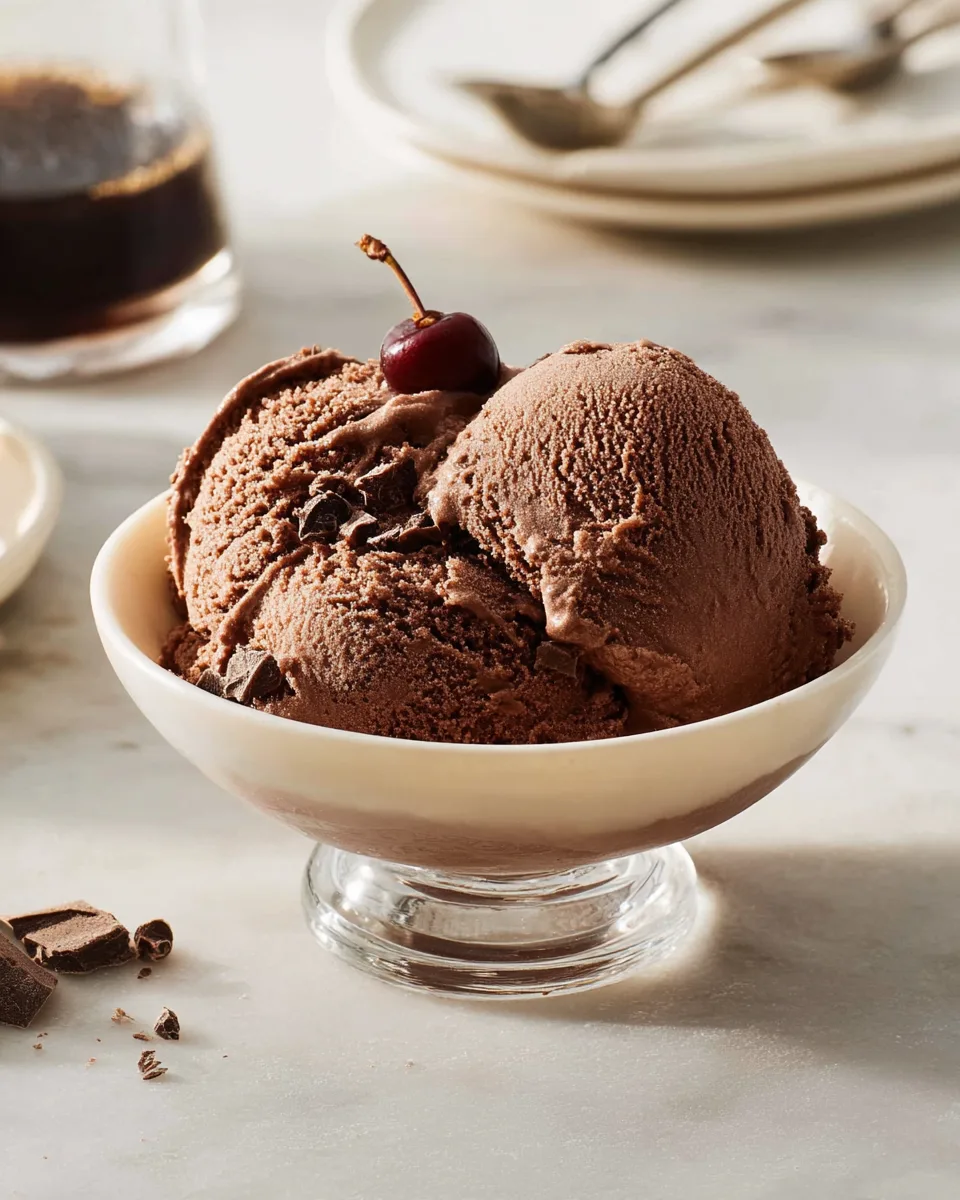
Velvety Summer Chocolate Dream Ice Cream
A rich and creamy homemade chocolate ice cream, perfect for summer. This dream-worthy dessert is easy to make and guaranteed to satisfy any chocolate craving.
Equipment
- Ice Cream Maker
- Medium Saucepan
- Whisk
- Heatproof Bowl
- Airtight Container
Ingredients
- 1.5 cups heavy cream
- 0.25 cup unsweetened cocoa powder
- 0.67 cup cane sugar (or fine granulated sugar)
- 0.125 tsp sea salt
- 3 ounces dark chocolate 70-85% cacao, finely chopped (about ½ cup)
- 1.5 cups whole milk
- 2 tsp vanilla extract
Instructions
- Step 1: Prep Your Churner! Before you begin, make sure to place your ice cream maker bowl in the freezer for at least 12 hours. This essential step ensures your ice cream will freeze perfectly as it churns!
- Step 2: Create the Rich Chocolate Base. In a medium saucepan, whisk together the heavy cream, unsweetened cocoa powder, cane sugar, and sea salt. Heat this mixture over medium-low heat, stirring occasionally, until it reaches a gentle boil. Let it simmer for just 30 seconds to fully dissolve the sugar and cocoa.
- Step 3: Melt and Blend. Remove the saucepan from the heat immediately. Stir in the finely chopped dark chocolate, whisking continuously until it's completely melted and the mixture is wonderfully smooth and glossy. Next, whisk in the whole milk and vanilla extract until everything is well combined.
- Step 4: Chill to Perfection. Pour your luxurious chocolate base into a heatproof bowl. Allow it to cool down to room temperature, then cover the bowl and refrigerate for at least 2 hours, or ideally, overnight. Chilling it thoroughly is key for the best texture and flavor.
- Step 5: Churn Your Dream Ice Cream. Once the chocolate mixture is perfectly chilled (and your ice cream maker bowl is frozen solid!), give the base a good whisk to ensure everything is uniform. Pour it into your ice cream maker and churn according to the manufacturer's instructions, typically for 20 to 30 minutes, until it reaches a soft, creamy consistency similar to soft-serve.
- Step 6: Freeze for Scoopable Bliss. For a firmer, more scoopable ice cream, transfer the freshly churned treat to an airtight container. Freeze for an additional 2 to 4 hours before serving.
- Step 7: Enjoy and Store. This delightful homemade chocolate ice cream will keep well in an airtight container in your freezer for up to one month. If it's too hard straight from the freezer, simply let it soften at room temperature for a few minutes before scooping and savoring!
Notes
For optimal results, remember to freeze your ice cream maker bowl for at least 12 hours before starting. An optional firming time of 2-4 hours after churning will result in a more scoopable ice cream.
Nutrition Information (per serving):
Calories: 304 kcal
Total Carbs: 34g
Net Carbs: 31.5g
Fats: 17g
Protein: 5g
Calories: 304 kcal
Total Carbs: 34g
Net Carbs: 31.5g
Fats: 17g
Protein: 5g
