
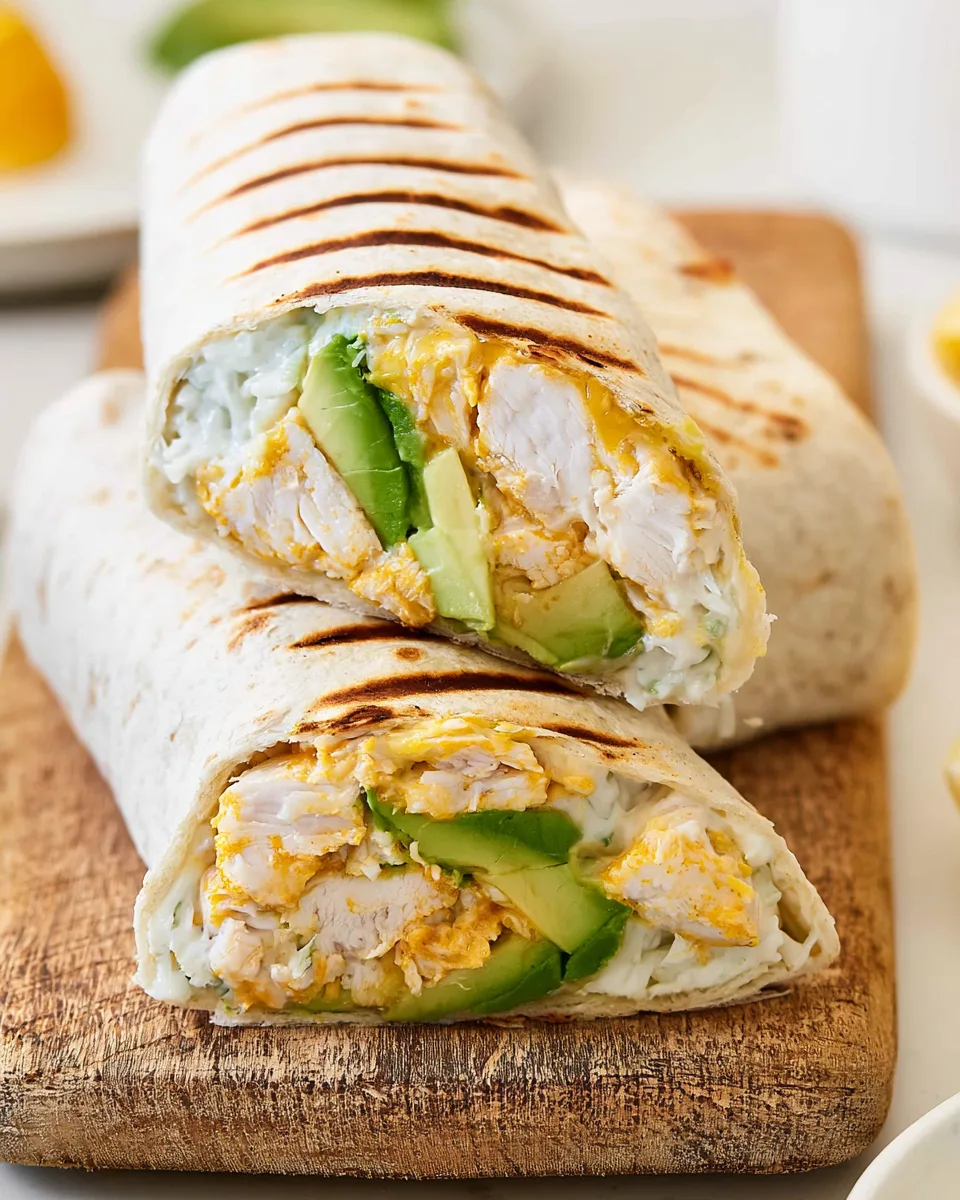
🎒🍎 Imagine the chaos of a school morning: missing socks, last-minute homework, and the dreaded “what’s for lunch?” panic. Enter the Back-to-School Chicken & Avocado Lunchbox Wraps – the hero you didn’t know you needed. They’re creamy, crunchy, and cool enough to make your kid the lunch table legend. Bonus: you can make them in your jammies while sipping coffee. Ready to wrap up lunch like a pro? Let’s roll!
💚 Why You’ll Love This Recipe
1. Fast & Fuss‑Free – From stove to lunchbox in 30 minutes flat. No fancy gadgets, just a pot, a knife, and a panini press (or pan).
2. Kid‑Approved Creaminess – Avocado meets melty cheese in a soft tortilla. Even picky eaters gobble it up – and ask for more.
3. Balanced & Wholesome – Protein‑packed chicken, healthy fats, and fiber keep energy steady all afternoon. No sugar crash at 2 p.m.!
4. Totally Customizable – Swap cheese, add veggies, or make it gluten‑free. This wrap bends to your pantry like a yoga master.
🛒 Ingredients
- 🐔 1 boneless, skinless chicken breast (about 6–8 oz)
- 🧀 ½ cup shredded cheese (cheddar, mozzarella, or your fave)
- 🥑 1 ripe avocado, sliced
- 🧂 1 pinch of salt
- 🌶️ 1 pinch of black pepper
- 🌯 2 flour tortillas (or whole wheat, gluten‑free, etc.)
📋 How to Make Back-to-School Chicken & Avocado Lunchbox Wraps
- Boil the chicken – Place the breast in a pot, cover with water, and bring to a boil. Cook for about 10 minutes until no longer pink inside. Drain and let cool slightly.
- Chop it up – Dice the cooked chicken into tiny, bite‑sized pieces. Divide equally between the two tortillas.
- Add the cheese – Sprinkle ¼ cup of shredded cheese over the chicken on each tortilla. (Pro tip: use sharp cheddar for extra oomph!)
- Avocado time – Peel and slice the avocado, scoop out the flesh. Lay the slices evenly on top of the cheese.
- Season & wrap – Add a pinch of salt and pepper to each. Fold in the sides, then roll the tortilla up tightly like a burrito.
- Grill to golden – Heat a grill, panini press, or non‑stick pan over medium heat. Place wraps seam‑side down and cook 2–3 minutes per side until golden with grill marks.
- Serve or pack – Enjoy warm immediately or let cool, slice in half, and tuck into a lunchbox. Ranch dressing for dipping is optional but highly recommended!
🎨 Creative Ways to Present & Serve
Lunchbox Stars ⭐ – Slice wraps into pinwheels (1‑inch rounds) for mini “sushi” that little hands love. Great for bento boxes!
Party Platter – Cut each wrap into 4 pieces, arrange on a board with cherry tomatoes, cucumber sticks, and a bowl of ranch or garlic yogurt dip.
Warm & Toasty – Serve straight from the grill with a side of sweet potato fries and a simple green salad – perfect for an after‑school snack that doubles as dinner.
Deconstructed Bowl – No tortilla? Pile the chicken, avocado, cheese, and dressing over lettuce or quinoa for a low‑carb, gluten‑free option.
🧊 How to Store & How Long It Lasts
Wrap each cooled wrap tightly in parchment paper or aluminum foil, then place in an airtight container. They keep in the fridge for up to 3 days. For longer storage, freeze individually (wrapped in plastic wrap + foil) for up to 1 month. To reheat: pop in a panini press or oven at 350°F for 5–7 minutes. Tip: Add avocado fresh if you’re freezing – it can get mushy after thawing.
❓ Frequently Asked Questions
Absolutely! Rotisserie or leftover grilled chicken works perfectly – just chop and go.
Mozzarella melts beautifully, but cheddar, Monterey Jack, or pepper jack add a flavor kick.
Squeeze a little lime or lemon juice over the slices before wrapping. The acidity slows browning.
Yes! Use gluten‑free tortillas or large lettuce leaves (like romaine or butter lettuce) for a wrap.
Yes, but add avocado fresh after thawing for best texture. Freeze without avocado, then add when packing lunch.
Throw in shredded carrots, bell pepper strips, or spinach leaves before rolling.
Ranch is classic, but try chipotle mayo, tzatziki, or a simple honey mustard.
Swap chicken for marinated tofu or chickpeas, use vegan cheese, and skip the chicken – still delicious!
Pat avocado dry with a paper towel and avoid over‑filling. Grill them to seal the tortilla.
Yes – no nuts in the basic recipe. Just double‑check your tortilla brand for any nut cross‑contamination.
🎒🍎 Ready to rock lunchtime? Whip up these Back‑to‑School Chicken & Avocado Lunchbox Wraps and watch the lunchbox come home empty every single day!
“`
Back-to-School Chicken & Avocado Lunchbox Wraps
Equipment
- Grill or Panini Maker
- Pot
Ingredients
- 1 boneless, skinless chicken breast
- 1/2 cup shredded cheese your favorite kind
- 1 ripe avocado sliced
- 1 pinch salt
- 1 pinch black pepper
- 2 flour tortillas
Instructions
- Boil the chicken breast in a pot for about 10 minutes until fully cooked.
- Chop the cooked chicken into small, bite-sized pieces. Divide the chicken evenly between the two tortillas.
- Sprinkle 1/4 cup of shredded cheese over the chicken on each tortilla.
- Peel and slice the avocado, then scoop out the flesh. Divide the avocado slices evenly between the two tortillas.
- Add a pinch of salt and pepper to each tortilla. To wrap, fold in the sides first, then roll the tortilla up tightly.
- Heat a grill or panini maker. Place the wraps on the hot surface and cook until the outside is golden brown with grill marks.
- Enjoy warm, or pack it in a lunchbox! It’s great dipped in ranch dressing.