Easy & Festive Almond-Orange Christmas Cookies
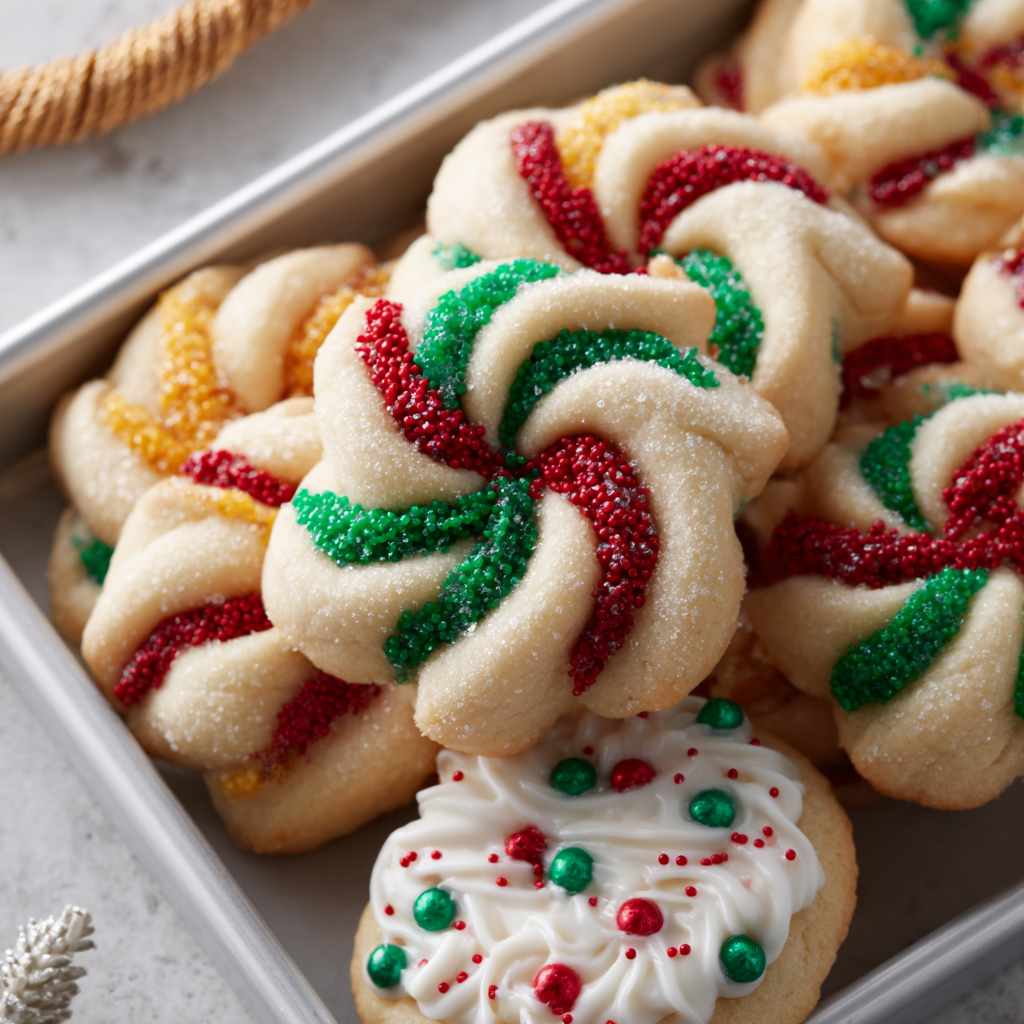
These Easy & Festive Almond-Orange Christmas Cookies are perfect for holiday baking, featuring a delightful blend of almond and orange flavors. The recipe includes instructions for a smooth royal icing, making them ideal for decorating and sharing festive cheer.
Equipment
- Electric Mixer
- Baking Sheets
- Parchment Paper
- Rolling Pin
- Cookie Cutters
- Wire Rack
- Piping Bag (or Ziploc Bag)
- Toothpick
Ingredients
Cookie Dough
- 1 cup Granulated Sugar for a touch of sweetness
- 14 ounces Unsalted Butter softened (approx. 3.5 sticks, ensure it's soft for smooth mixing)
- 2 Large Eggs room temperature for best results
- 2 teaspoons Pure Vanilla Extract for the classic flavor
- 1 teaspoon Almond Extract the 'twist' for a warm, festive taste
- 1 Orange Zest of 1 (optional, but highly recommended for a bright, healthy note)
- 6 cups All-Purpose Flour spooned and leveled for light cookies
Smooth Royal Icing
- 6 tablespoons Meringue Powder the secret to perfectly set icing
- 8 tablespoons Water for mixing the meringue powder
- 2 teaspoons Lemon Juice adds a subtle tang and helps stability
- 7 cups Powdered Sugar sifted (crucial for super smooth, lump-free icing)
- Extra Water as needed, for achieving desired icing consistency
- Gel Food Coloring your choice of festive colors like red, green, gold, white
- Sprinkles, Edible Glitter, or Crushed Candy Canes for a fun, celebratory finish
Instructions
- Get Ready: Preheat your oven to 350°F (175°C). Line 2-3 baking sheets with parchment paper – it makes cleanup a breeze!
- Cream It Up: In a large bowl, combine the softened butter and granulated sugar. Beat them together with an electric mixer until the mixture is light, pale, and wonderfully fluffy (about 2-3 minutes). This step adds air, creating tender cookies.
- Add the Goodness: Scrape down the sides of the bowl. Mix in the eggs one at a time, then stir in the pure vanilla extract, almond extract, and that vibrant orange zest until everything is beautifully combined.
- Gentle Flour Mix: With your mixer on low speed, gradually add the flour to the wet ingredients. Mix just until a soft dough forms. Be careful not to overmix! If the dough seems a little dry, a tablespoon of milk can help bring it together nicely.
- Roll & Cut: Lightly flour your work surface and rolling pin. Take about a quarter of the dough and roll it out evenly to about ¼-inch thickness. Now for the fun part: use your favorite festive cookie cutters to create delightful shapes!
- Chill for Perfection: Carefully place the cut-out cookies on your prepared baking sheets. Pop the entire sheet into the refrigerator for 10-15 minutes. This quick chill helps the butter firm up, preventing your cookies from spreading too much in the oven.
- Bake Lightly: Bake for 10-12 minutes, or until the edges are just barely starting to turn a light golden brown. The centers should look set but still soft. Let them cool on the baking sheet for a few minutes, then transfer them to a wire rack to cool completely before decorating.
- Whip Up the Icing: In a clean large bowl, whisk together the meringue powder, lemon juice, and 8 tablespoons of water using an electric mixer. Gradually add the sifted powdered sugar. Beat on high speed for 4-5 minutes until the icing is thick, glossy, and holds stiff peaks – perfect for outlining!
- Color & Thin: Divide the stiff icing into smaller bowls. Add your choice of gel food coloring to each bowl and mix well. To create "flood" icing (for filling in cookies), add a few drops of water at a time to a portion of the colored icing until it flows smoothly, like thick honey, and a drizzle disappears back into the surface within 10-15 seconds.
- Decorate & Dry: Use stiff icing (in a piping bag with a small tip or a snipped Ziploc bag) to outline each cooled cookie. Then, fill in the outlines with the thinner "flood" icing, using a toothpick to gently guide it into all the corners. Immediately add sprinkles or glitter if desired. Let your edible masterpieces dry completely and undisturbed for at least 4-6 hours, or ideally overnight, for the icing to set beautifully.
Notes
Ensure unsalted butter is softened for smooth mixing. Use room temperature eggs for best results. Orange zest is optional, but highly recommended for a bright, healthy note. Spoon and level the all-purpose flour for light cookies. The meringue powder is the secret to perfectly set icing. Sifted powdered sugar is crucial for super smooth, lump-free icing. A quick chill before baking helps prevent cookies from spreading too much.
Nutrition Information per serving (1 cookie):
Calories: ~210
Total Carbs: 28g
Net Carbs: 27.5g
Fats: 9g
Protein: 2g
Calories: ~210
Total Carbs: 28g
Net Carbs: 27.5g
Fats: 9g
Protein: 2g
